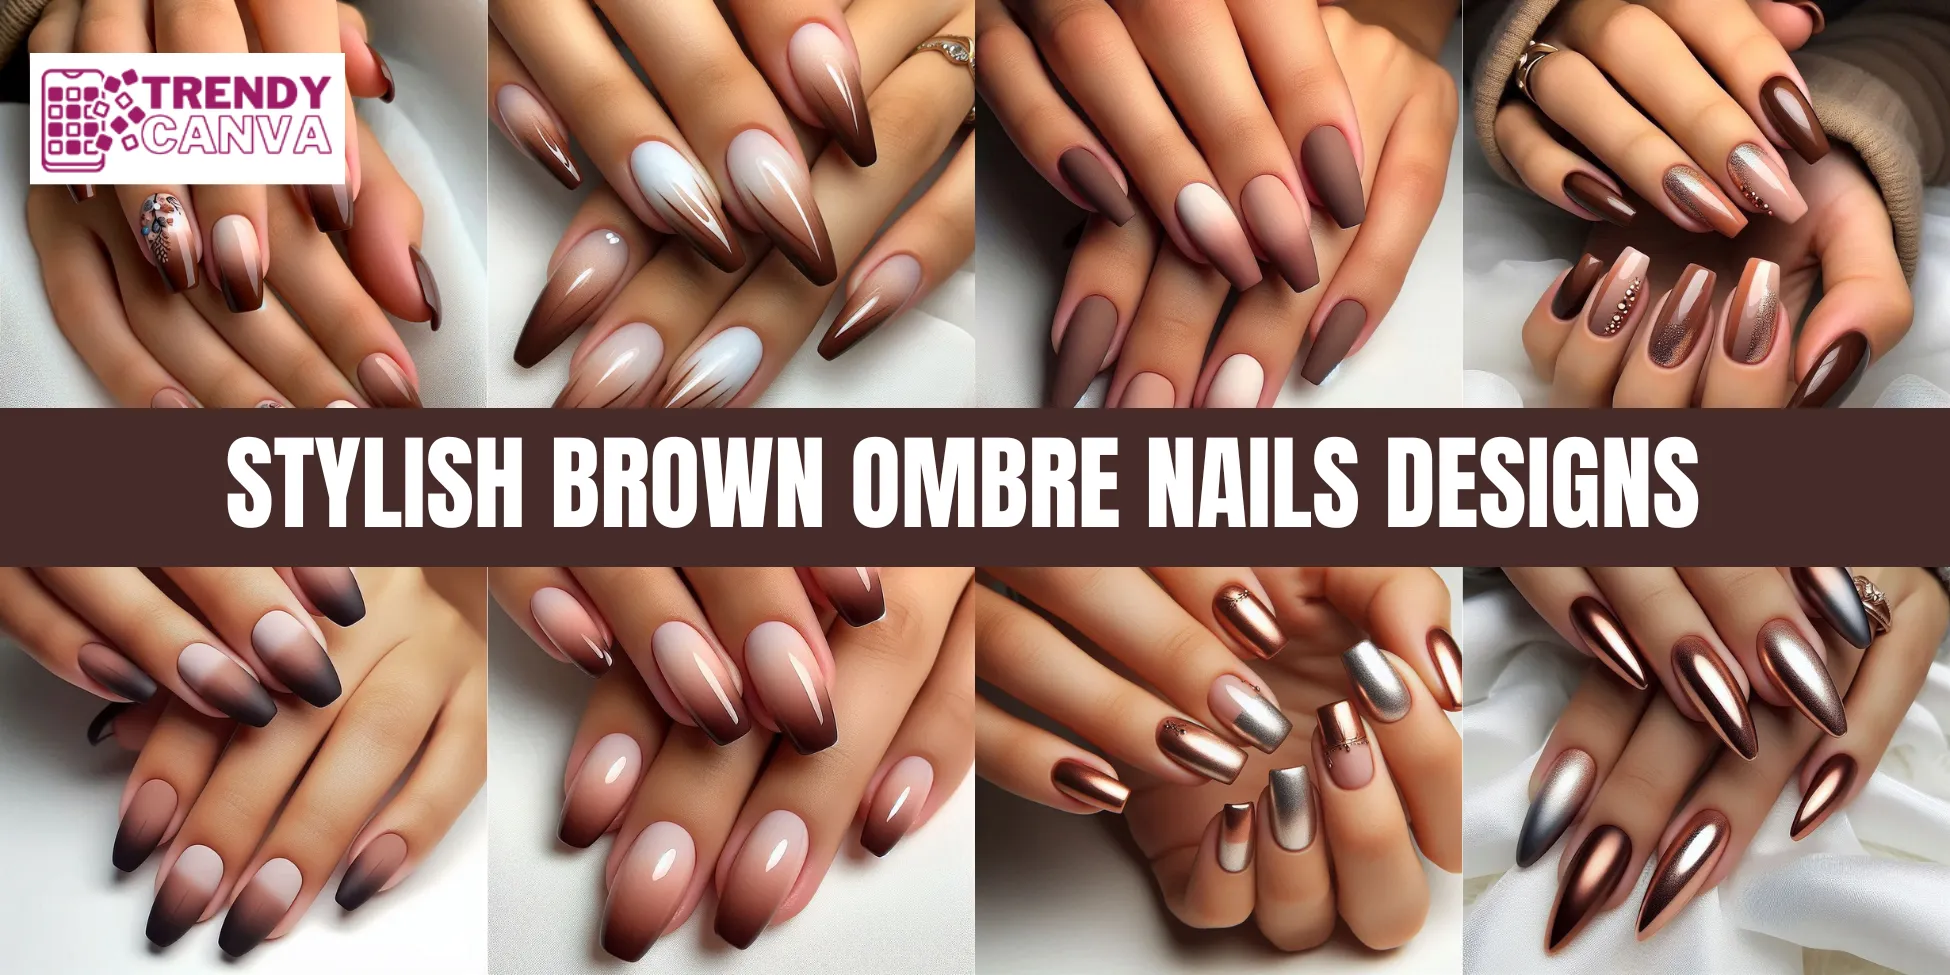
50 Stunning Brown Ombre Nail Designs to Try This Year
Is your nail art playlist on repeat? Time to add a timeless classic with a modern twist Brown Ombre Nails. Forget what you know about basic brown—this trend is the ultimate style chameleon, seamlessly blending warm, earthy tones to create brown ombre nail designs that feel as cozy as your favorite coffee order and as chic as a designer handbag. If you’re a minimalist who loves simple brown nail designs or a glam queen who craves sparkle, this look works beautifully on short brown ombre nails, long styles, and everything in between.
In this ultimate guide, we’re not just showcasing stunning designs we’re giving you everything you need to master the look. You’ll found show-stopping brown ombre designs sorted from everyday “latte” shades to glamorous “espresso” statements. We’ll also walk you through a simple, step-by-step tutorial to achieve a flawless gradient at home.
Get ready to find inspiration, learn the technique, and unlock a world of sophisticated nail art that complements every skin tone and occasion.
What Are Ombre Nails?
Ombre nails are a popular art technique that uses two or more colors to create a gradual, seamless blend. This beautiful gradient effect is typically achieved with a makeup sponge or brush, which diffuses the edges and removes any harsh lines between the shades. The result is a smooth, artistic transition that gives your nails a sophisticated and eye-catching look.
Why Brown Ombre Nails Are So Popular
Brown ombre nails have become a favorite for their timeless elegance and incredible versatility. The rich, earthy tones flatter every complexion, making them especially popular as brown nails on brown skin and brown nails on dark skin.
If you prefer light brown ombre nails for a soft everyday look or dark brown ombre nails for a bold statement, this style works perfectly for casual wear, office settings, and special events.
How to Achieve Brown Ombre Nails at Home
Creating a professional-looking ombre manicure at home is easier than you think. By following a few simple steps and using the right tools, you can achieve a flawless gradient finish.
1. Supplies Needed
To get started, make sure you have these key materials:
Nail Polish At least two shades of brown that you want to blend.
Makeup Sponge A small, disposable sponge is perfect for this technique.
A clear topcoat to seal your design and add shine.
Nail Polish Remover & Cotton Swabs for cleaning up any polish around your nails.
You can also create a brown ombre design on artificial nails. Simply apply the ombre technique directly to the fake nails before applying them. This is a great way to get the look without using heat on your natural nails. This technique works well for brown ombre acrylic nails, gel manicures, and press-ons, making it perfect for beginners and professionals alike.
2. Step-by-Step Tutorial To Achieve These Brown Ombre Nails
Follow these steps for a perfect gradient:
Prep Your Nails: Start with a clean base. Apply a coat of your lightest brown shade to your nails and allow it to dry completely.
Create the Gradient: On a makeup sponge, paint a stripe of your lightest shade and a second stripe of your darker shade, right next to each other.
Blend the Colors: Gently tap the sponge onto your nail. The colors will transfer and blend, creating the ombre effect. Repeat this process until you achieve your desired color intensity.
Clean Up: Use a cotton swab dipped in nail polish remover to carefully clean any polish from the skin around your nails.
Seal with a Topcoat: Once your design is dry, apply a clear topcoat to seal in the colors and give your manicure a beautiful, glossy finish.
3. Pro Tips for Flawless Results:
Select brown shades that are 2-3 tones apart for the most natural blend
Test your gradient on paper or a fake nail
Apply multiple thin layers rather than one thick coat
Let each layer dry slightly before adding the next
A slightly damp sponge prevents it from absorbing too much polish
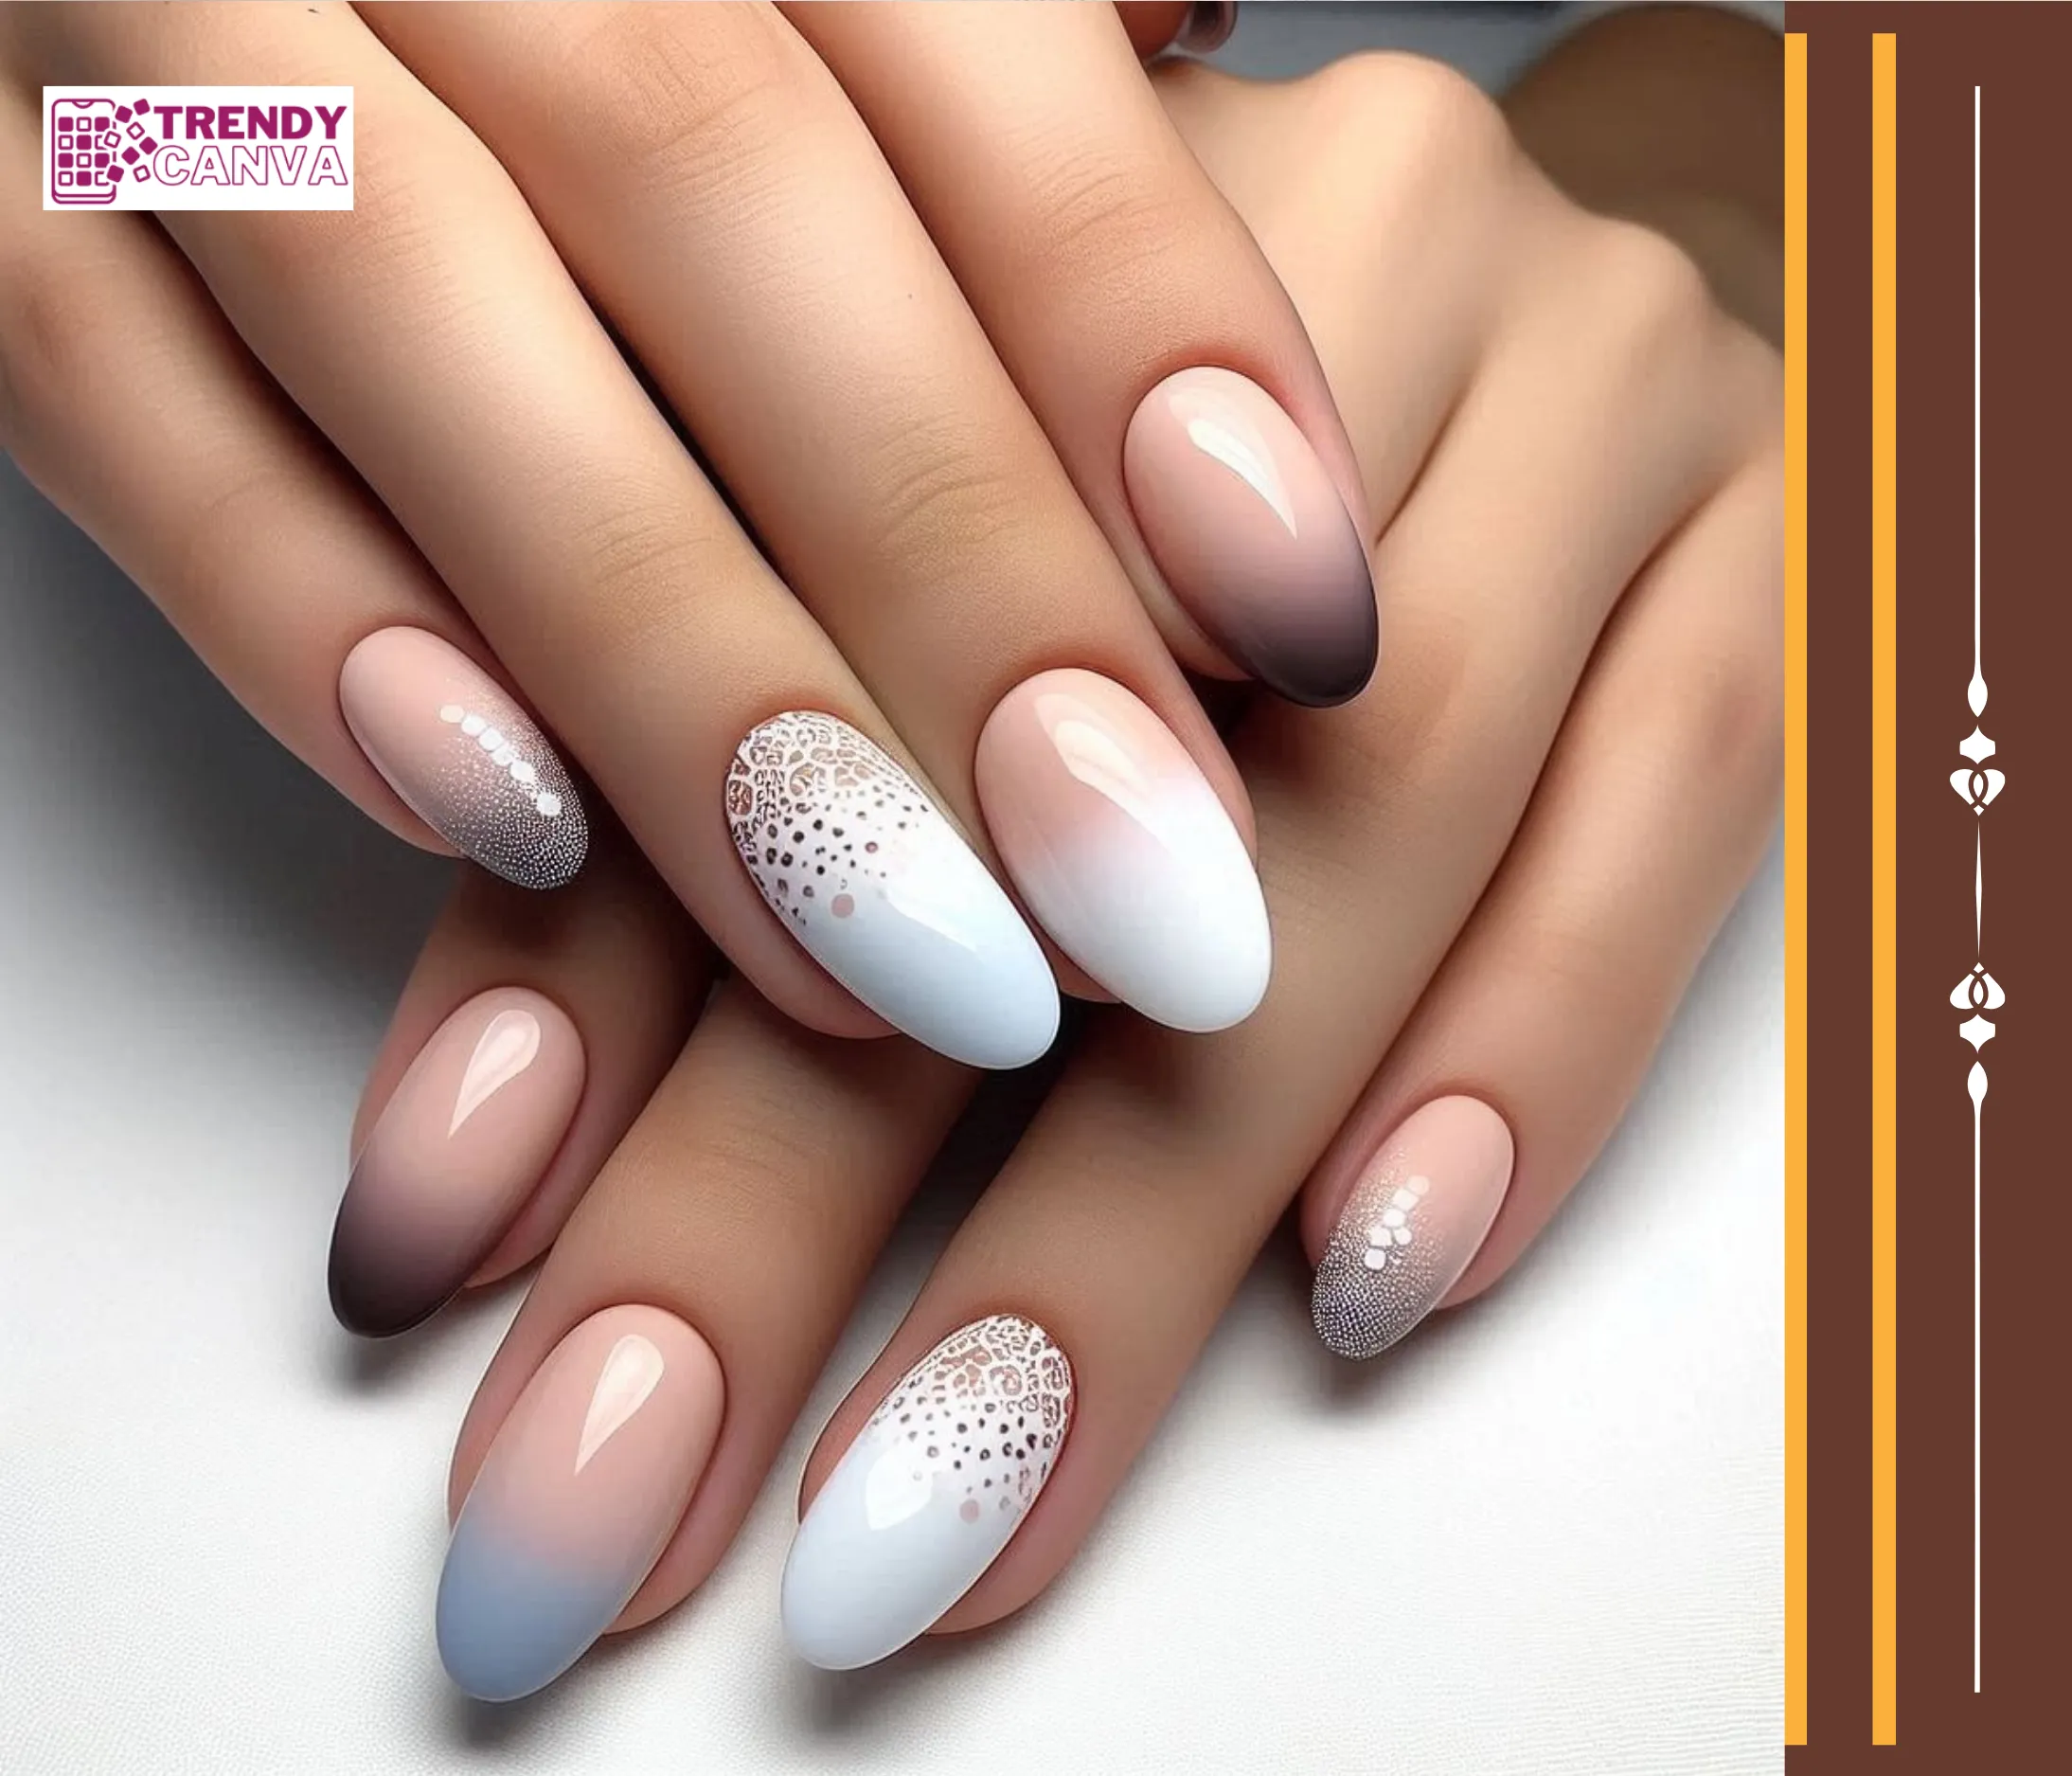
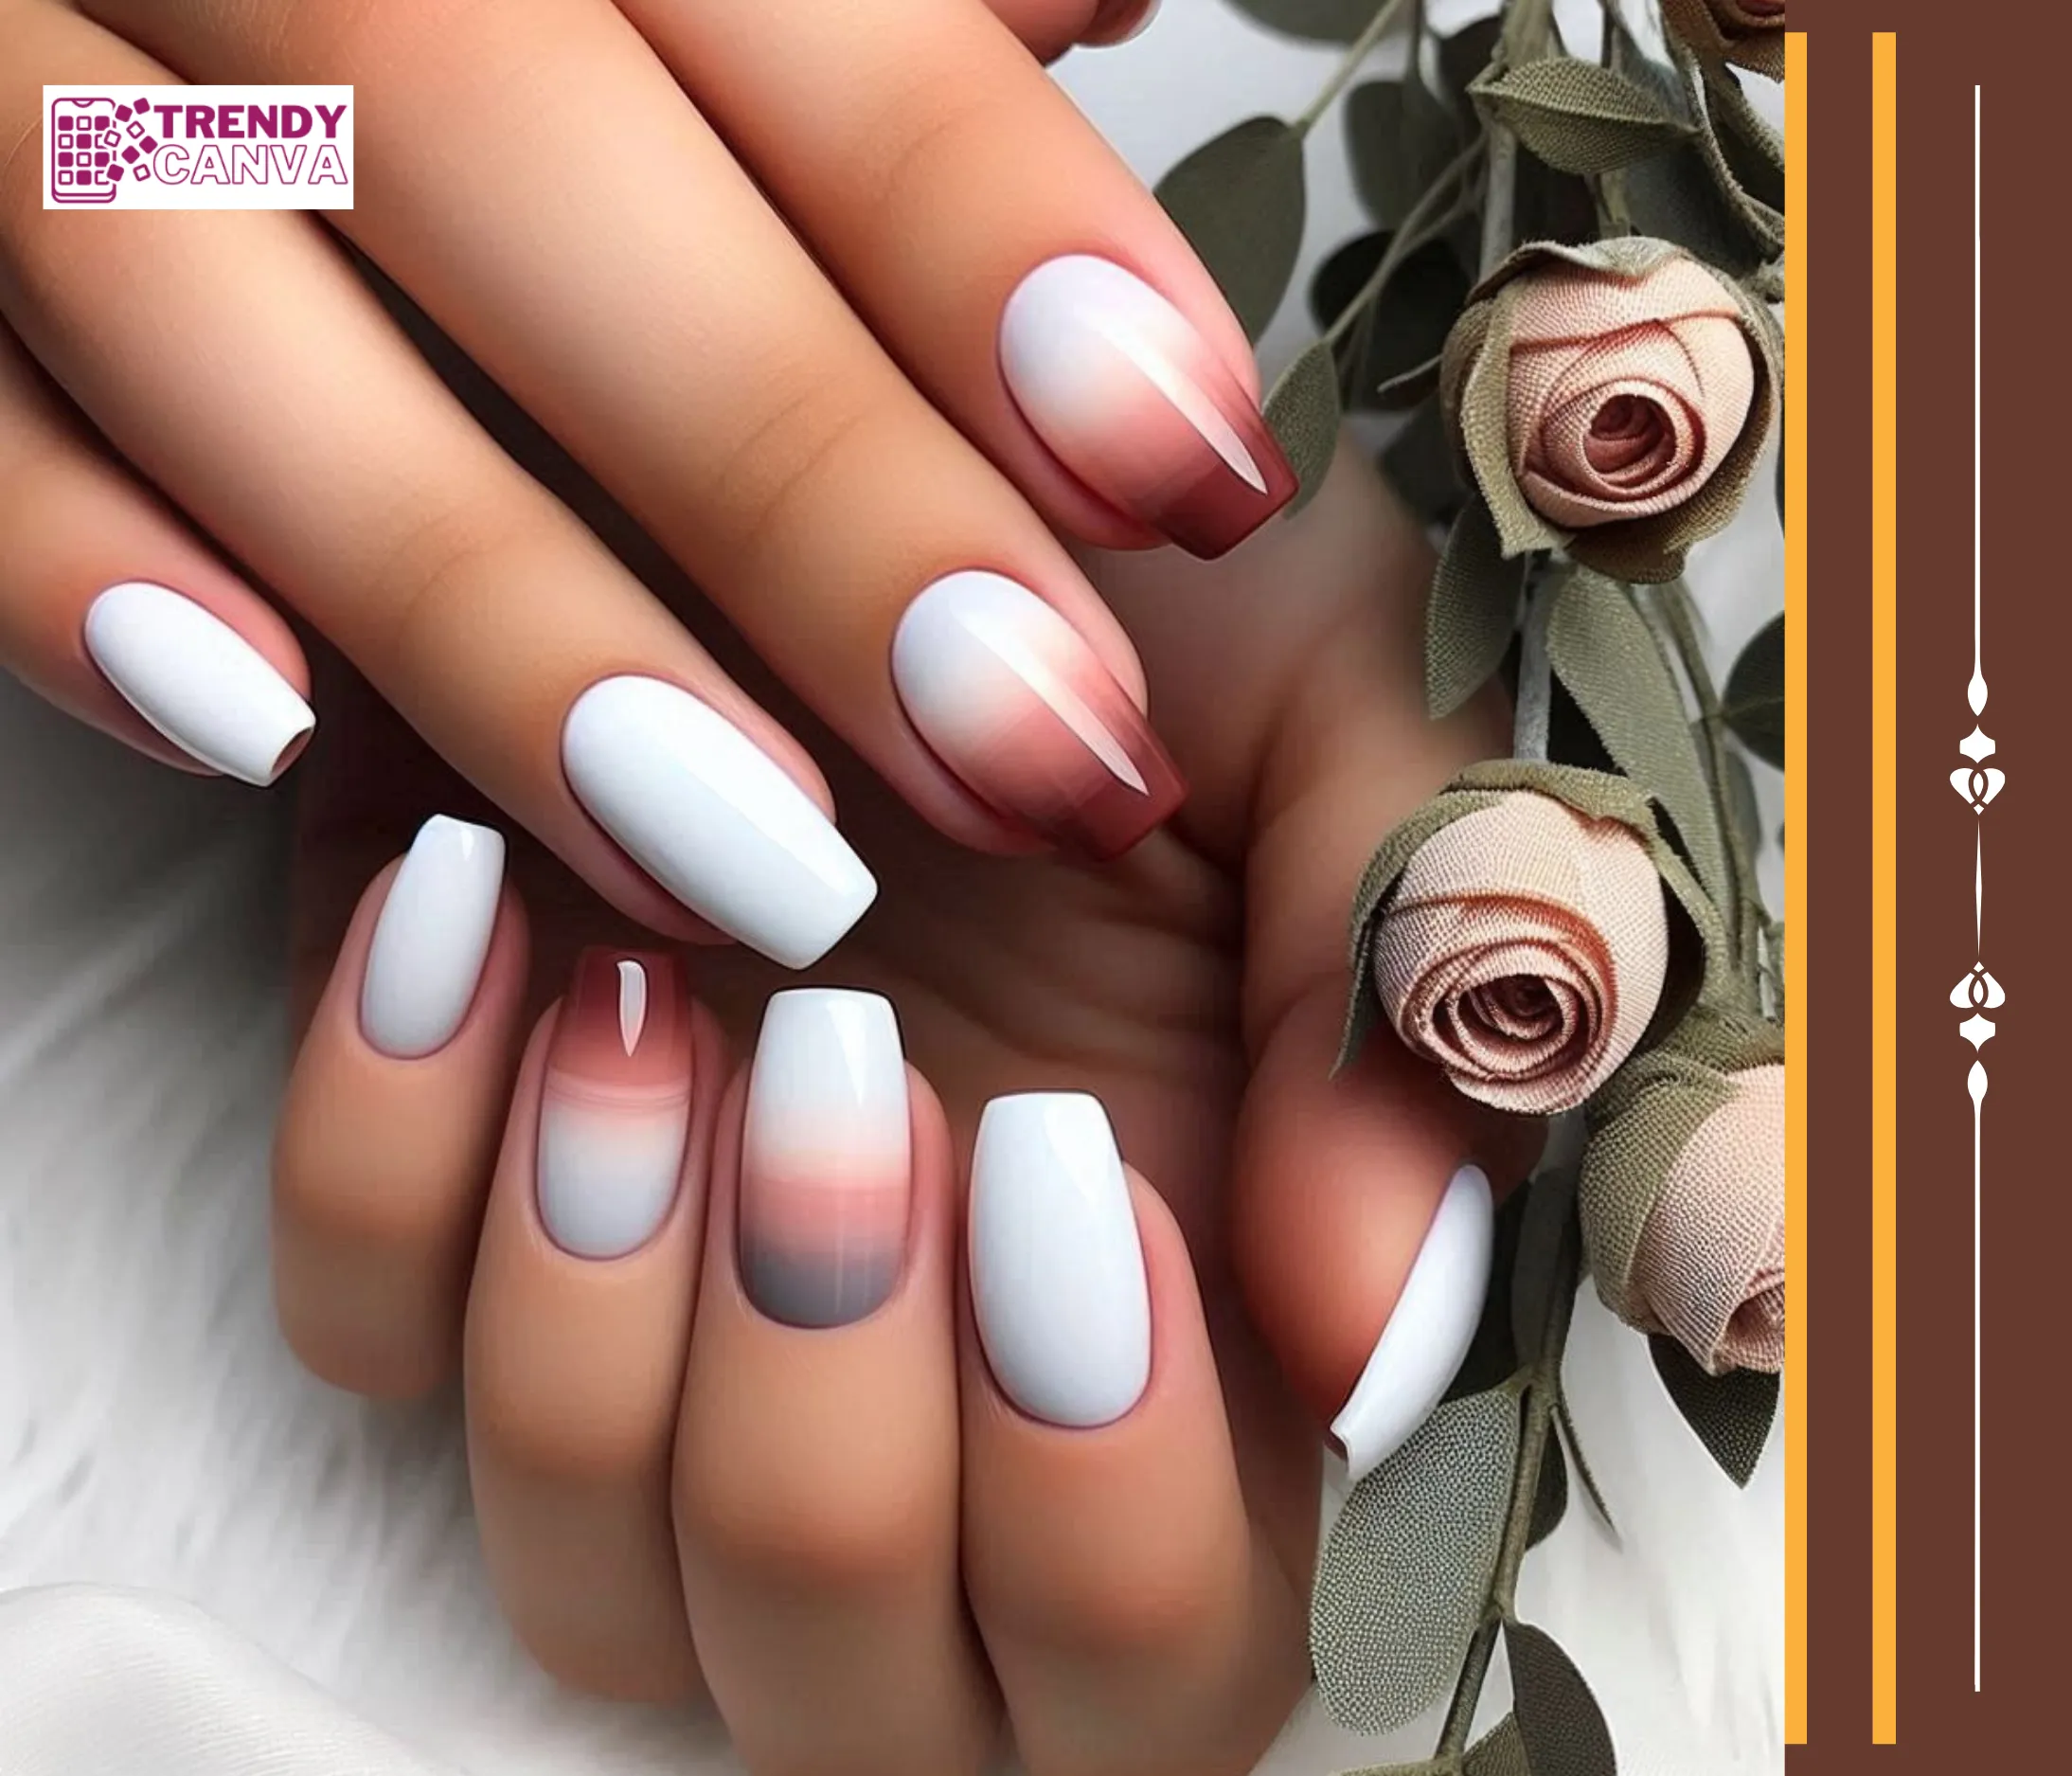
Inspiring Brown Ombre Nail Designs for Your Next Manicure
Check out for your perfect look with 50 blue coffin nail designs, sorted into 10 versatile styles. Each category offers multiple creative variations to match your unique taste
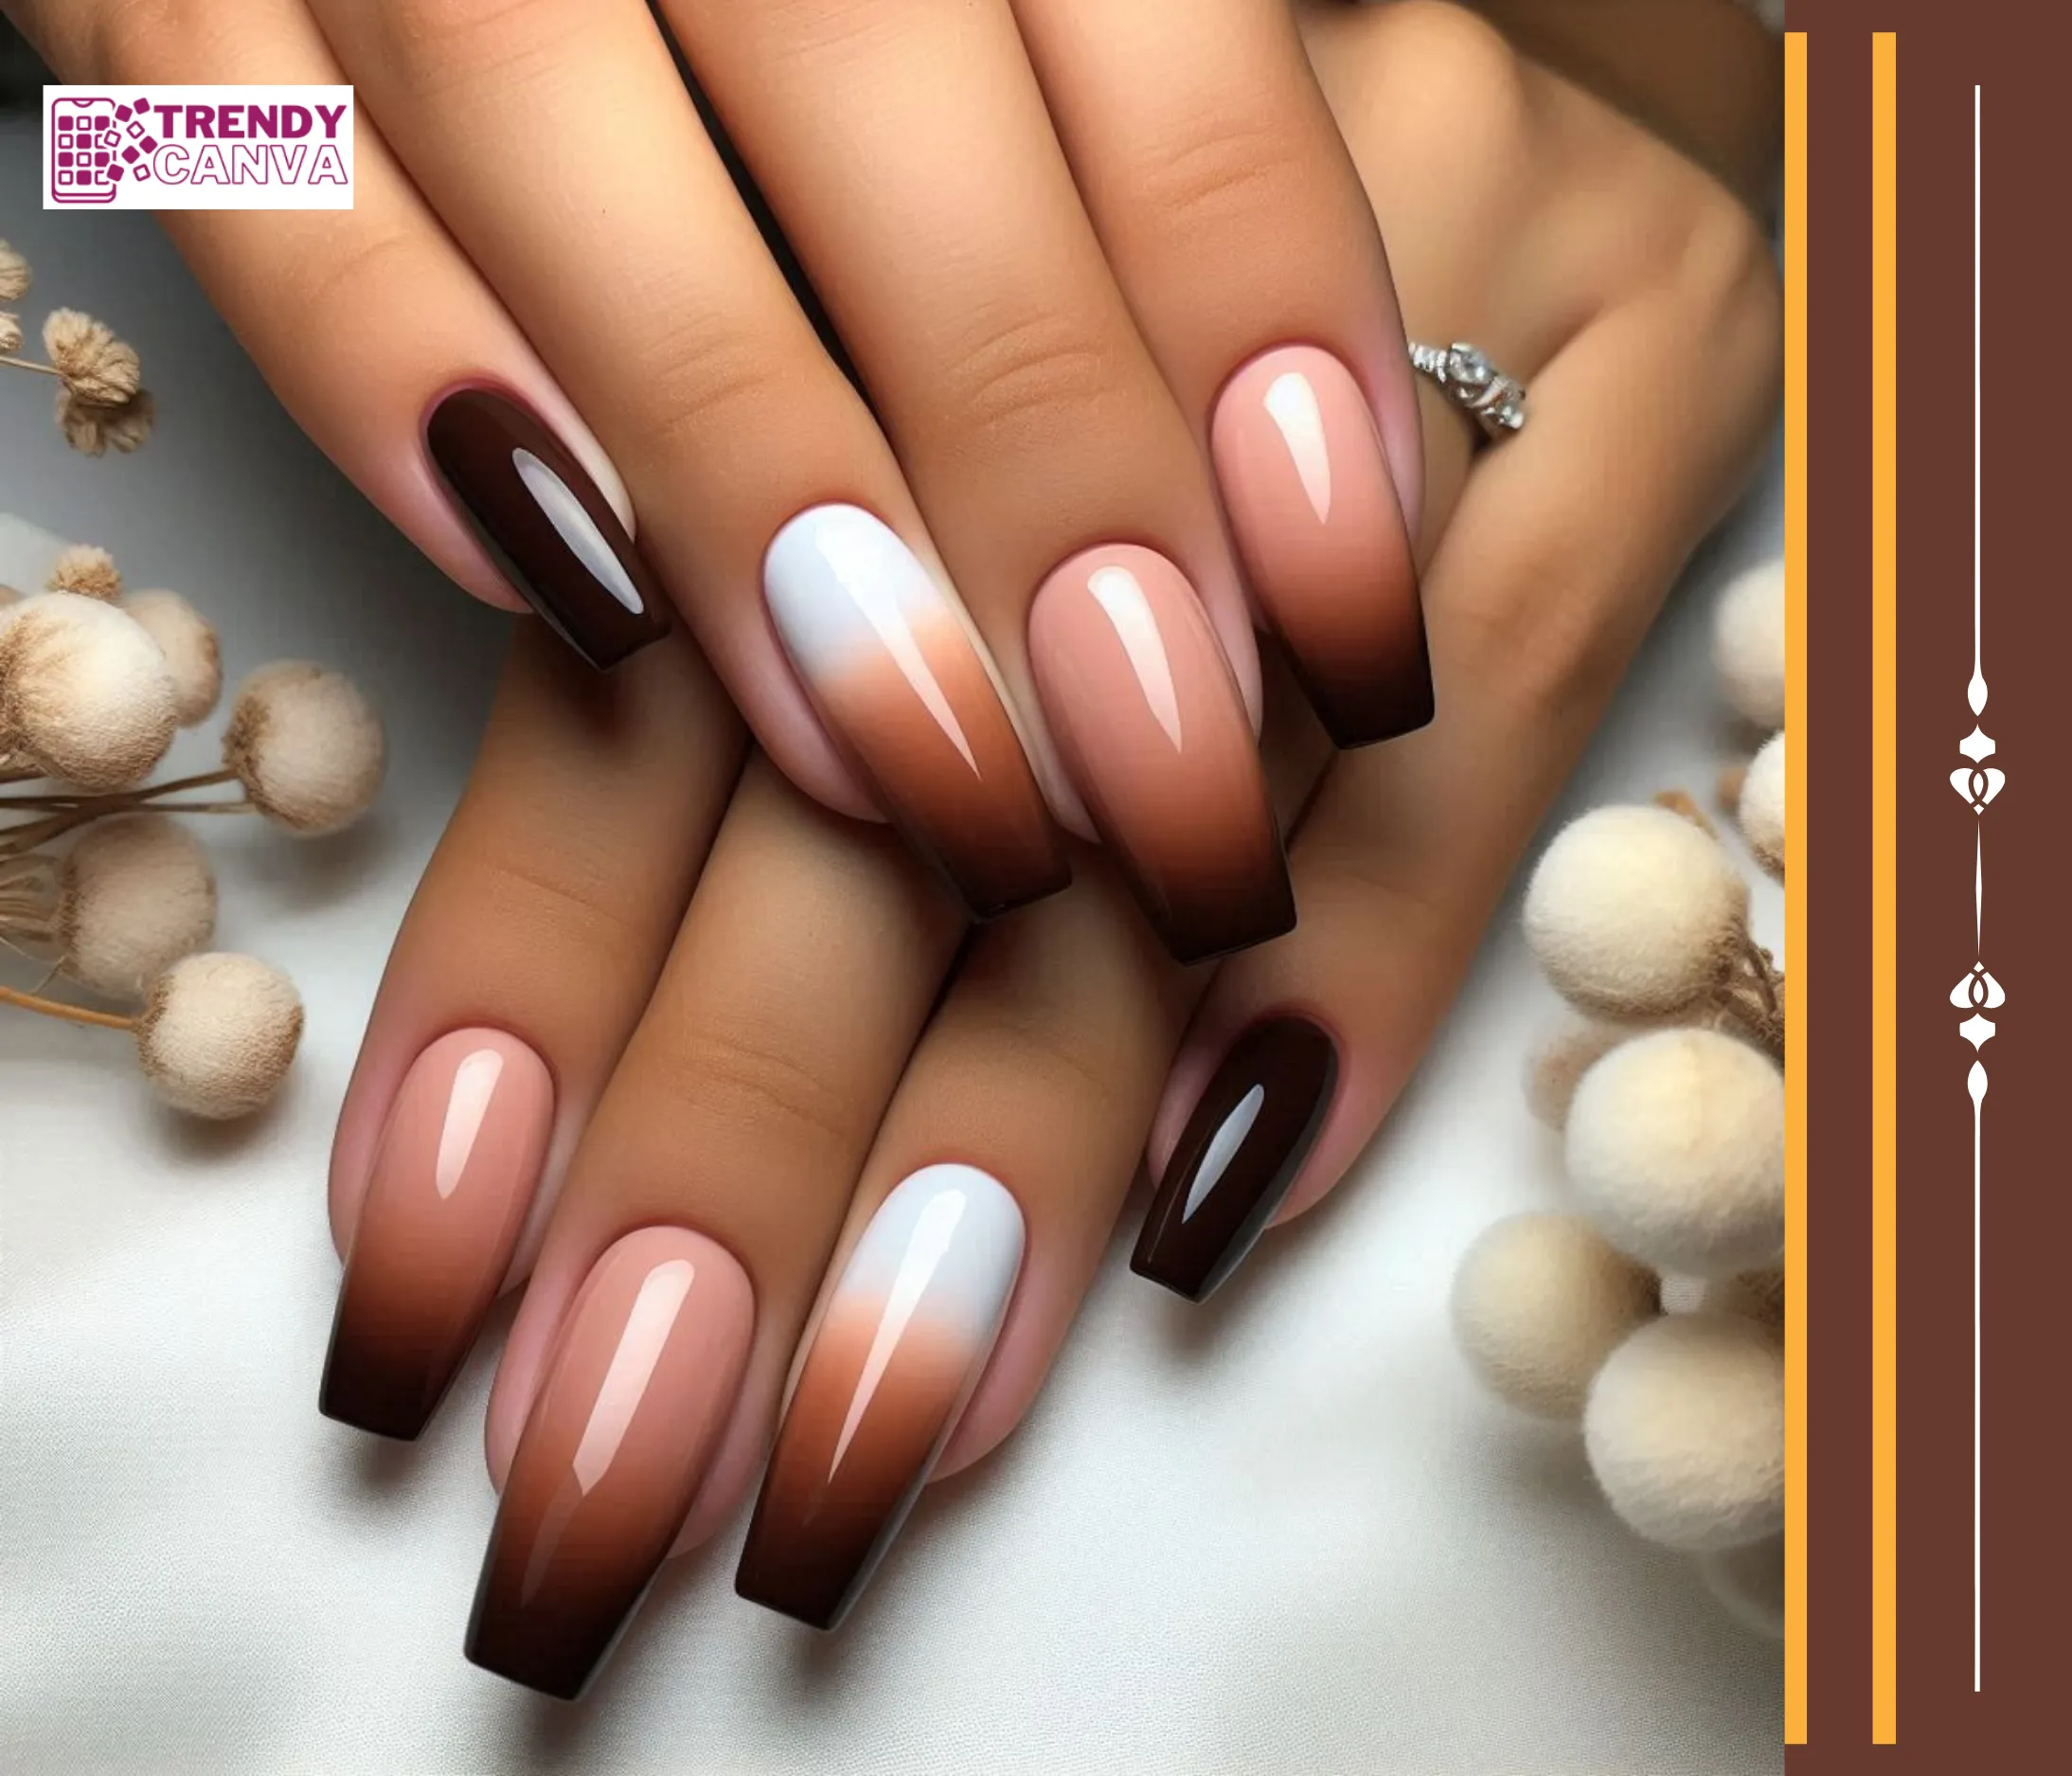
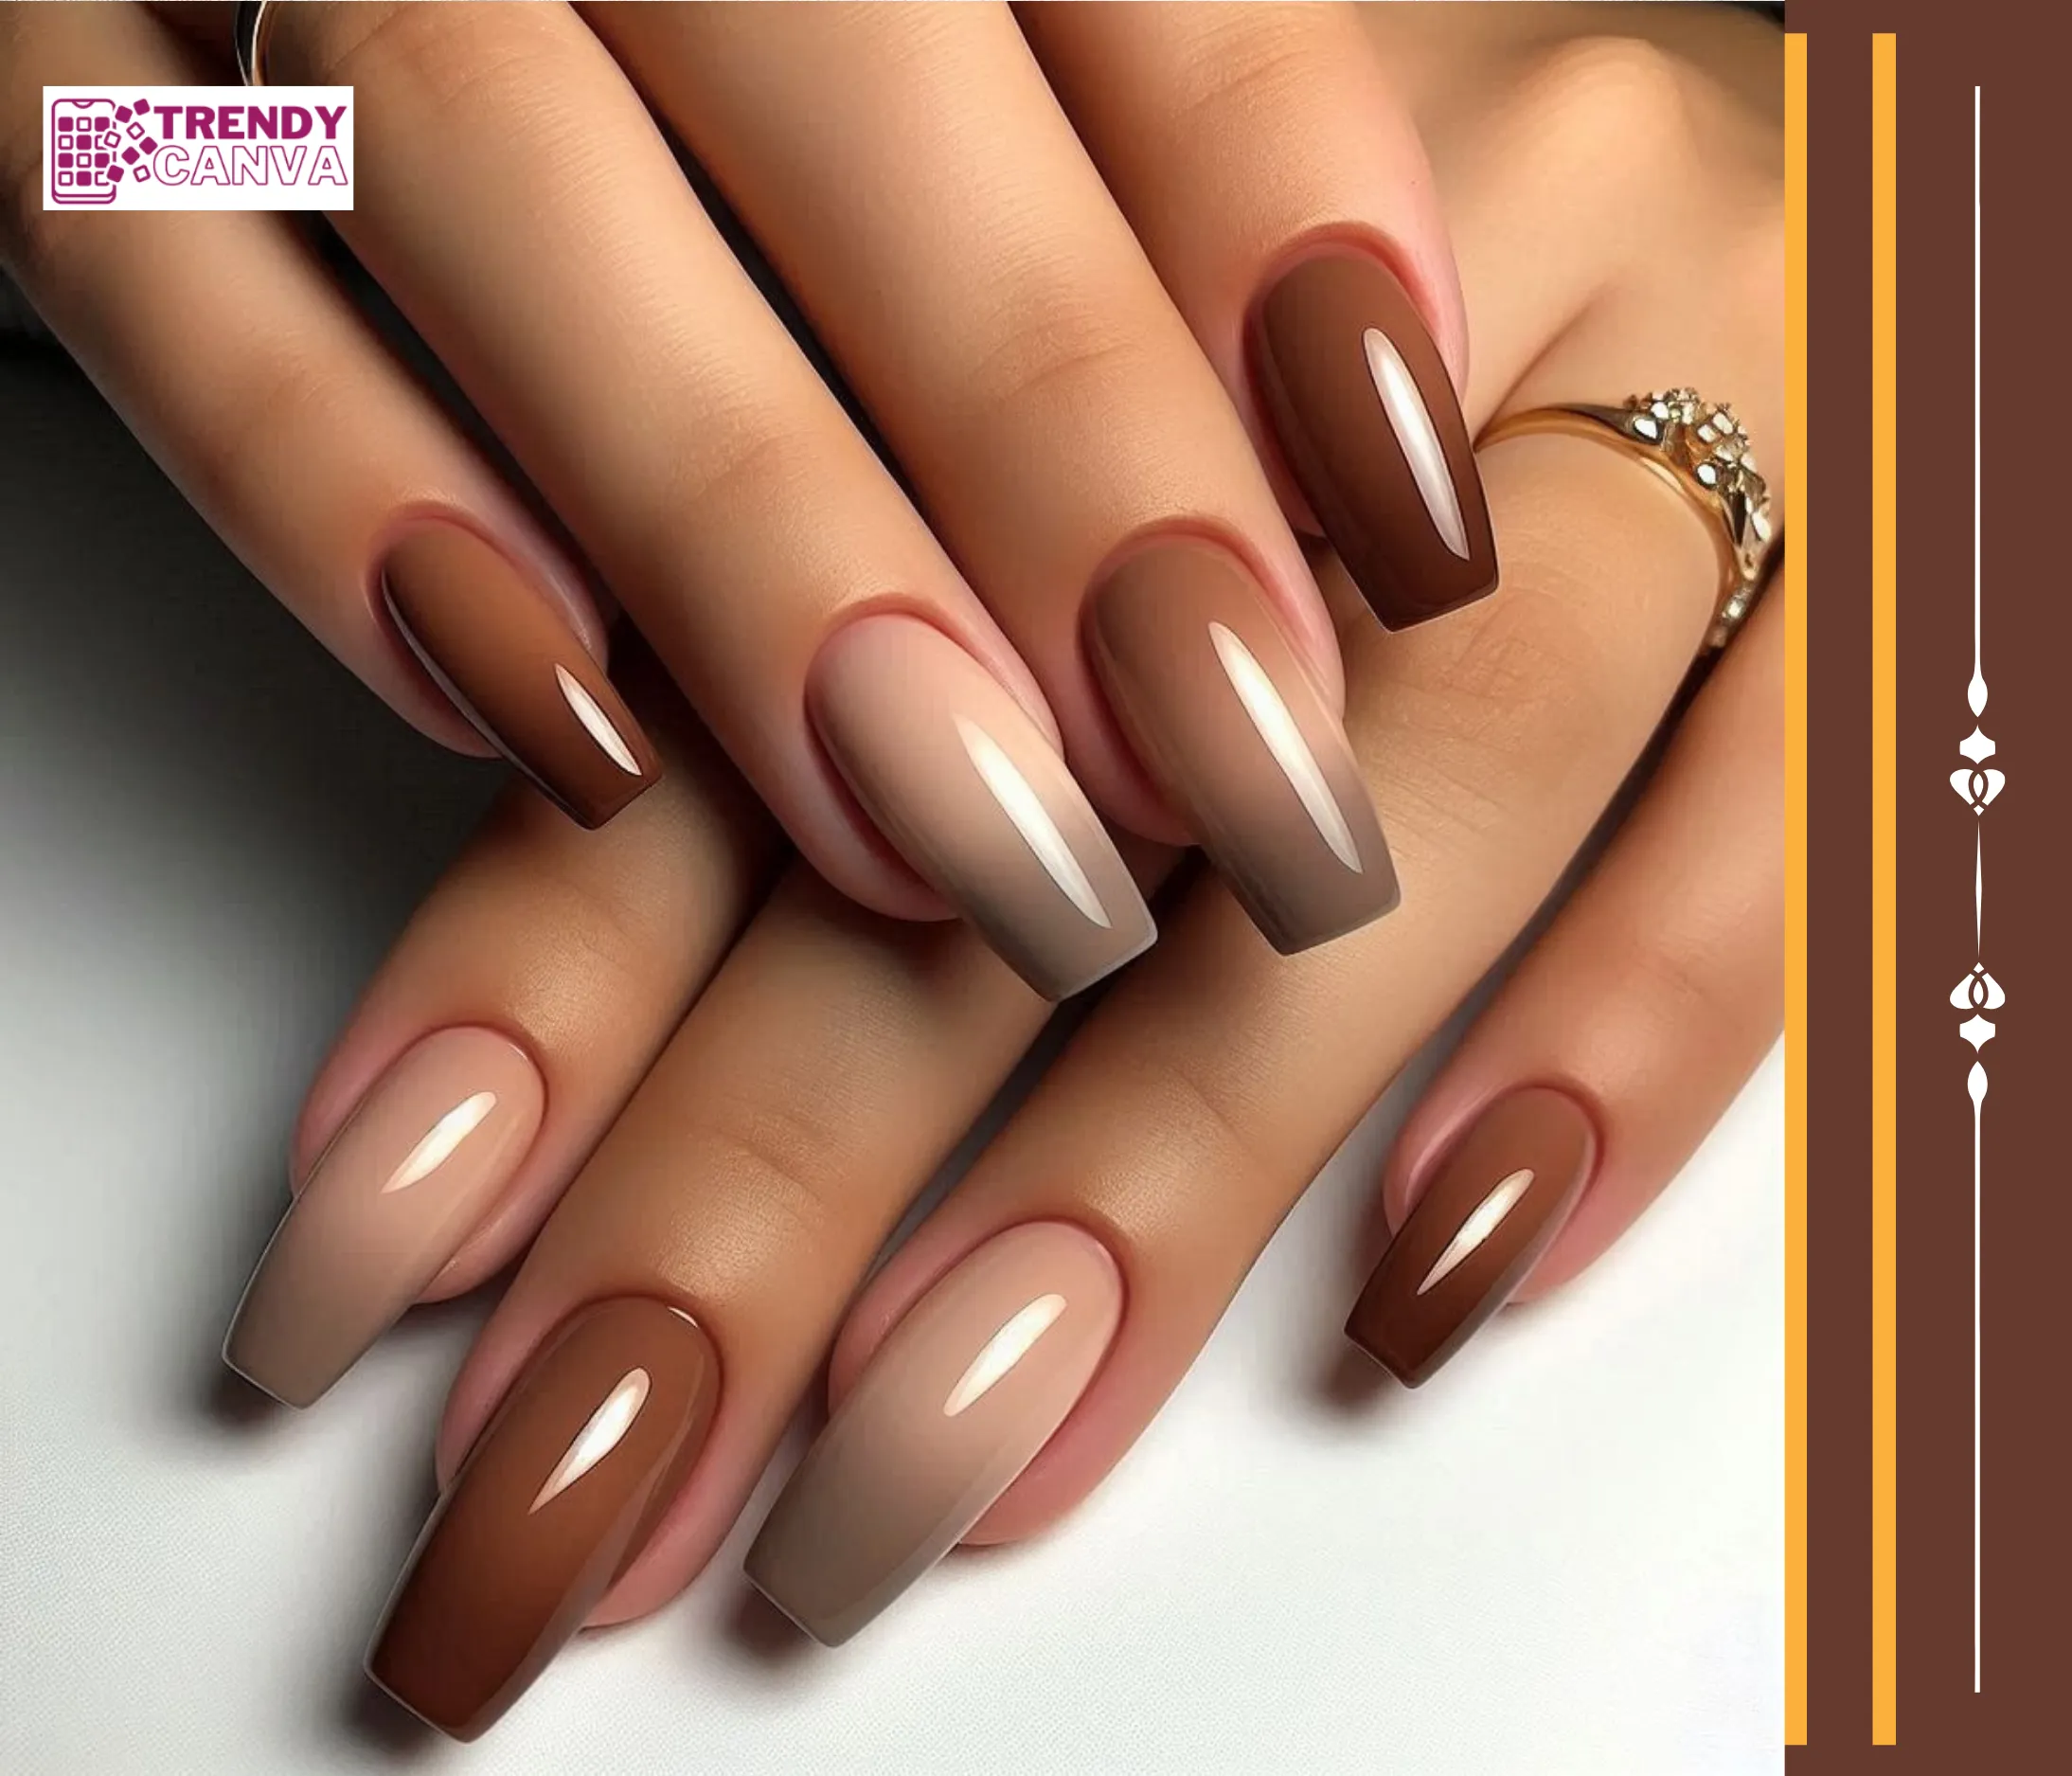
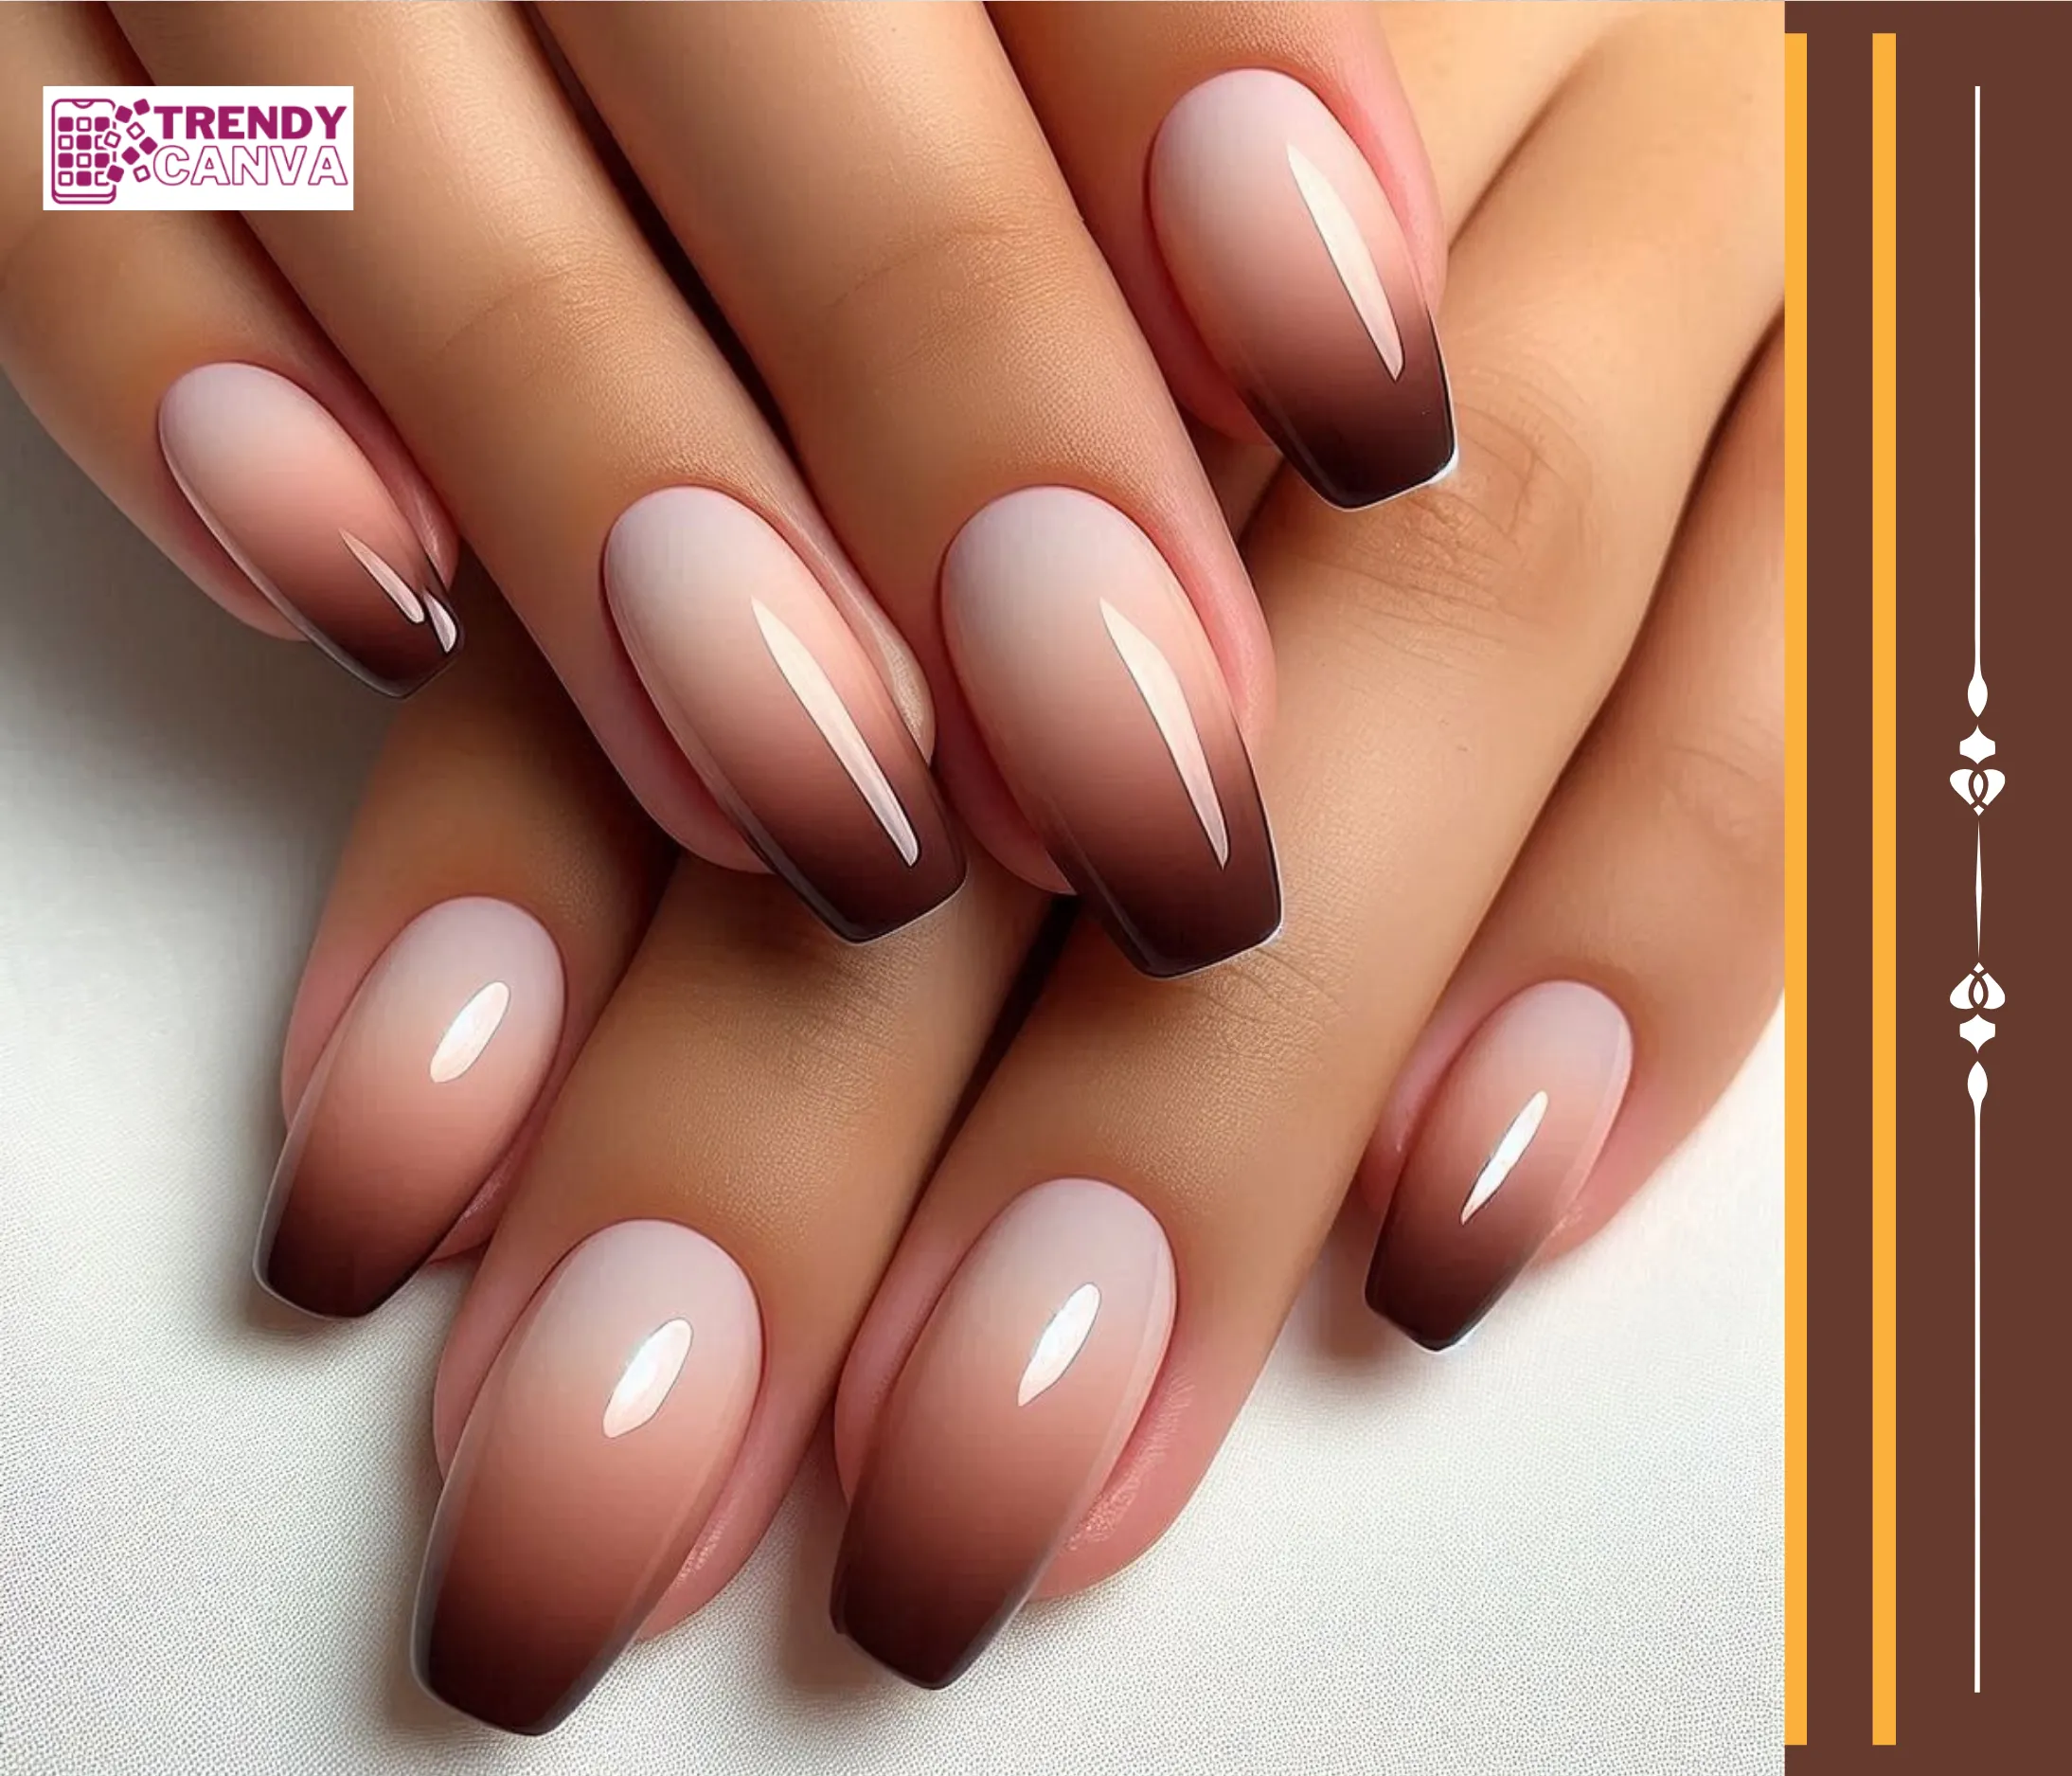
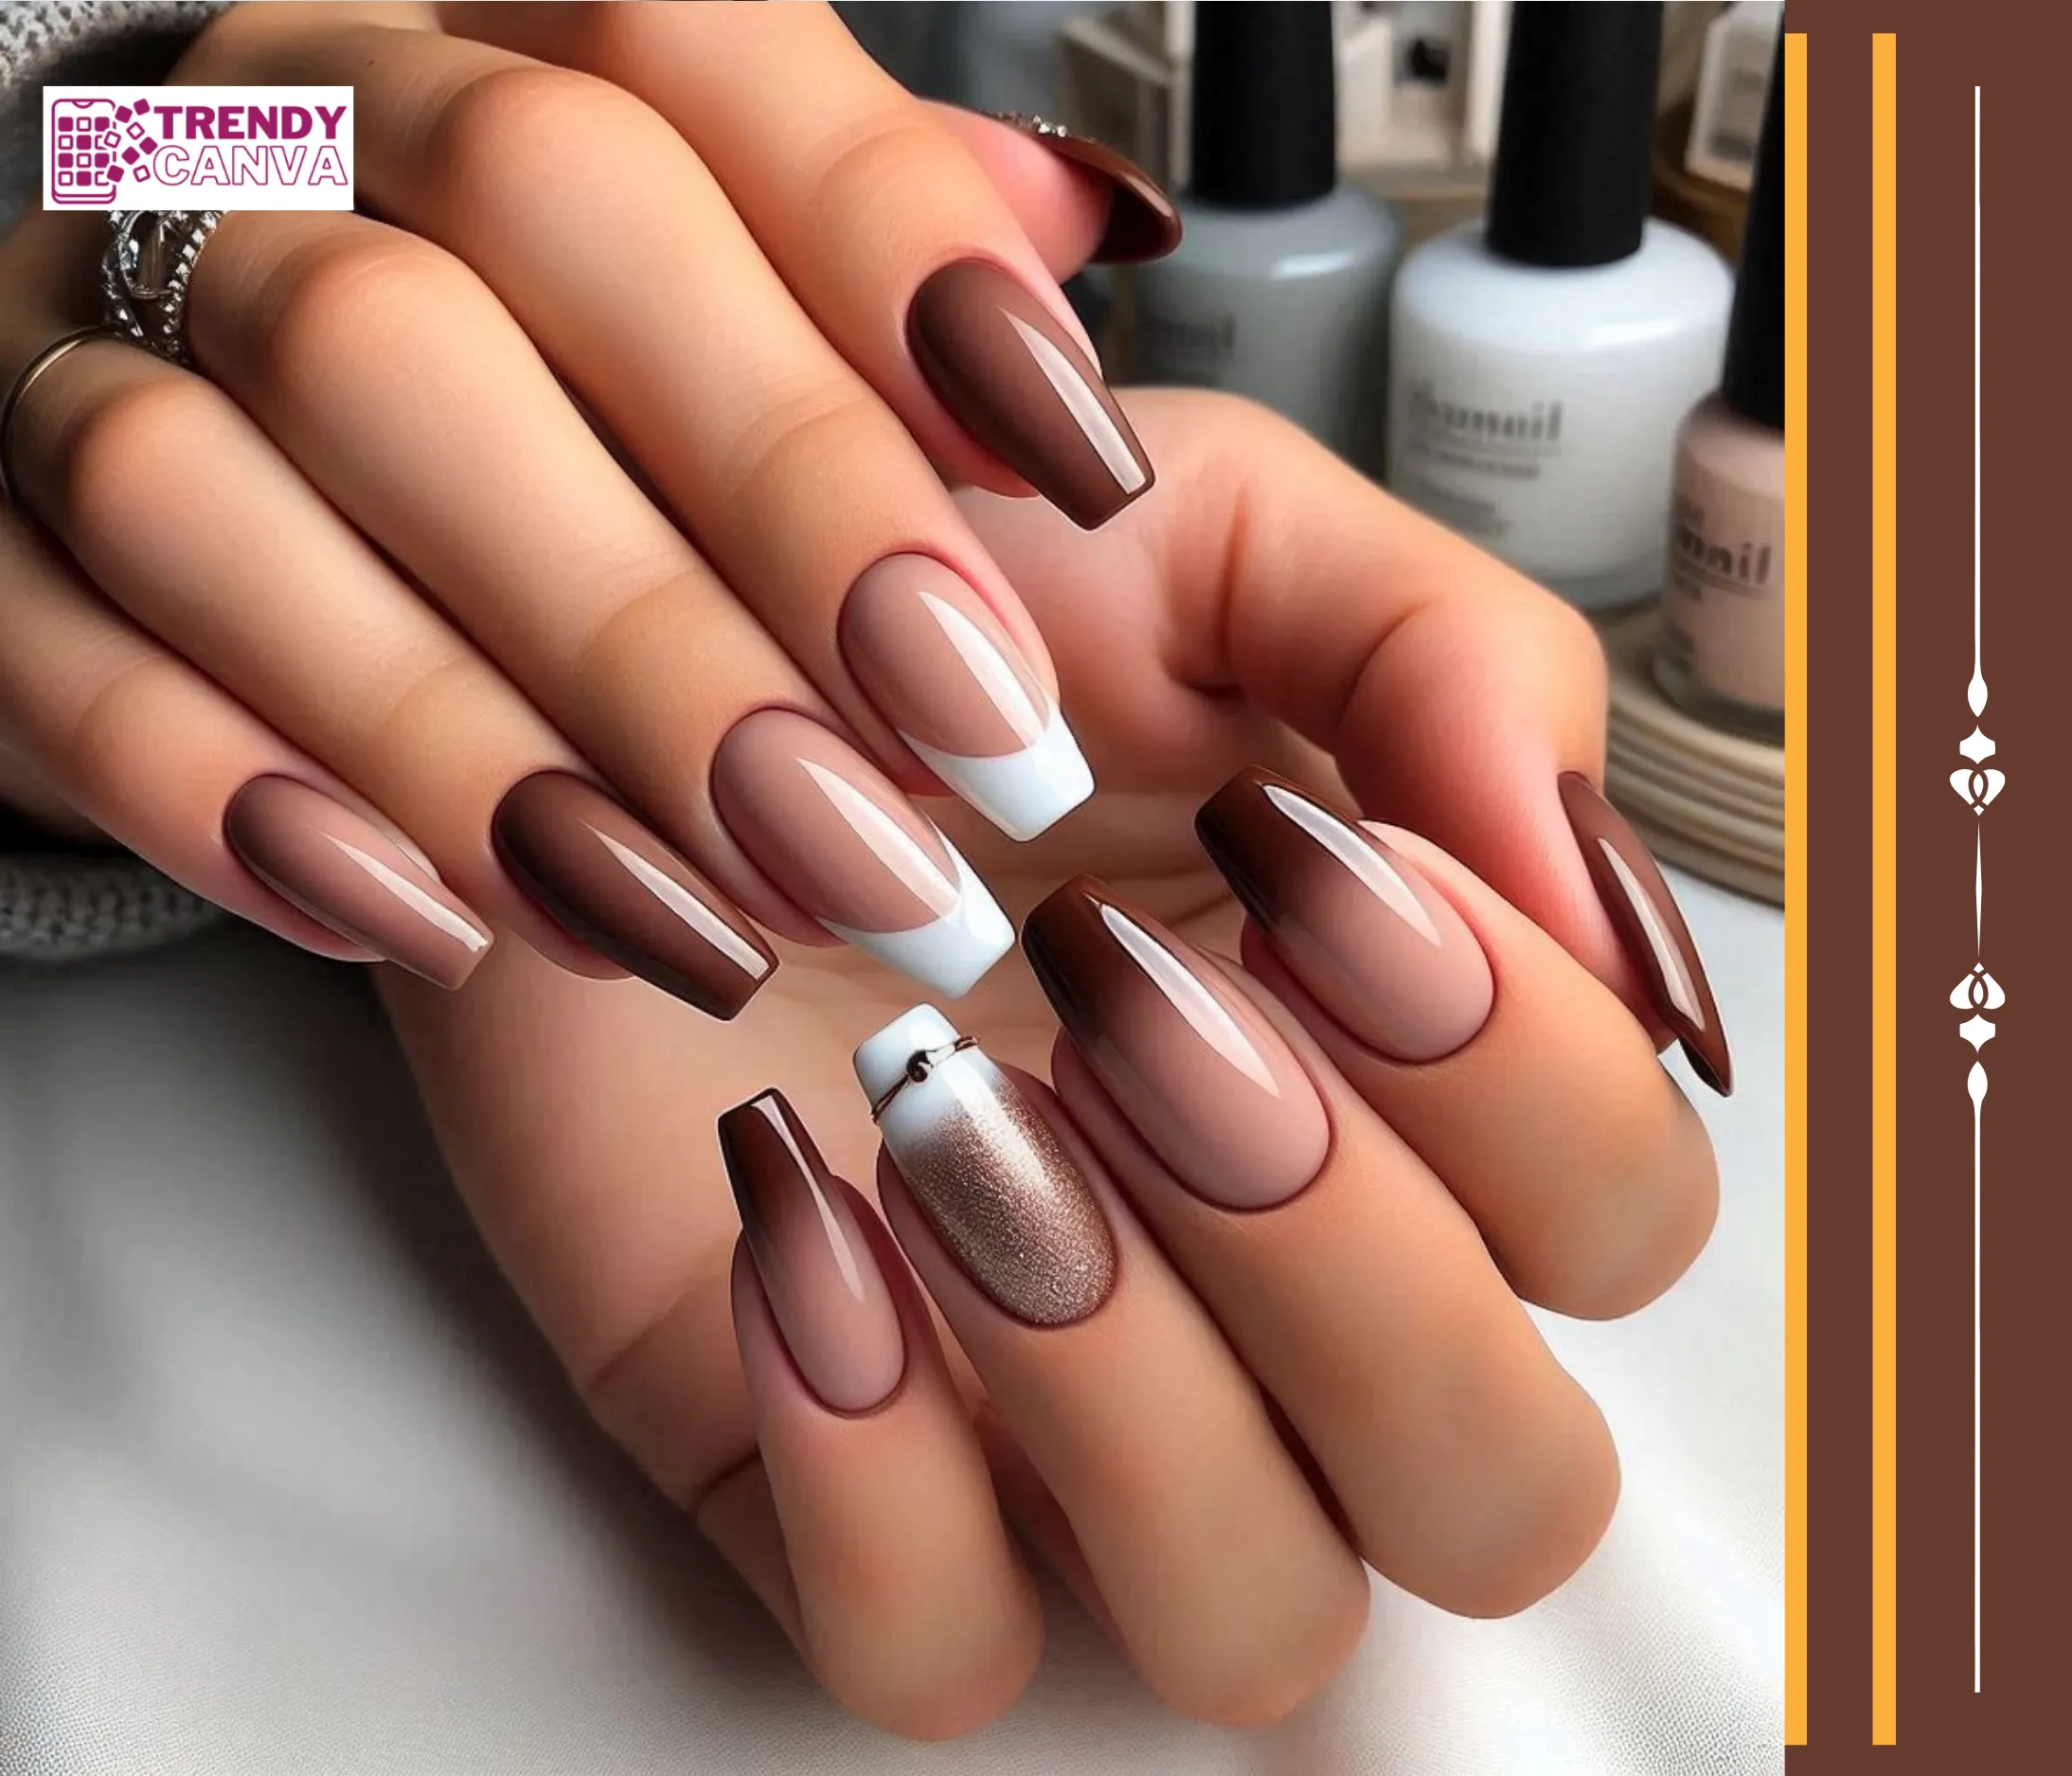
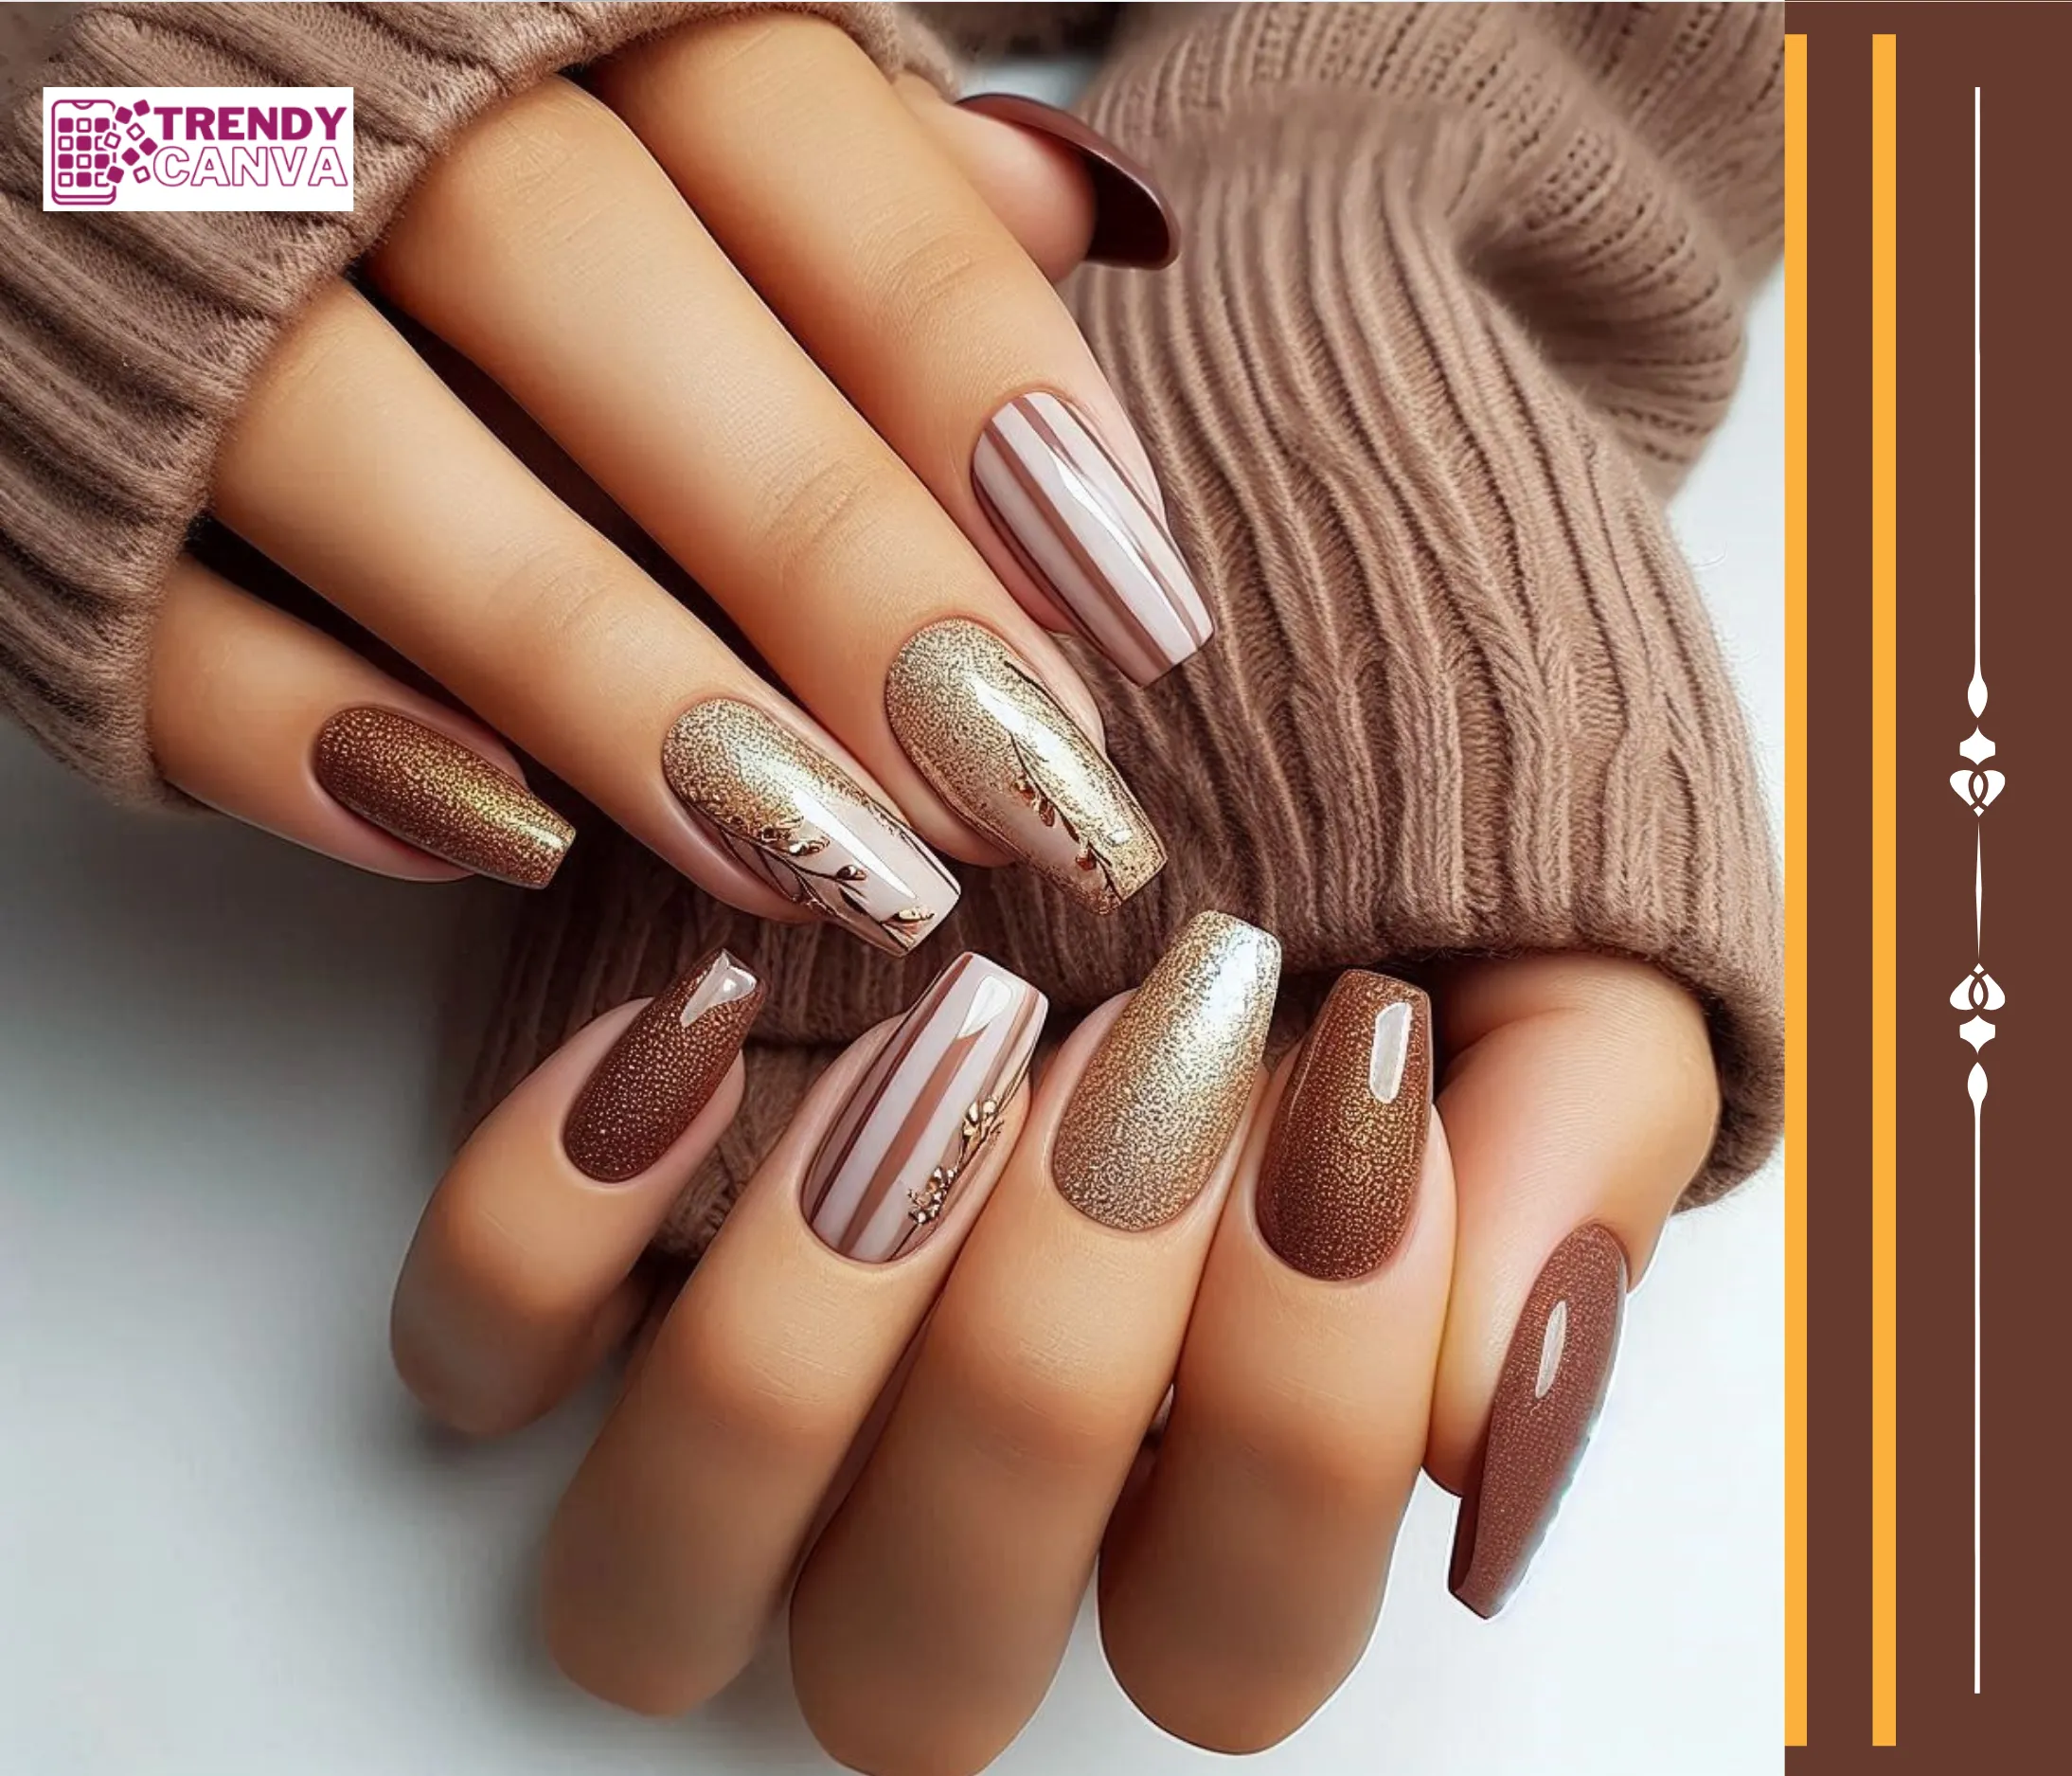
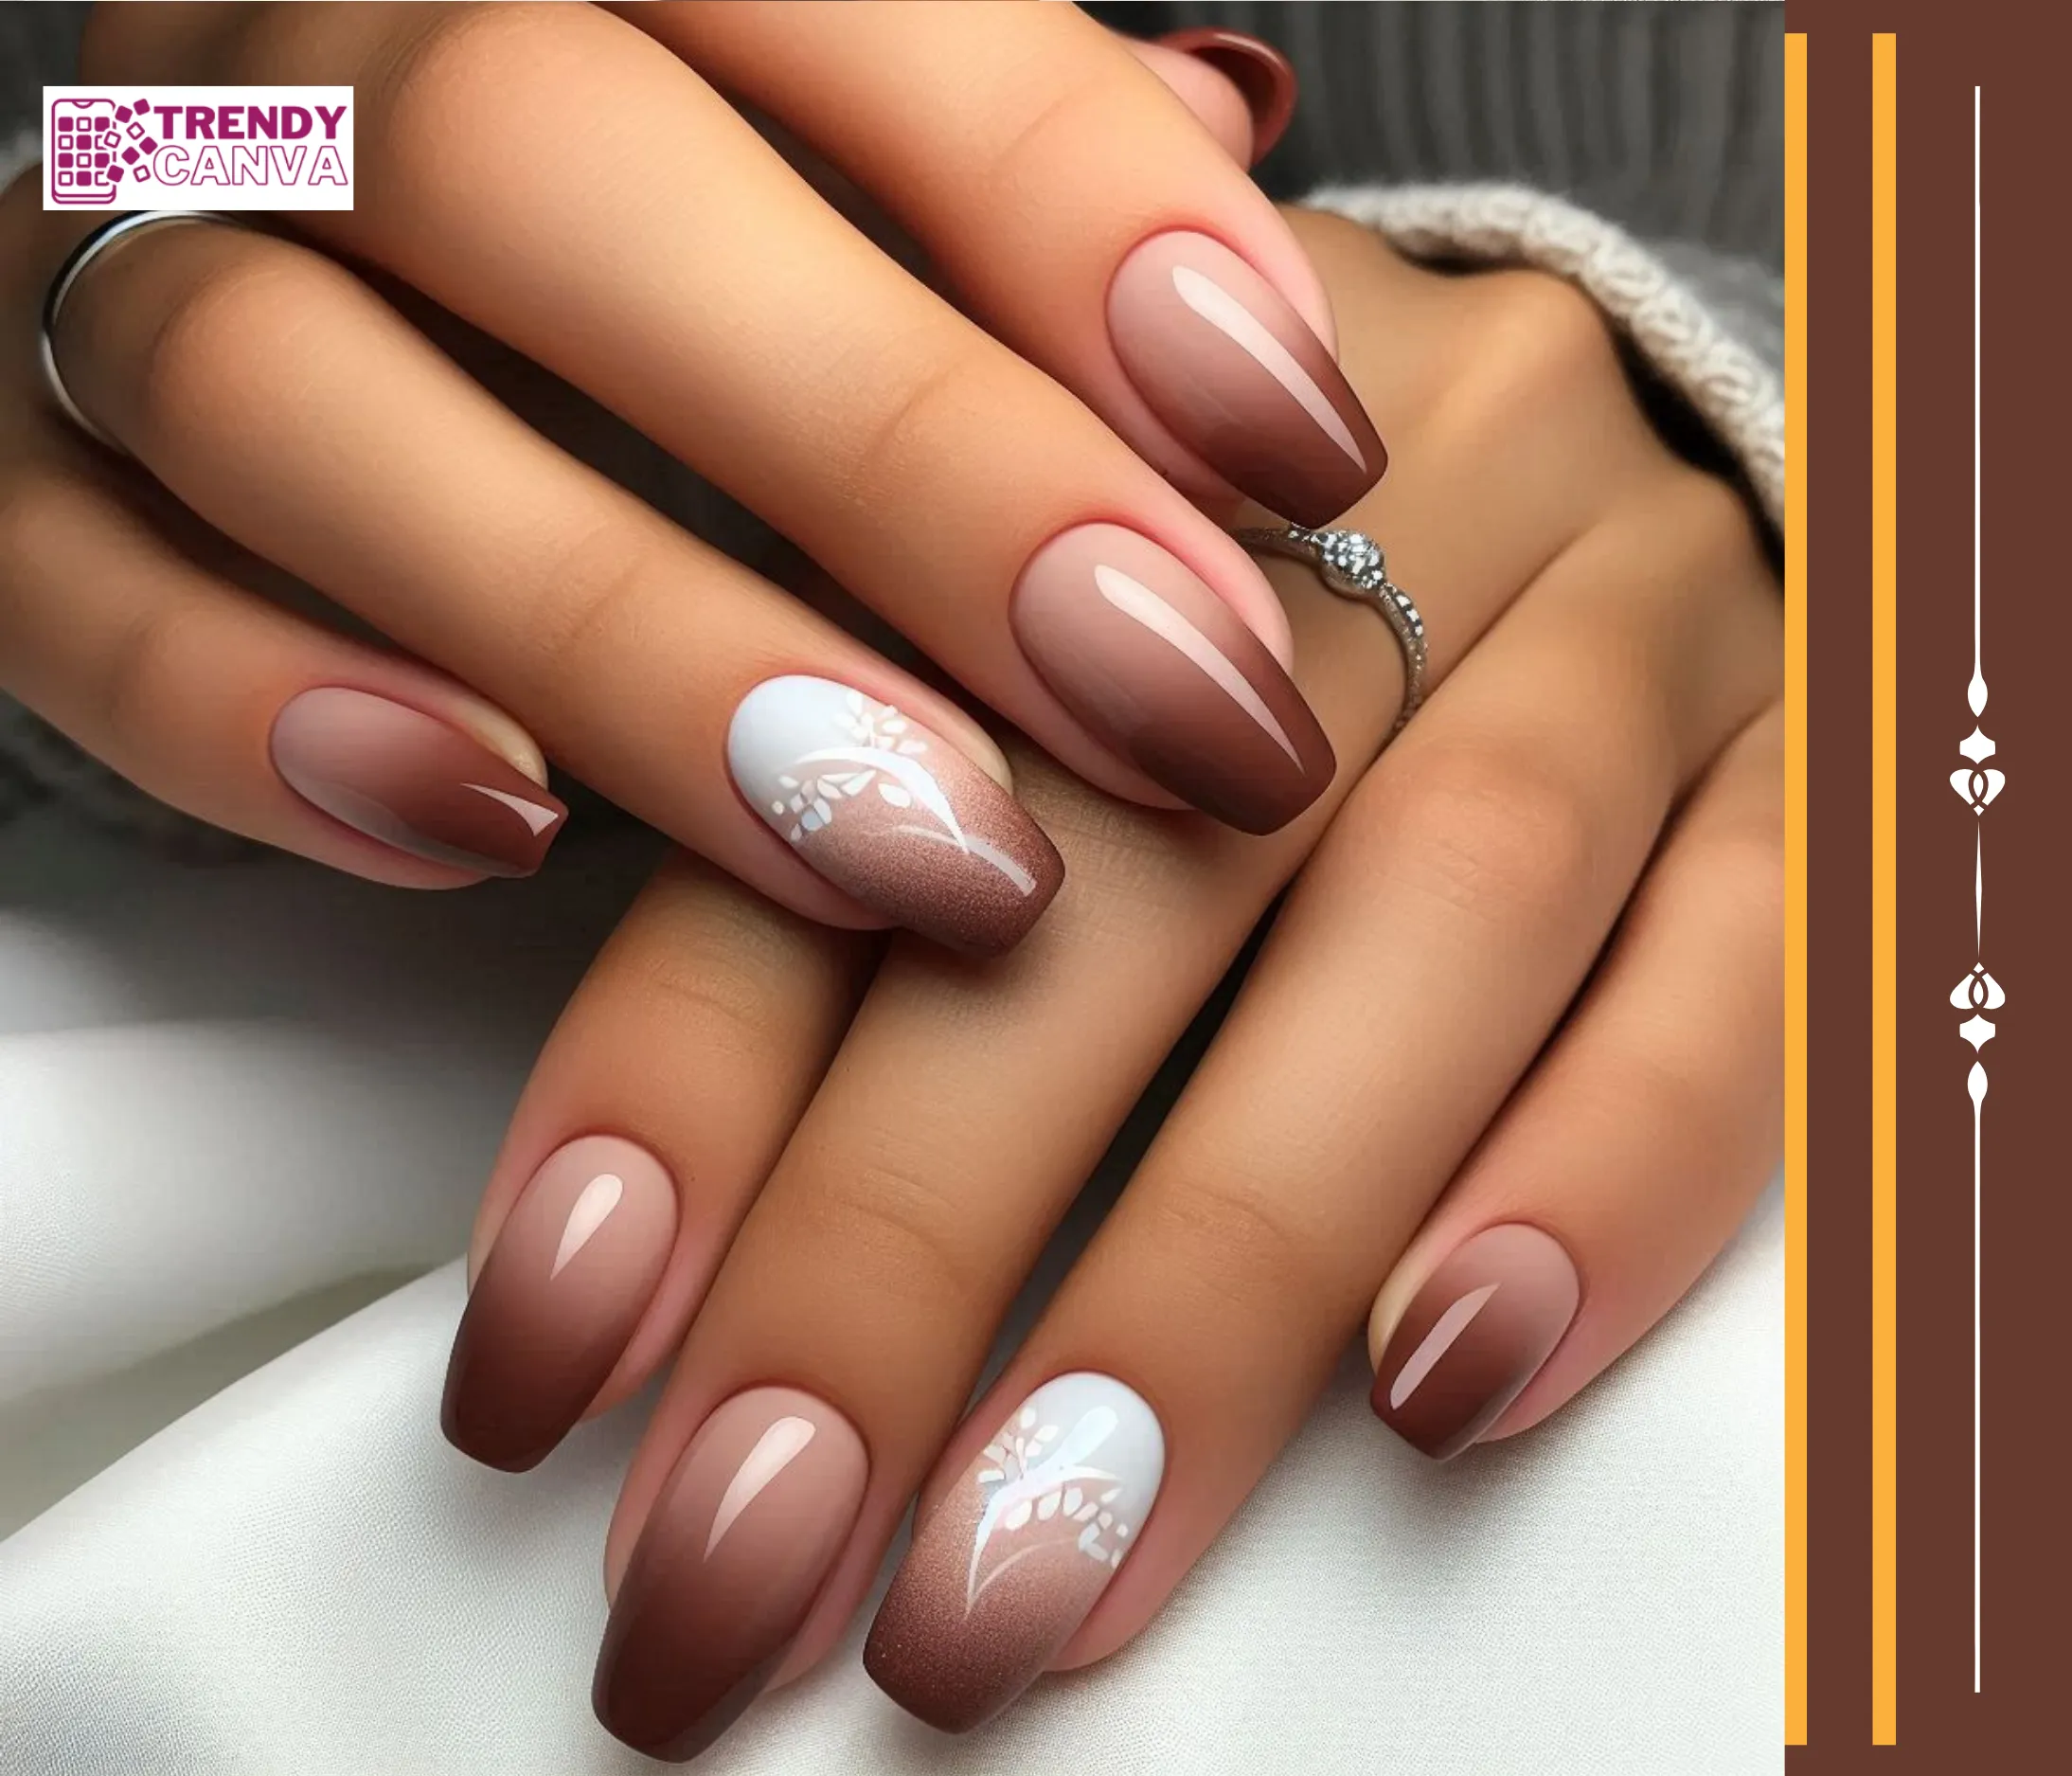
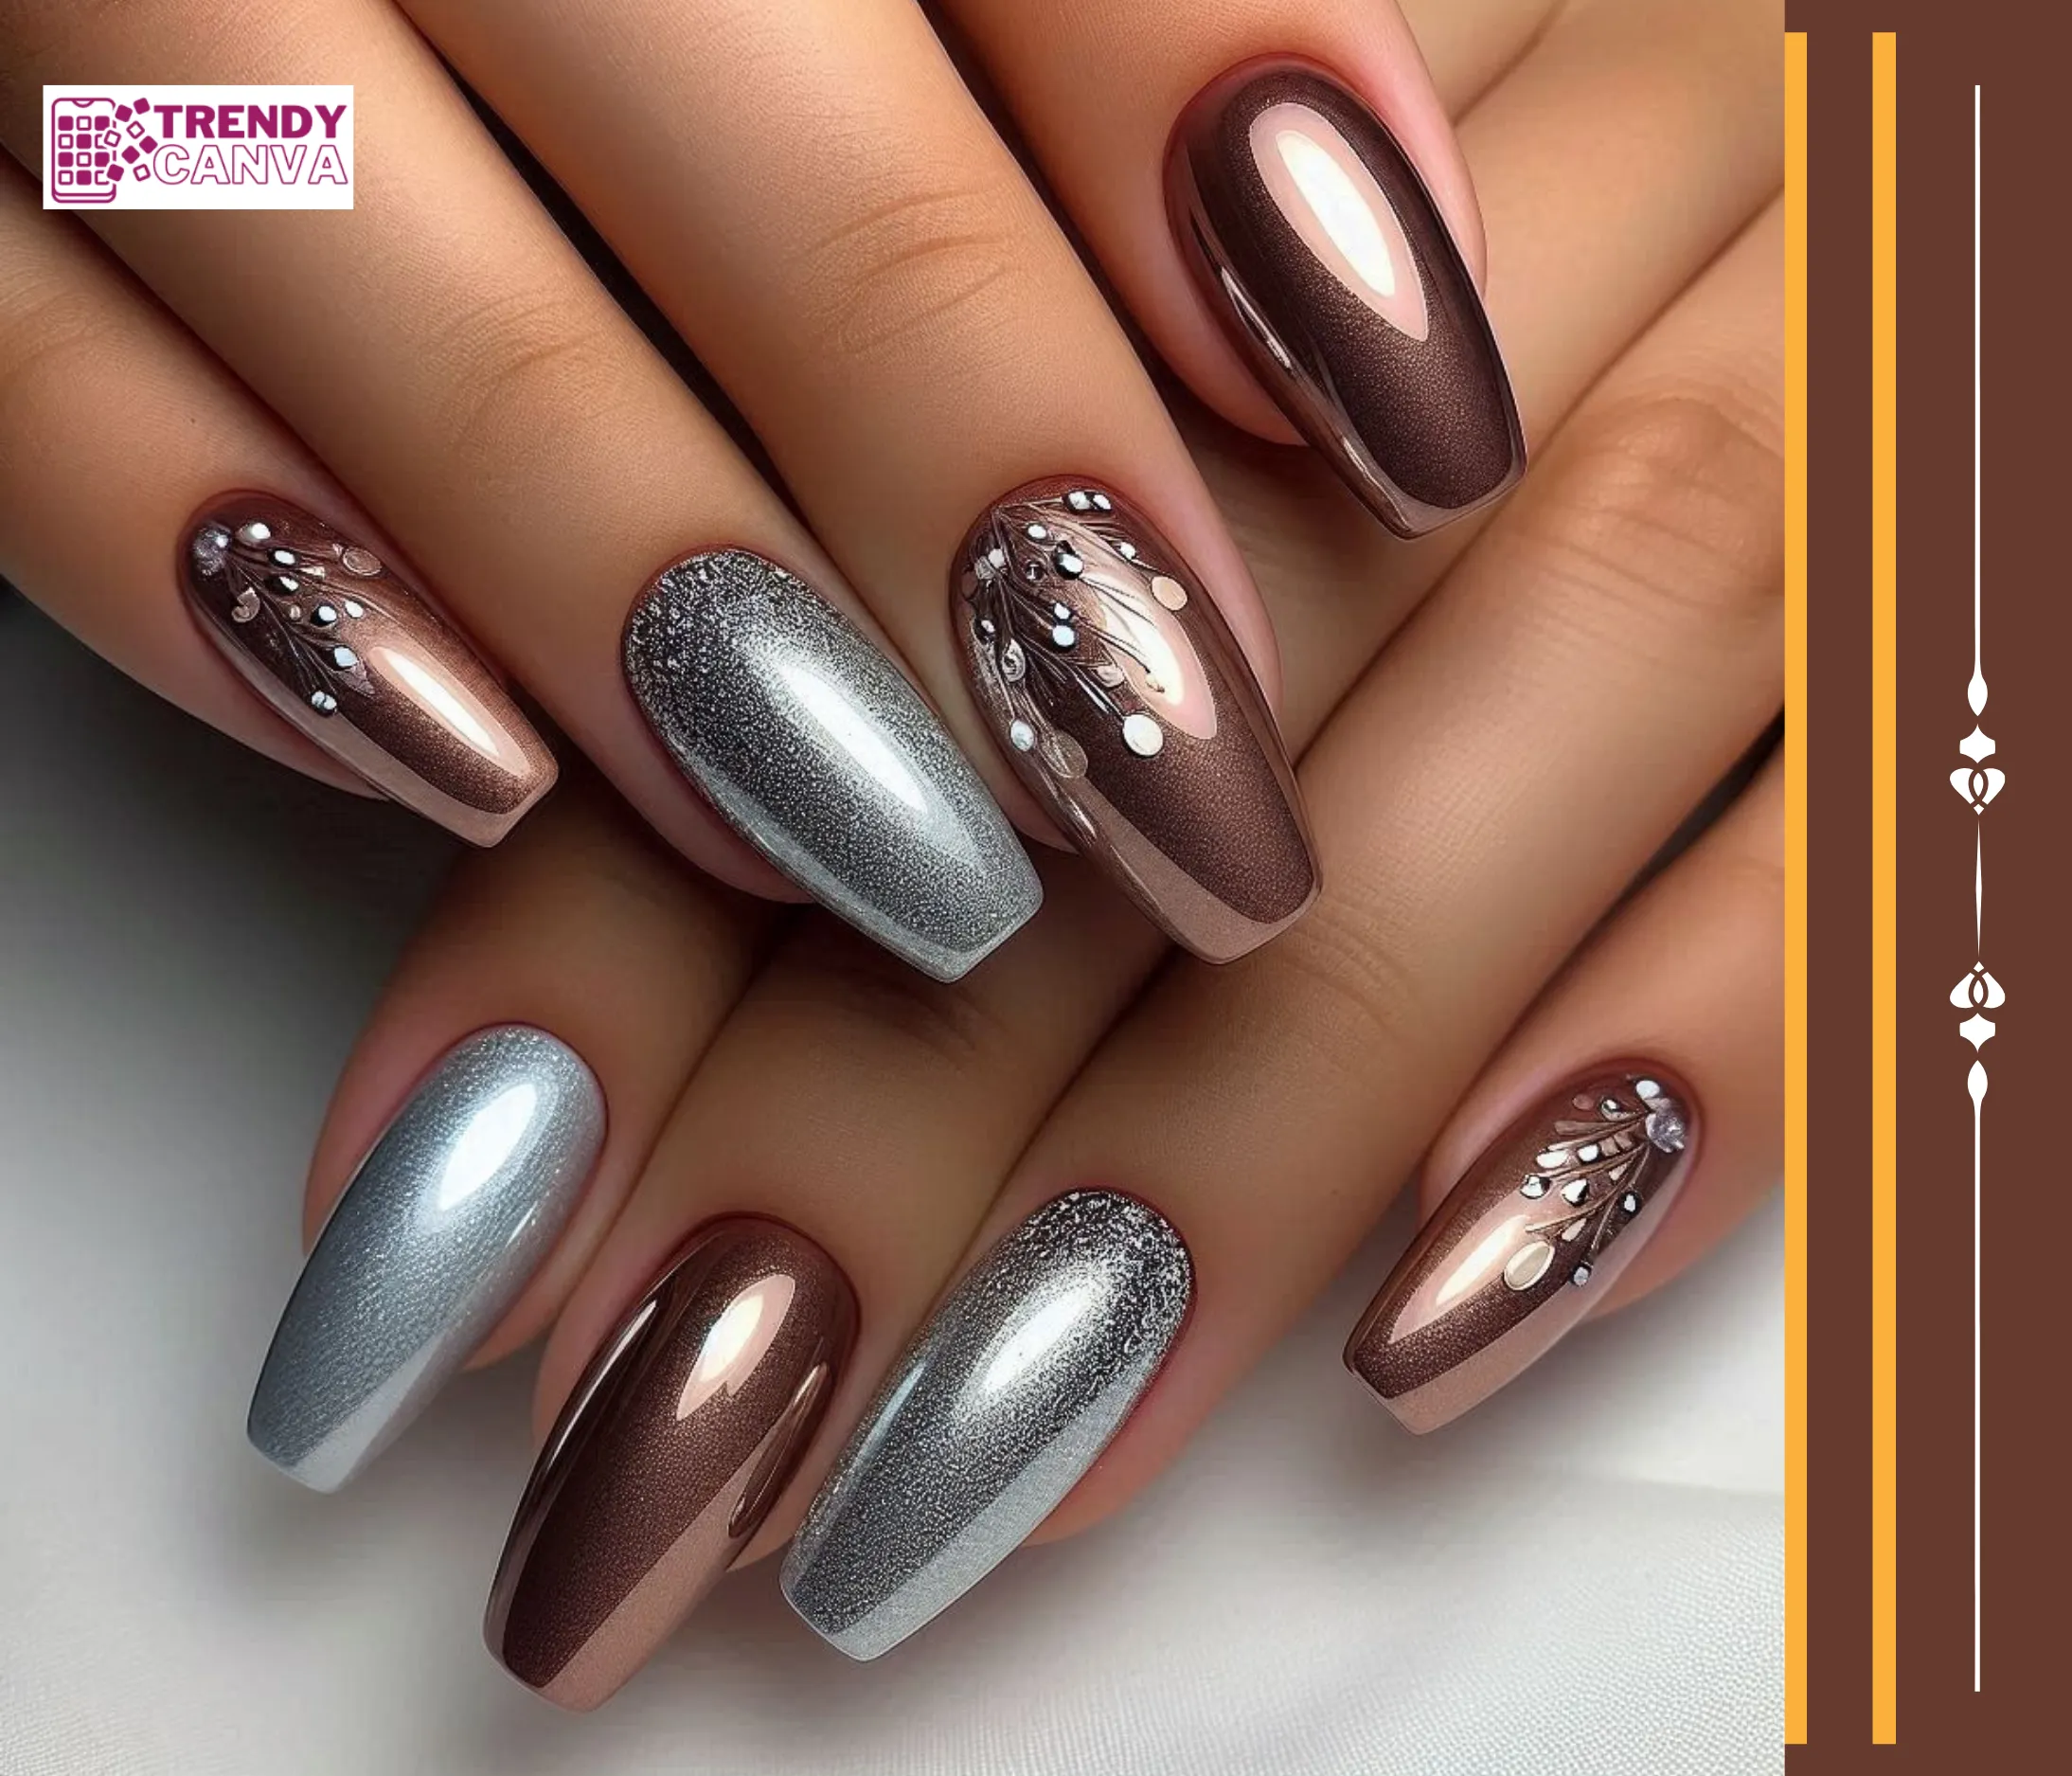
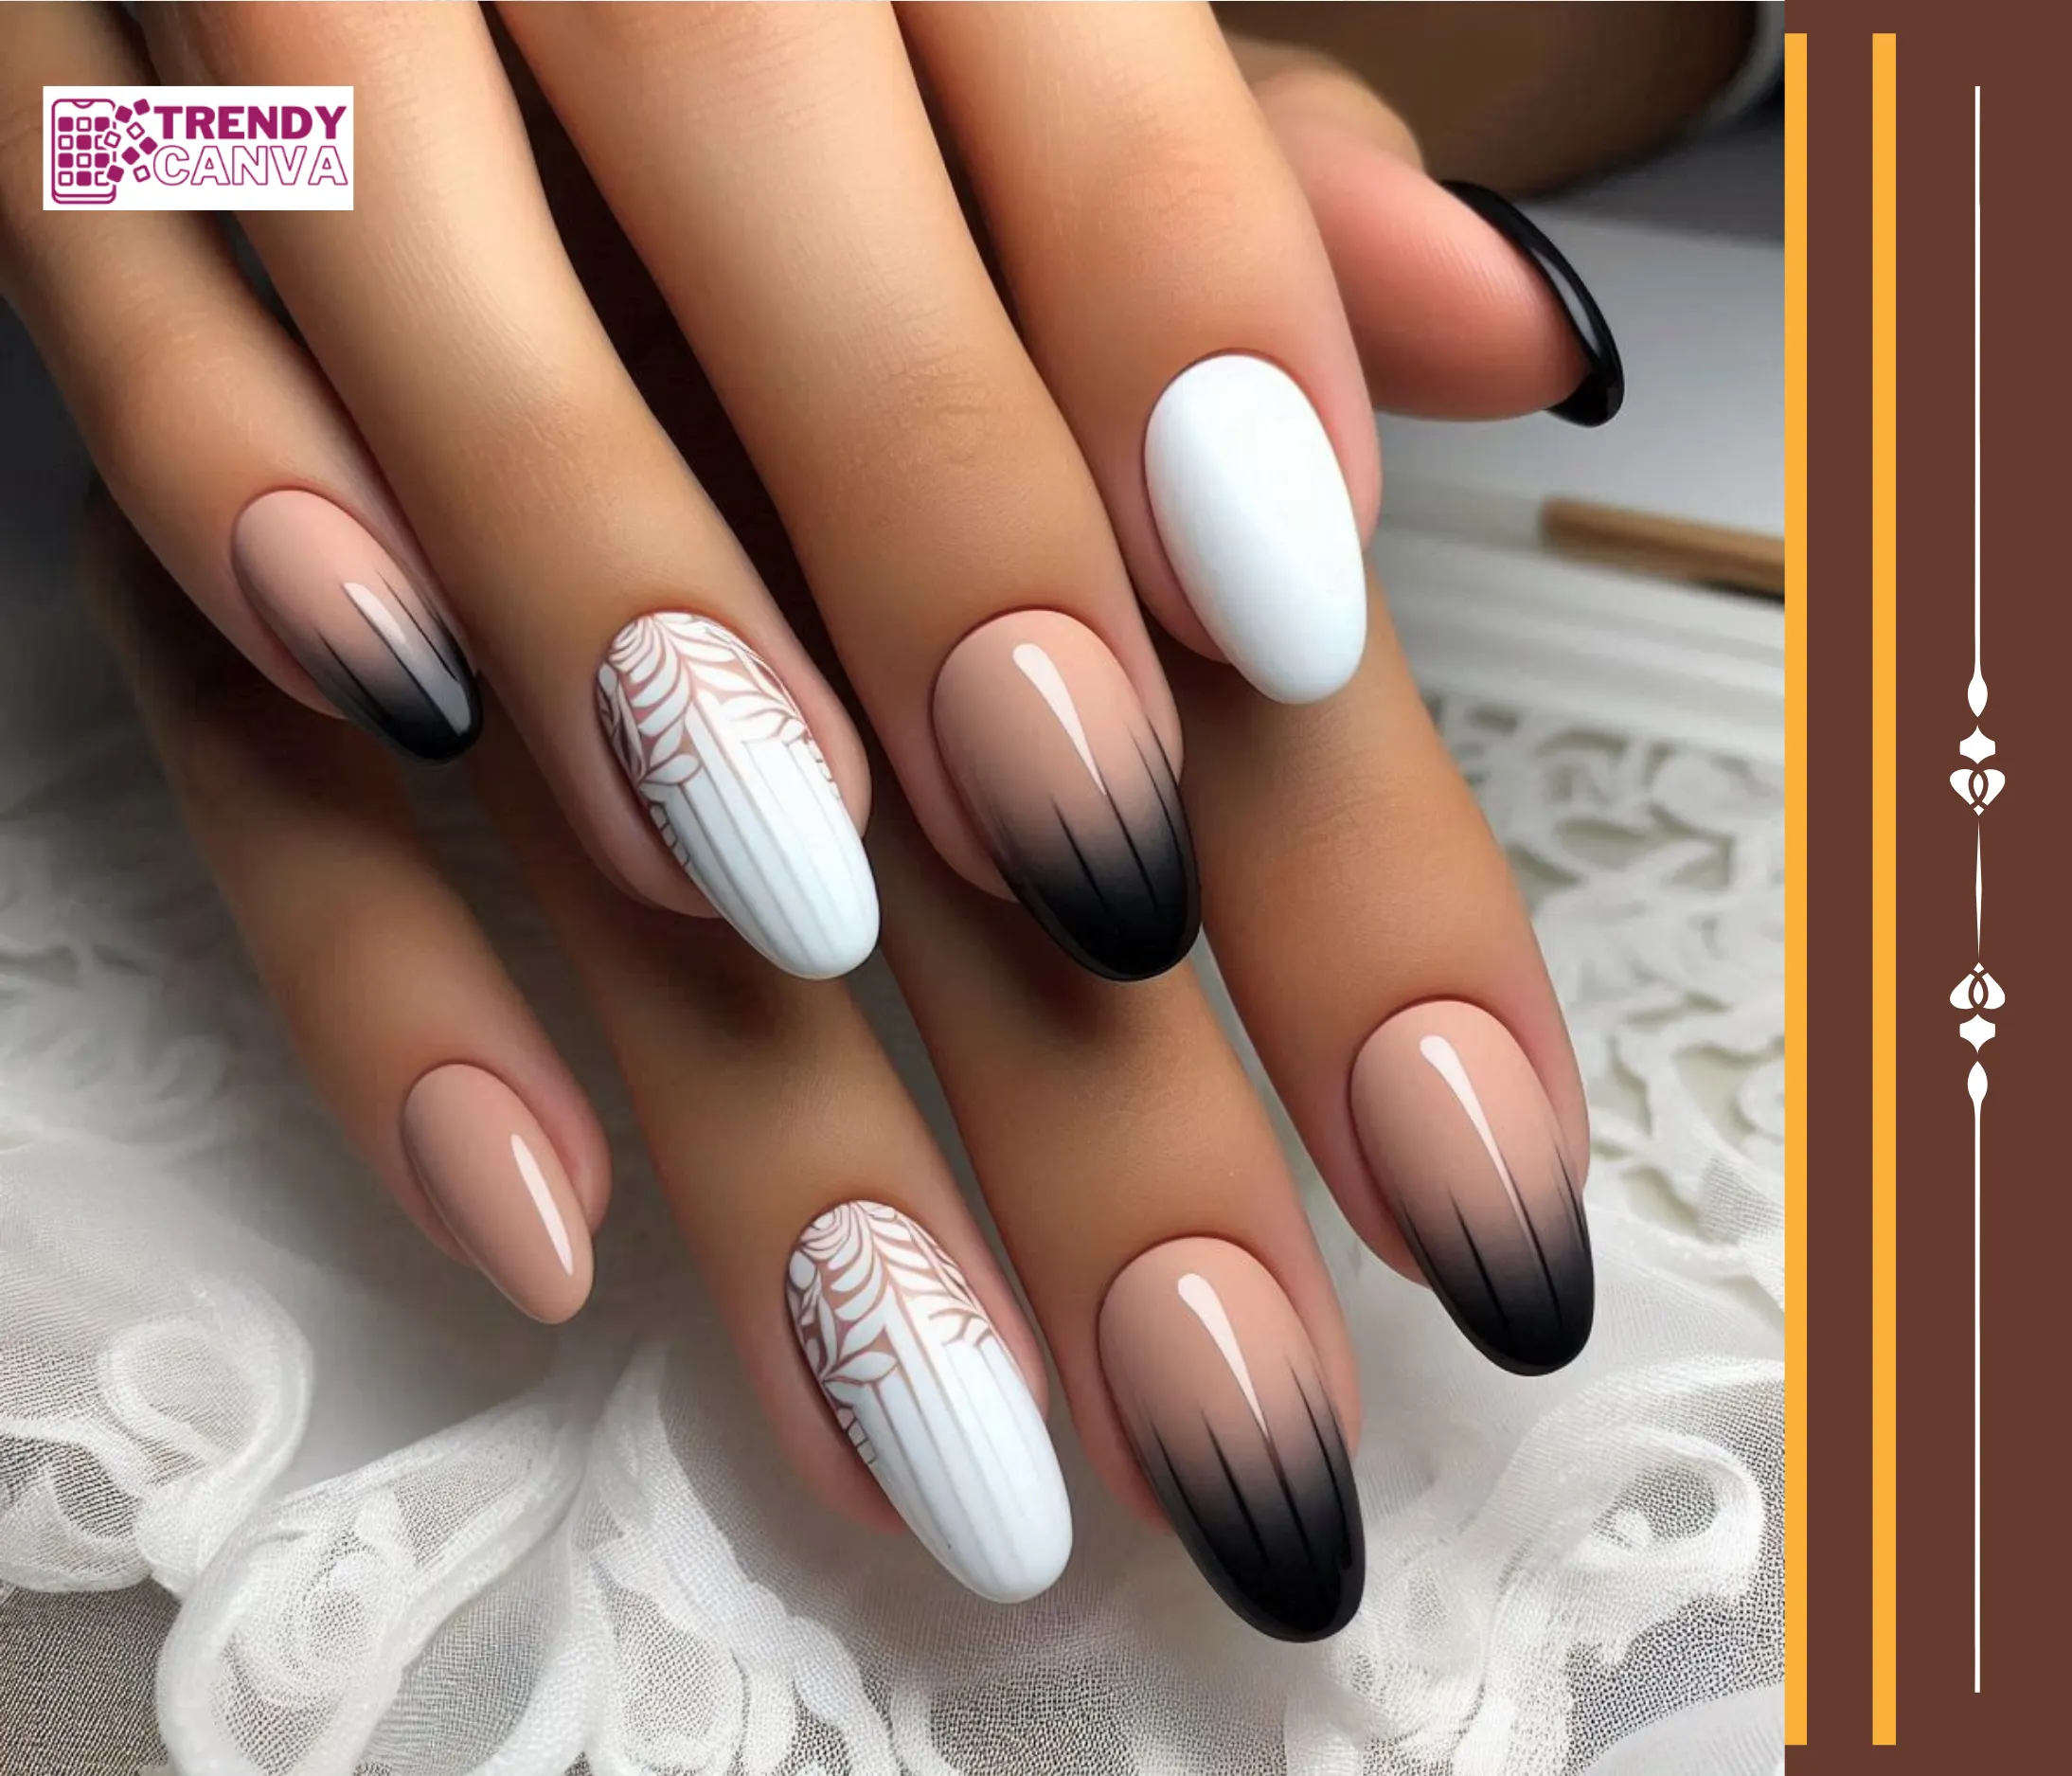
1. Classic Brown Ombre Nails
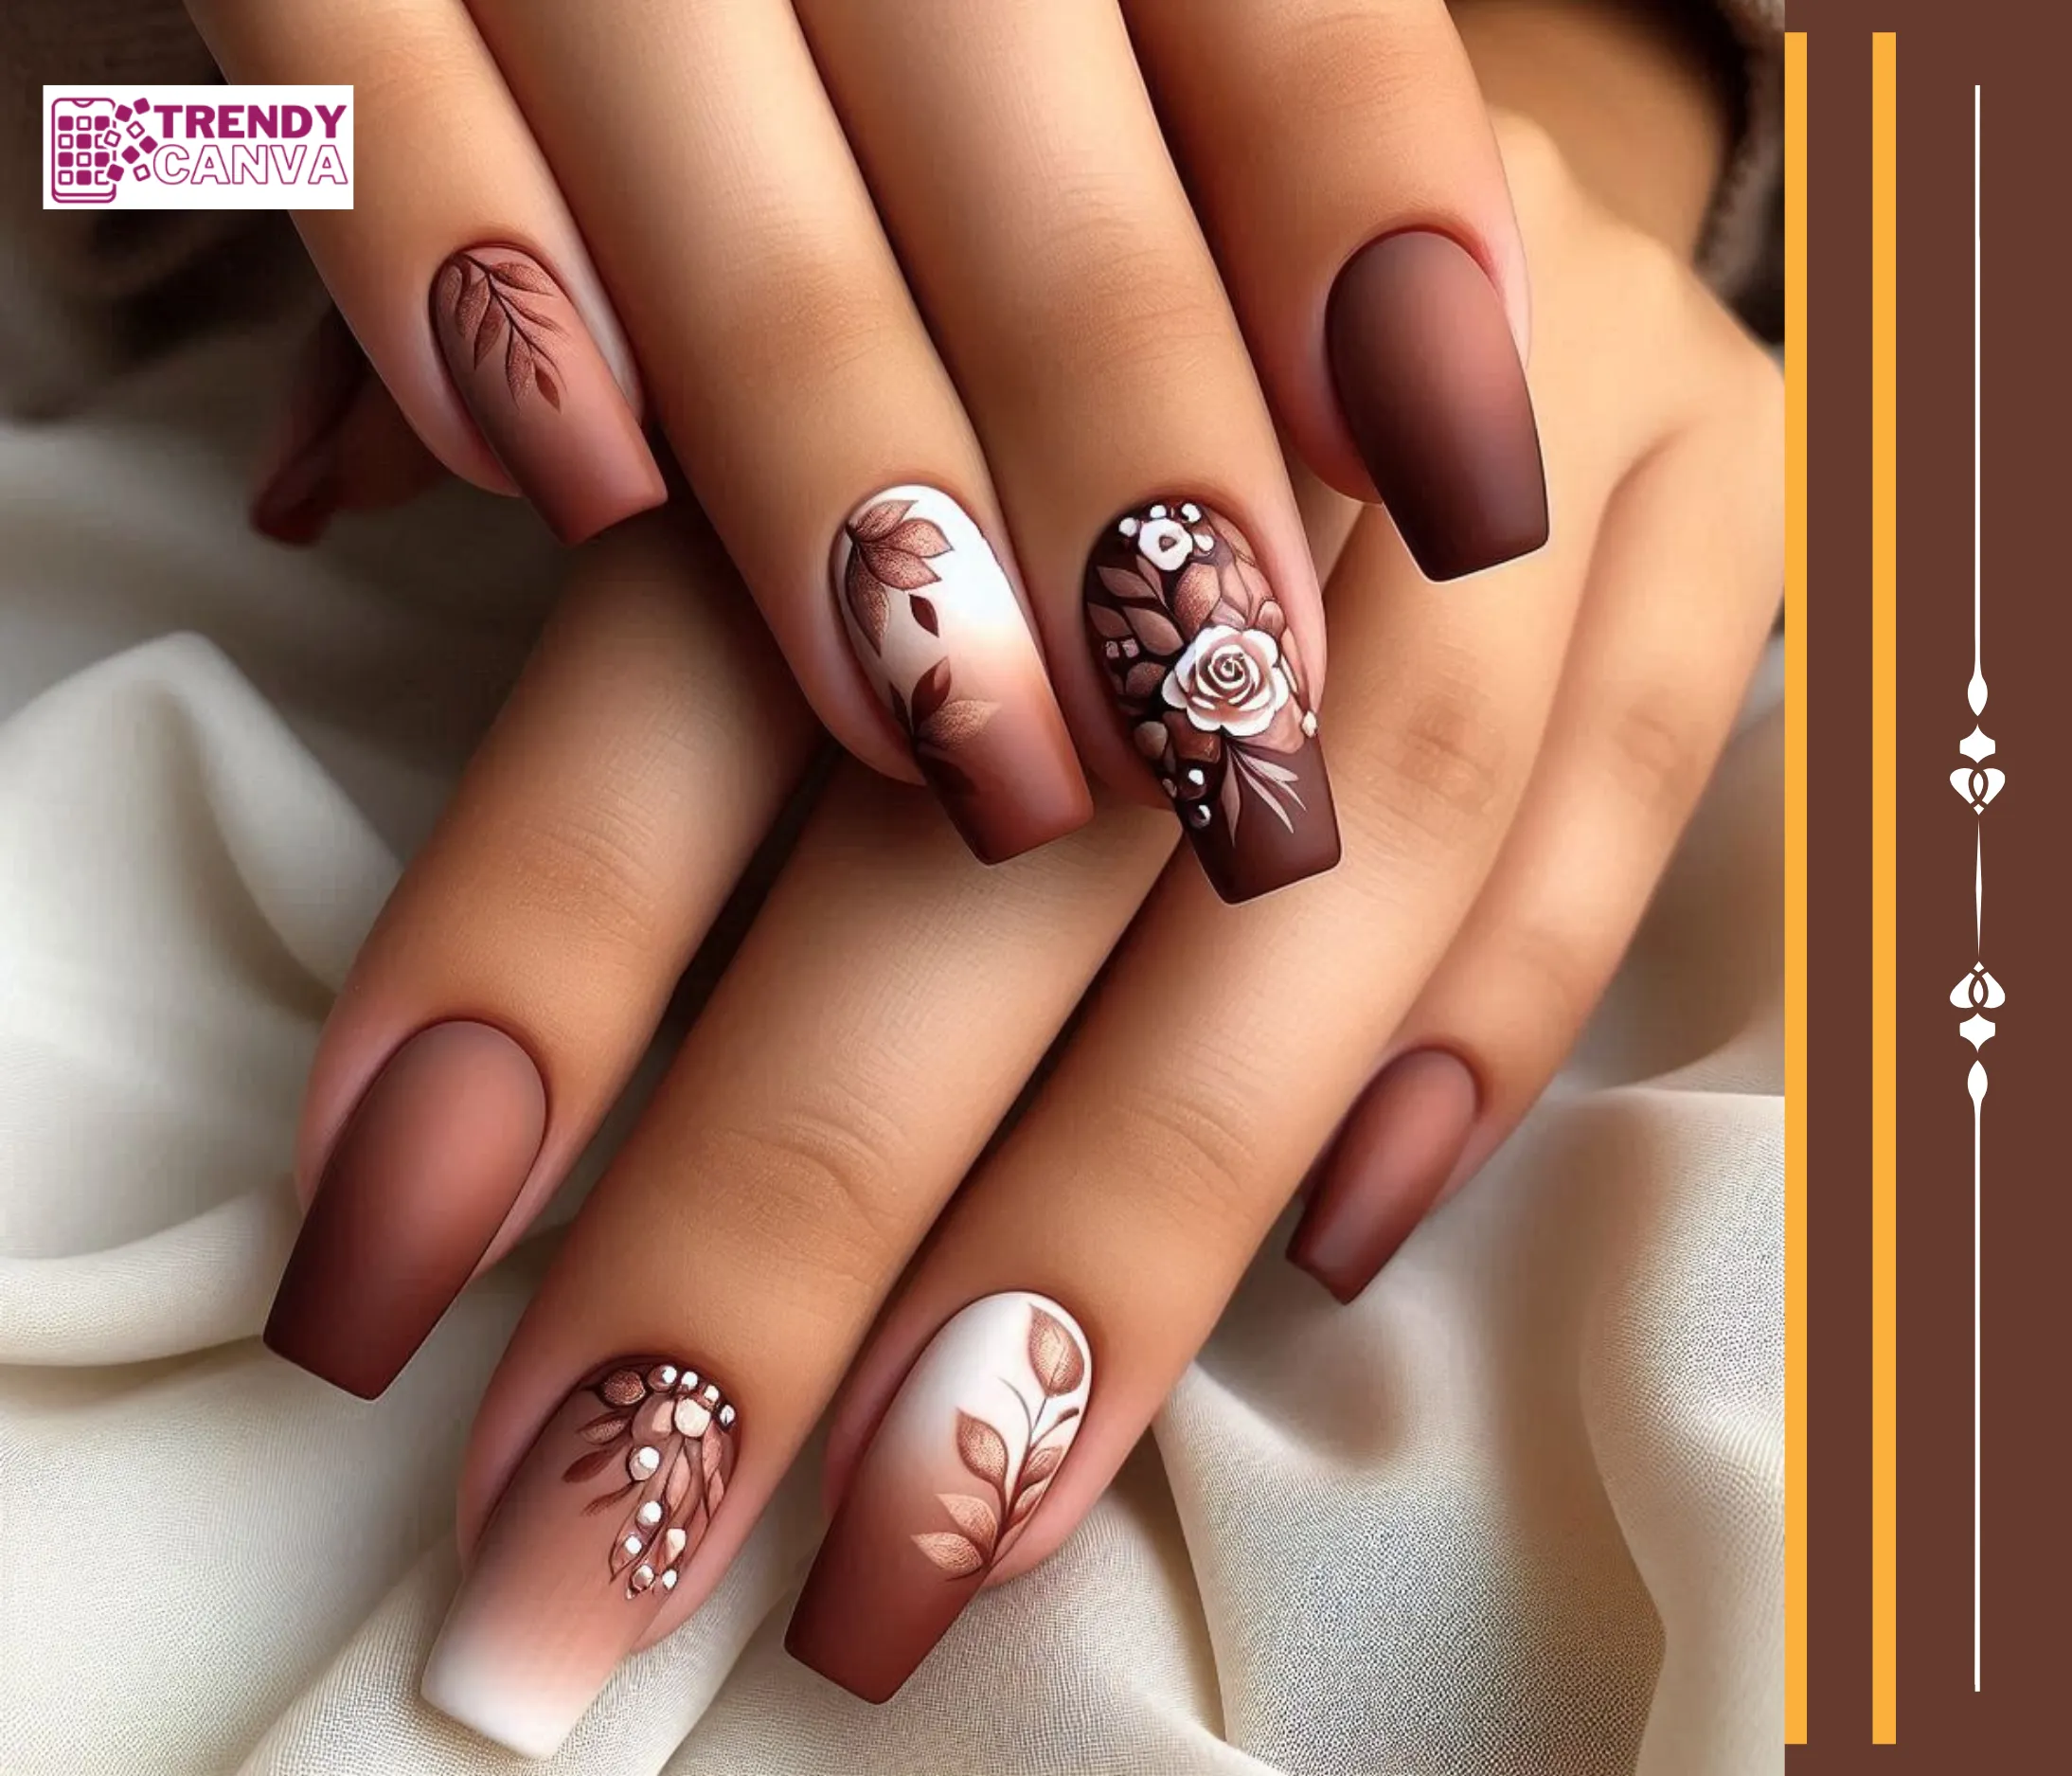
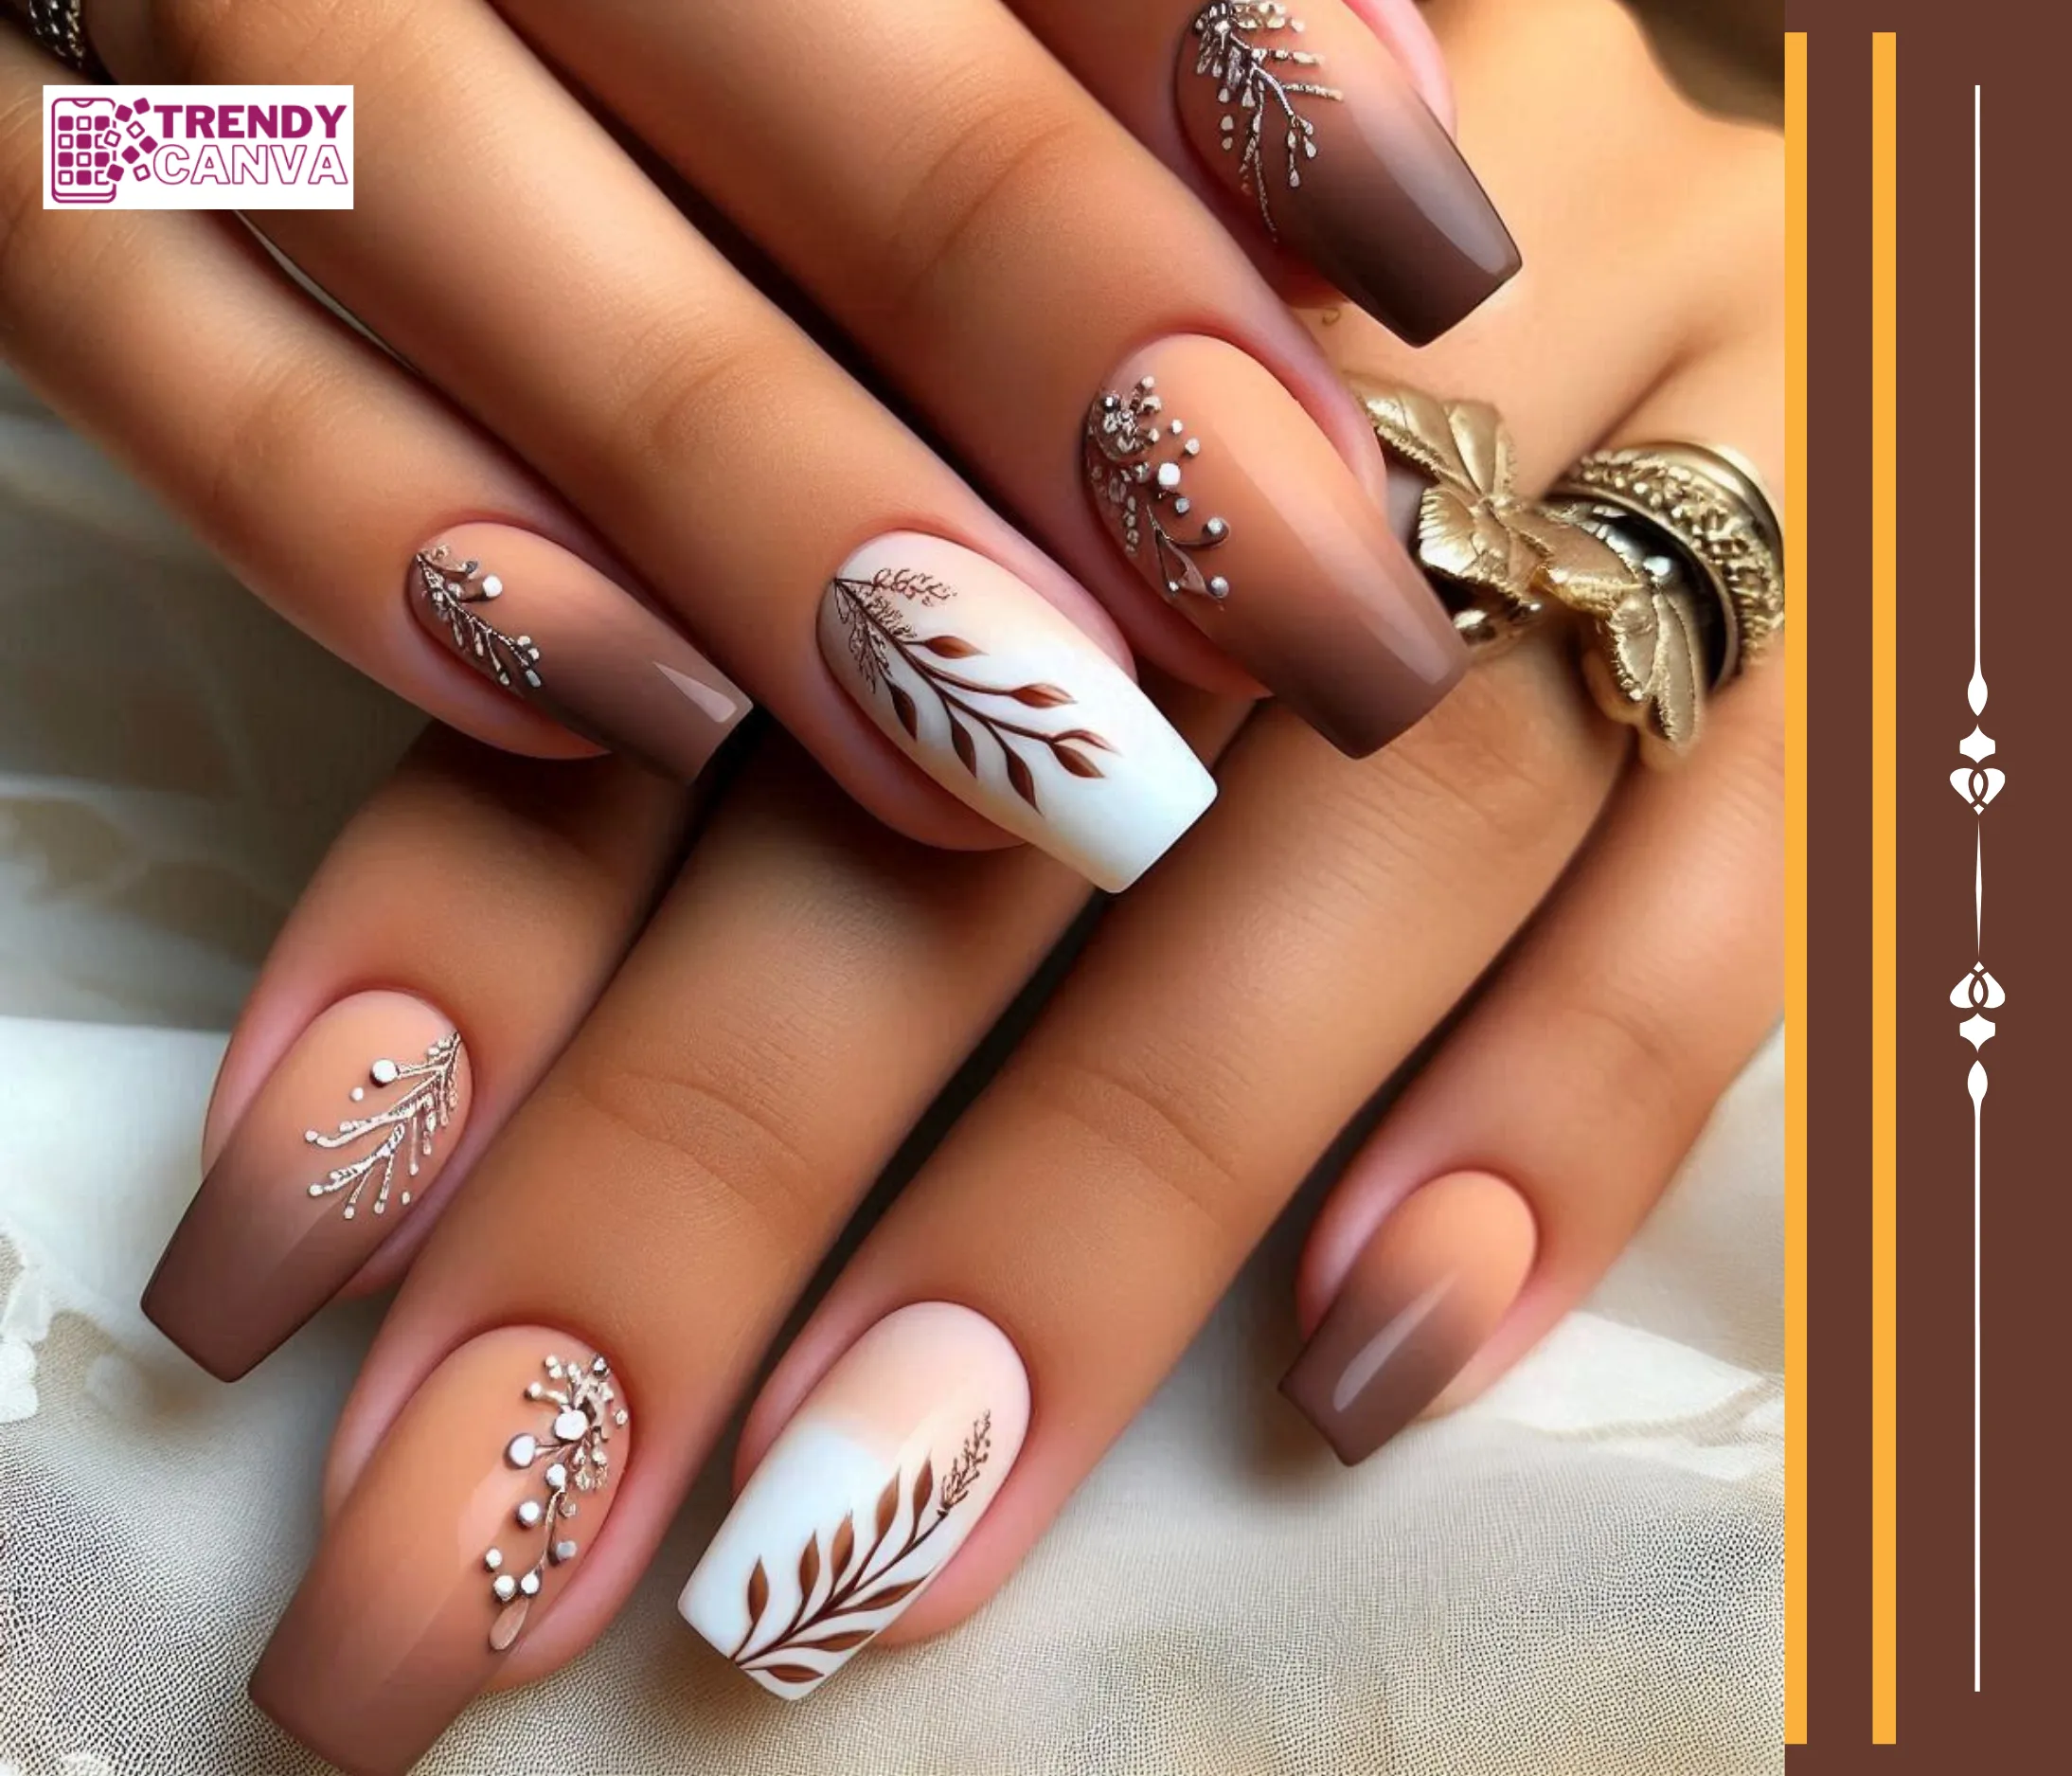
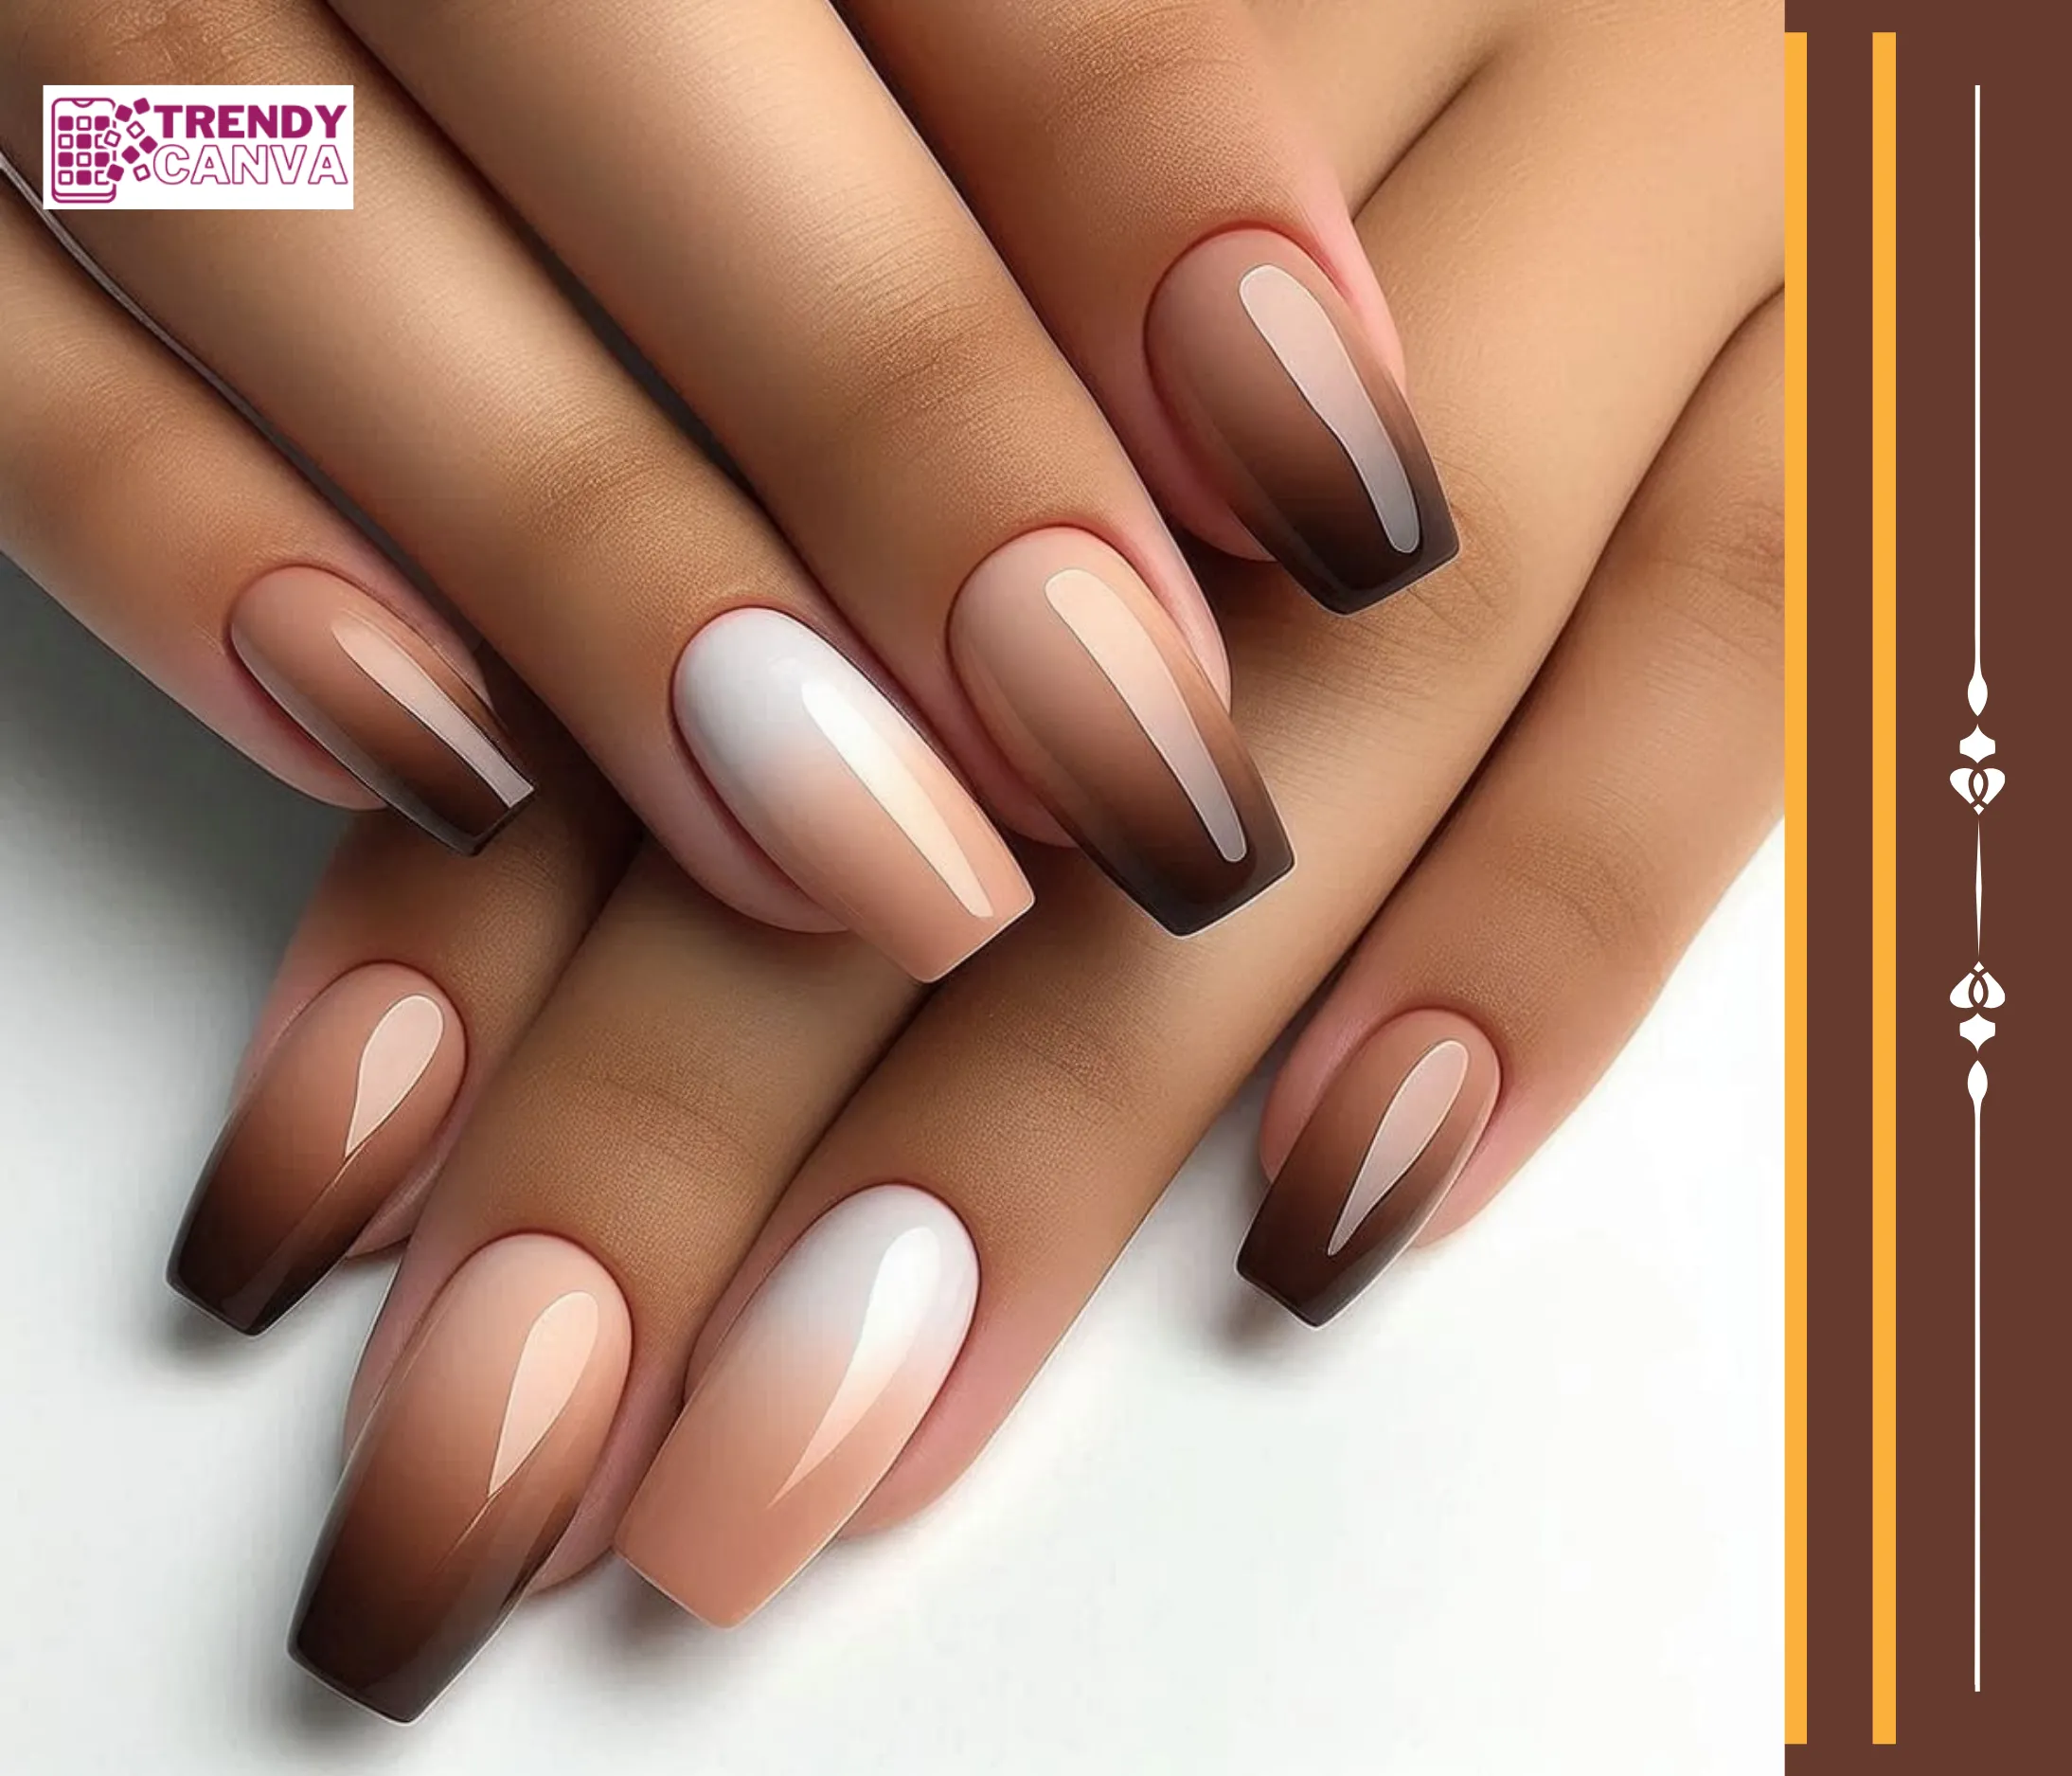
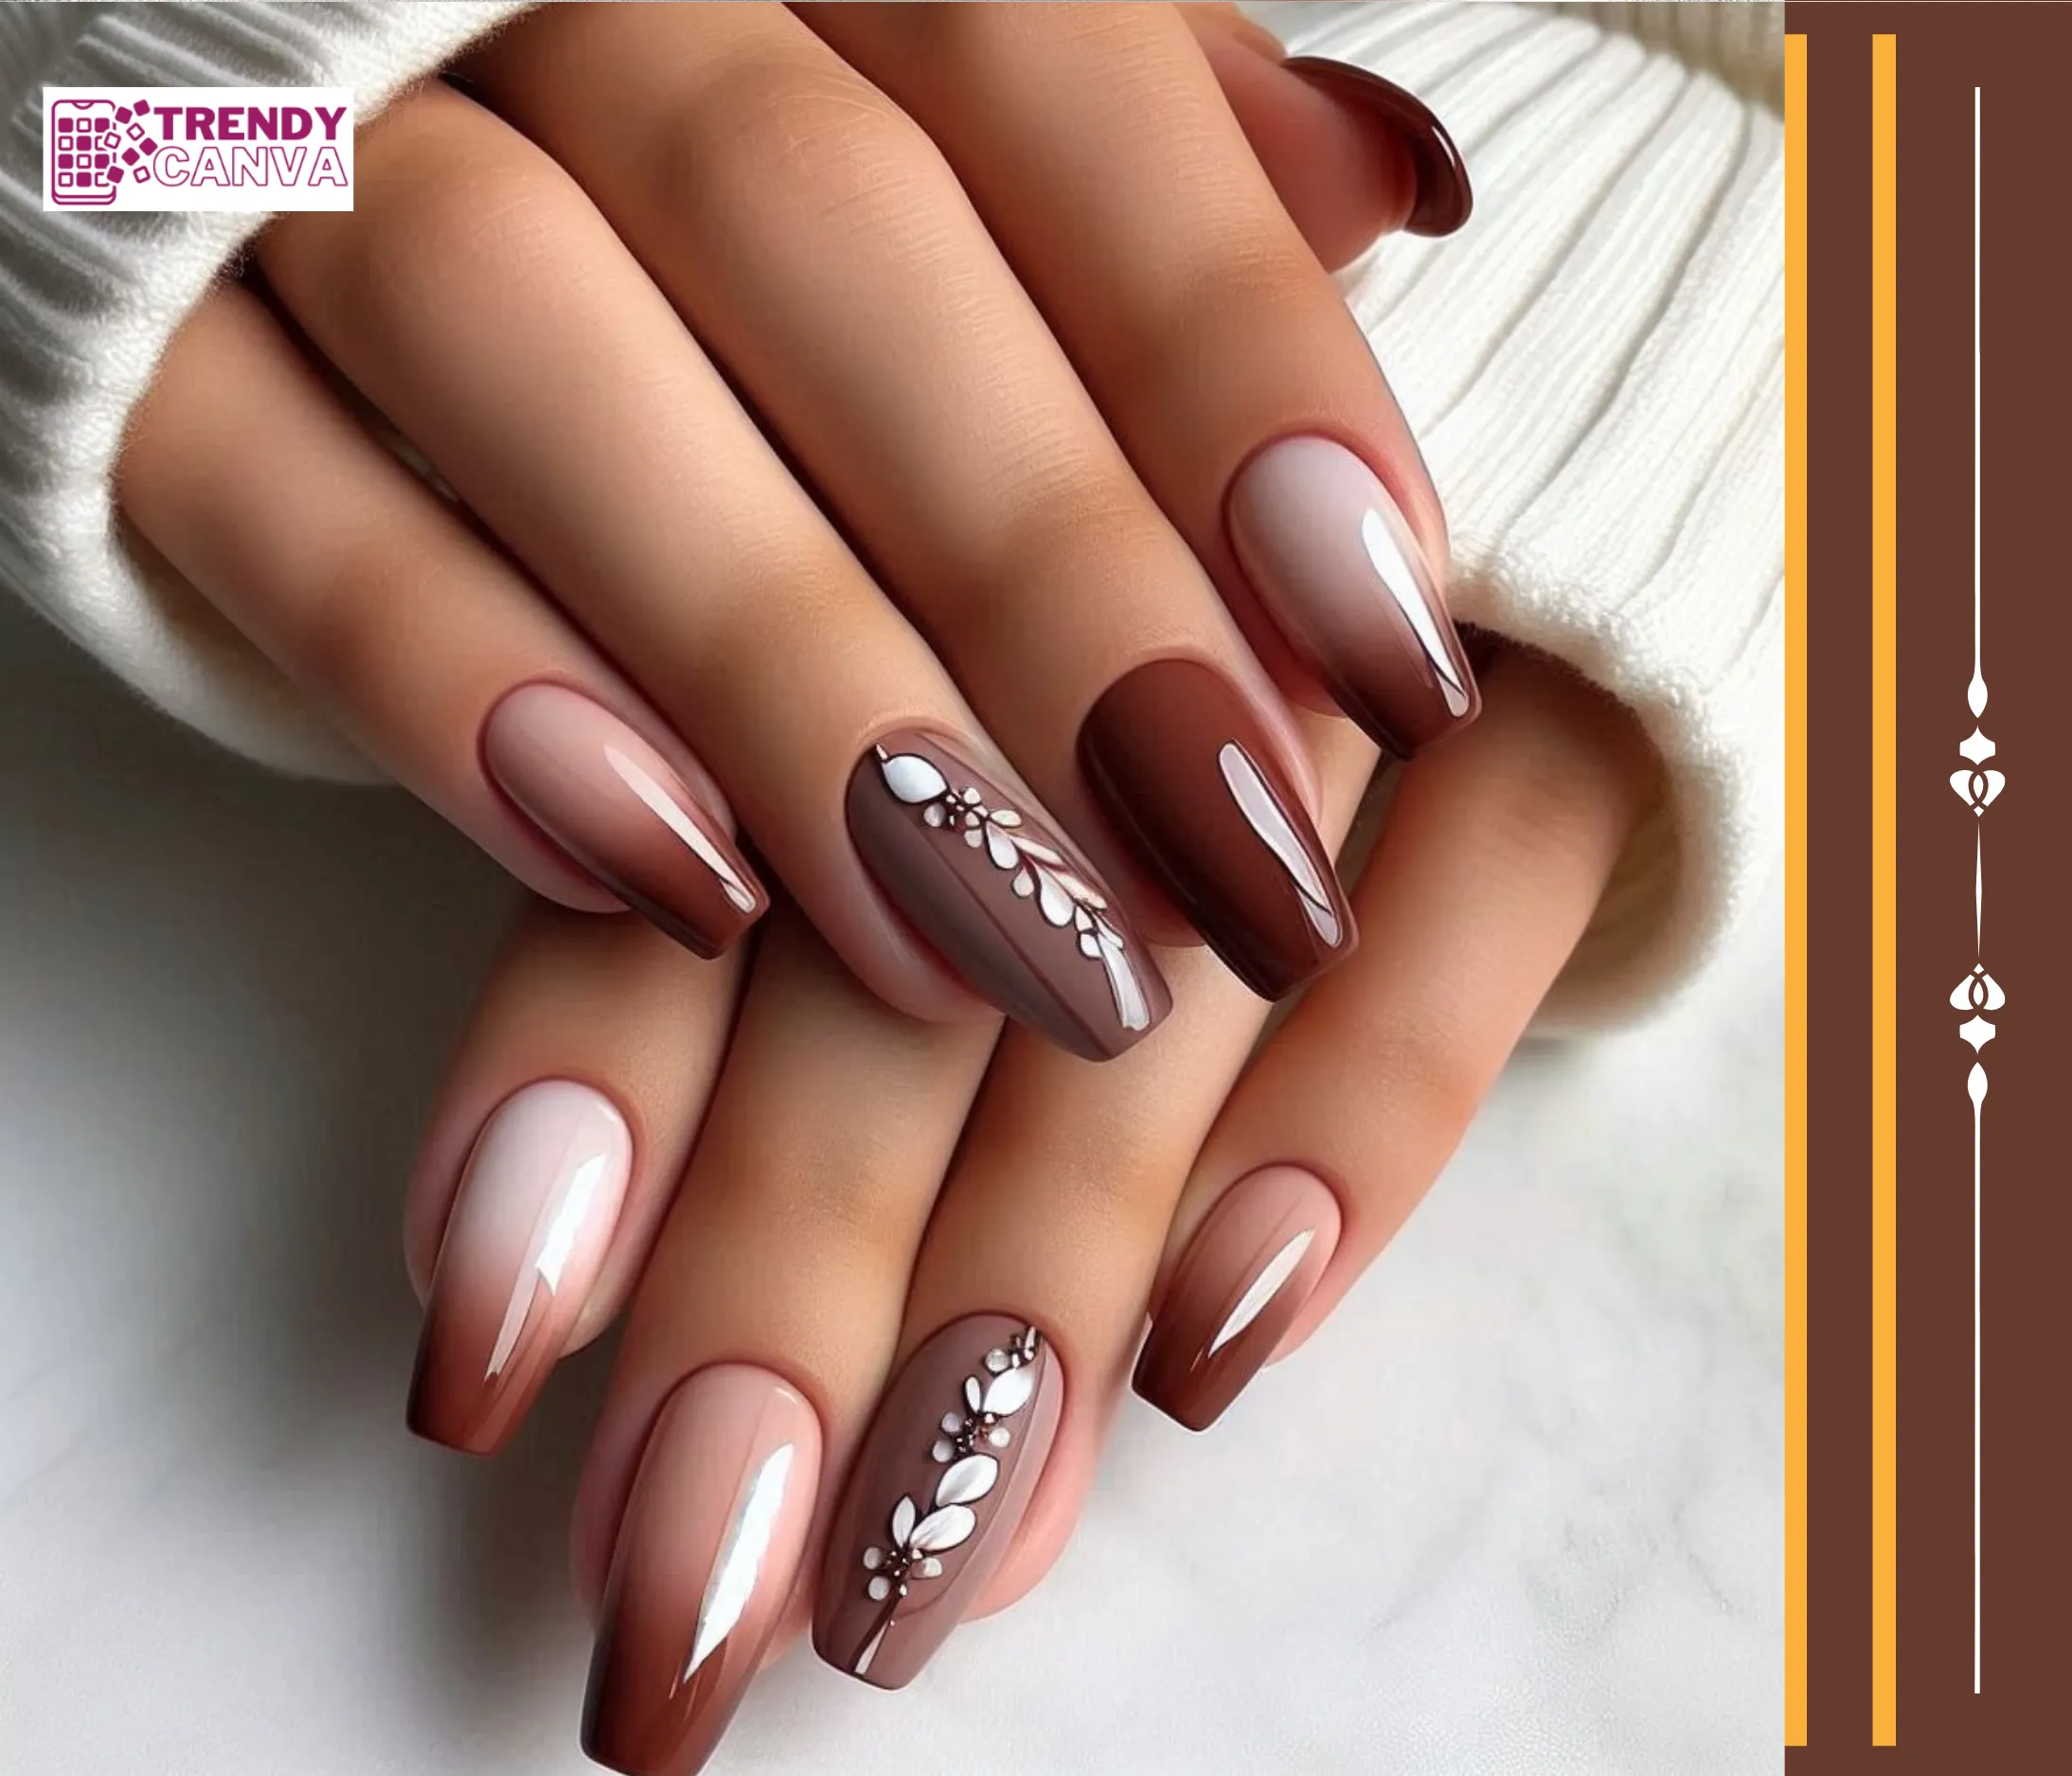
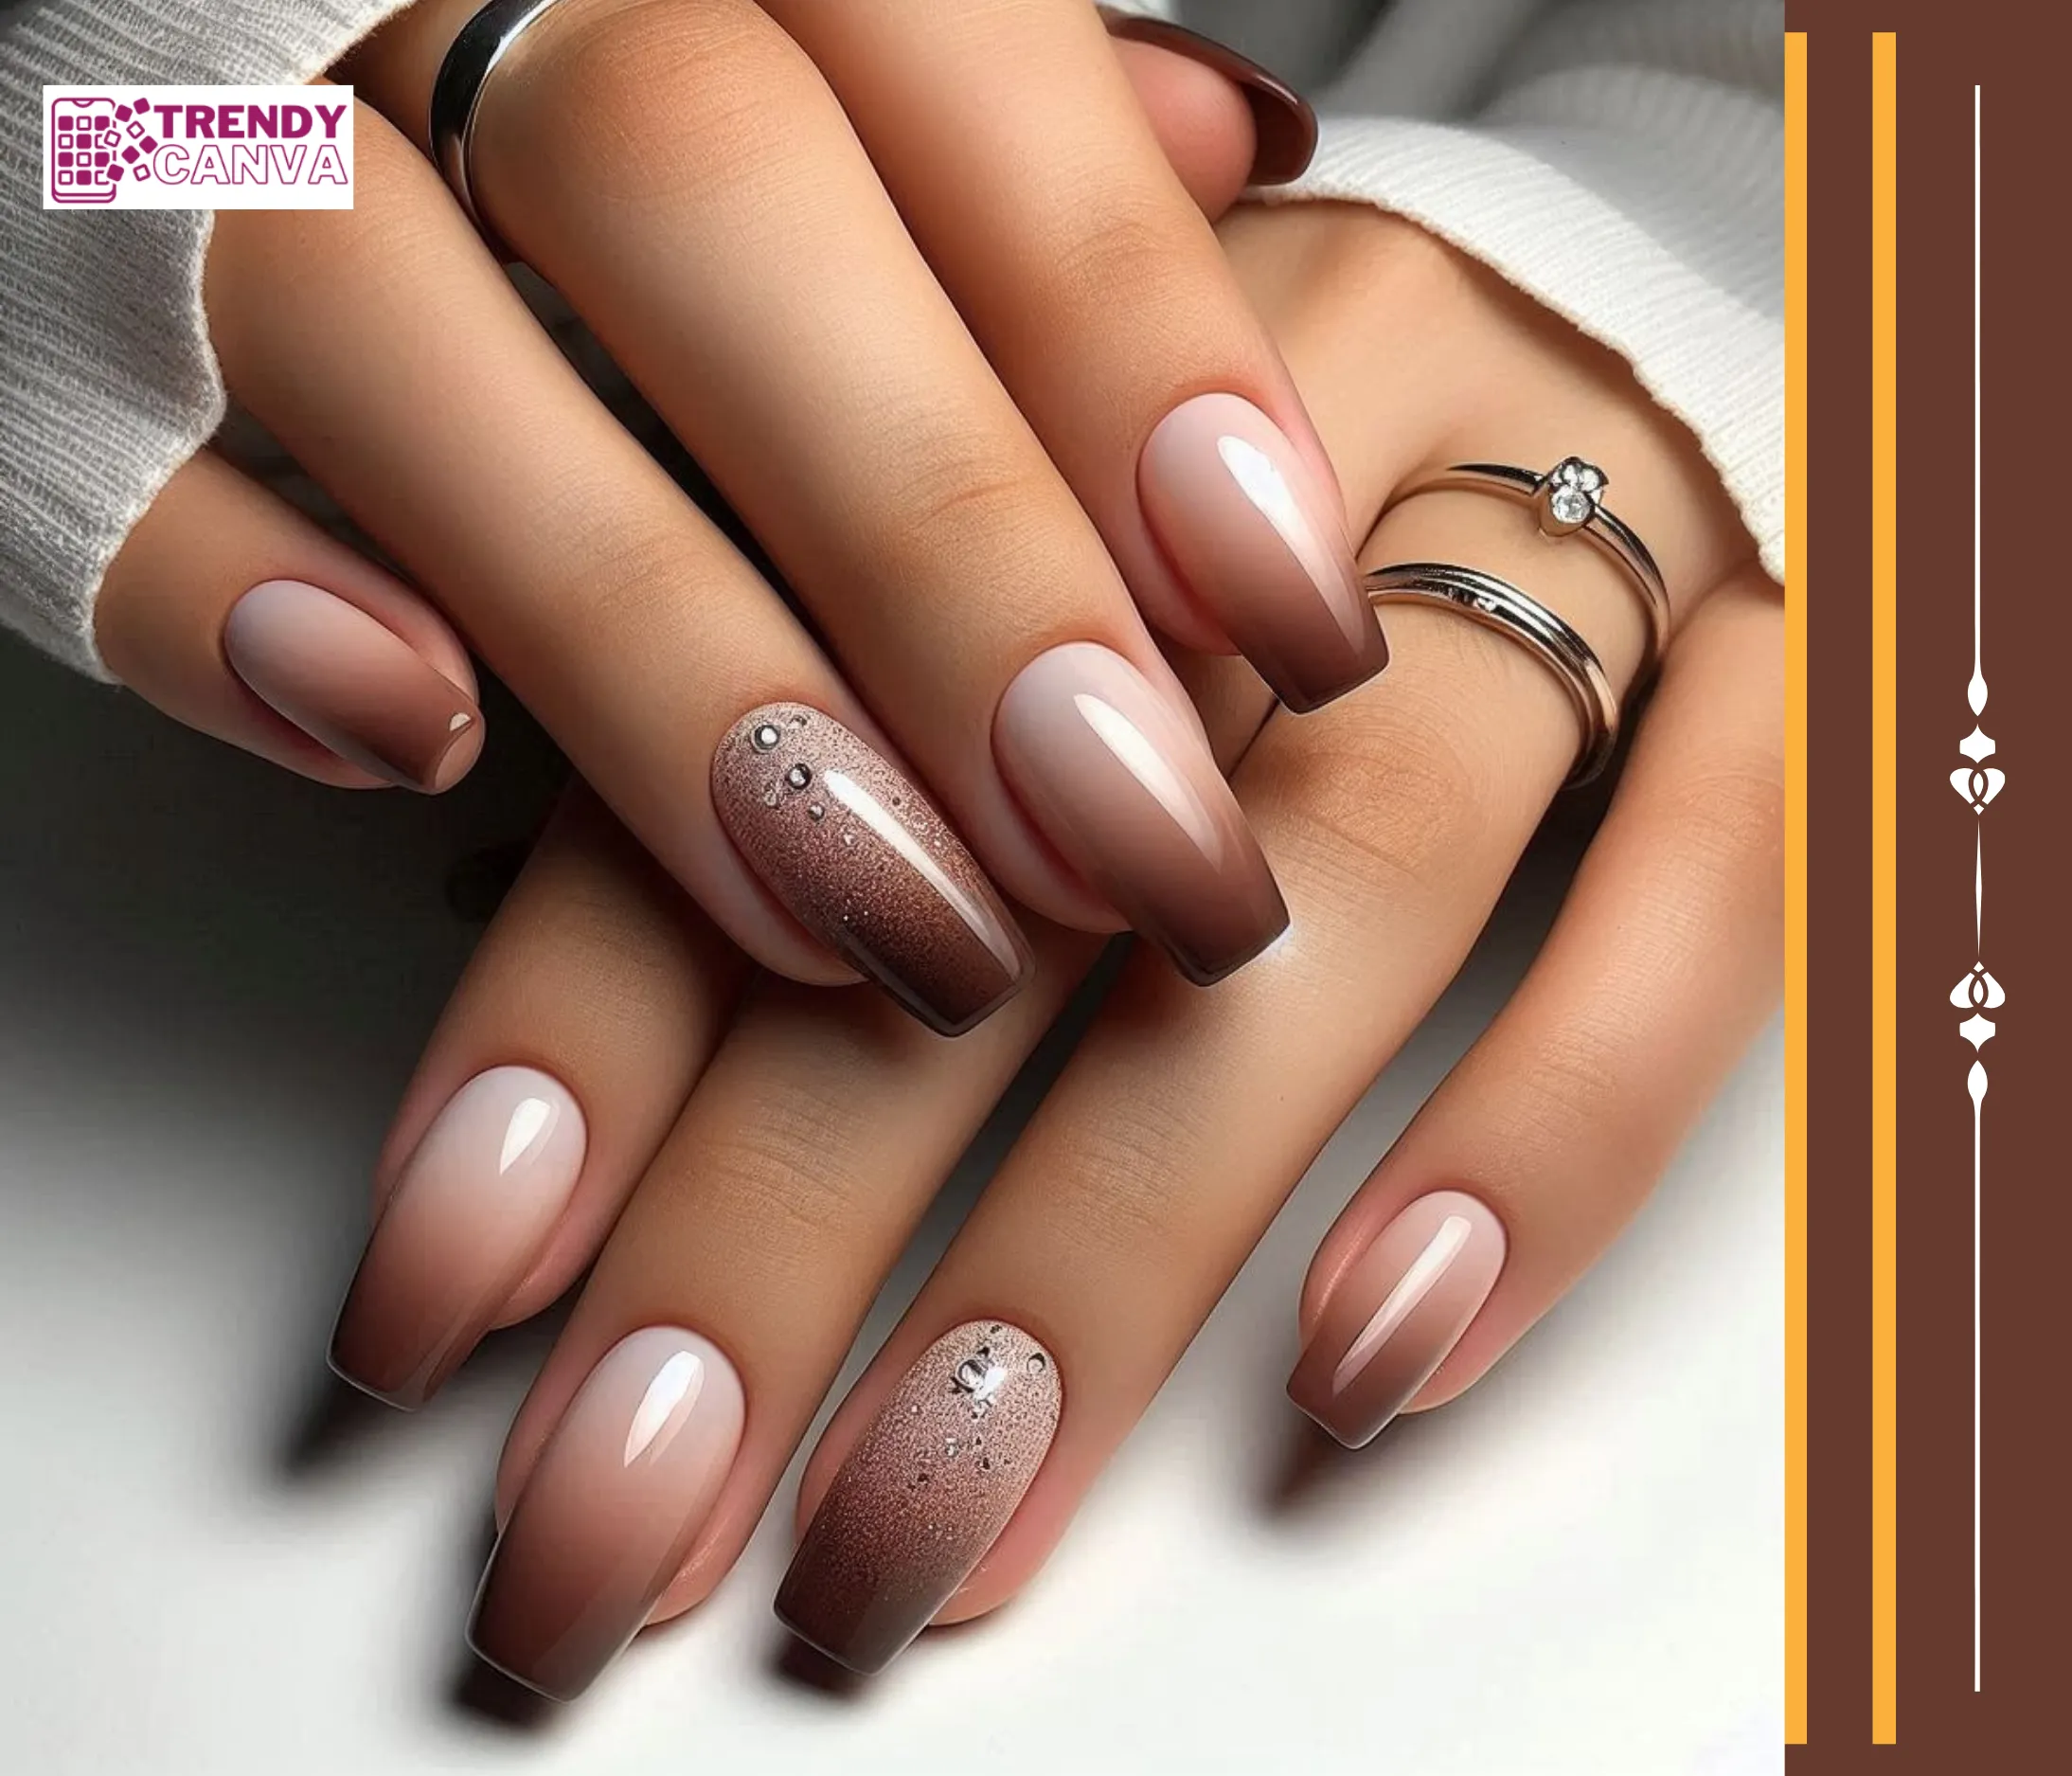
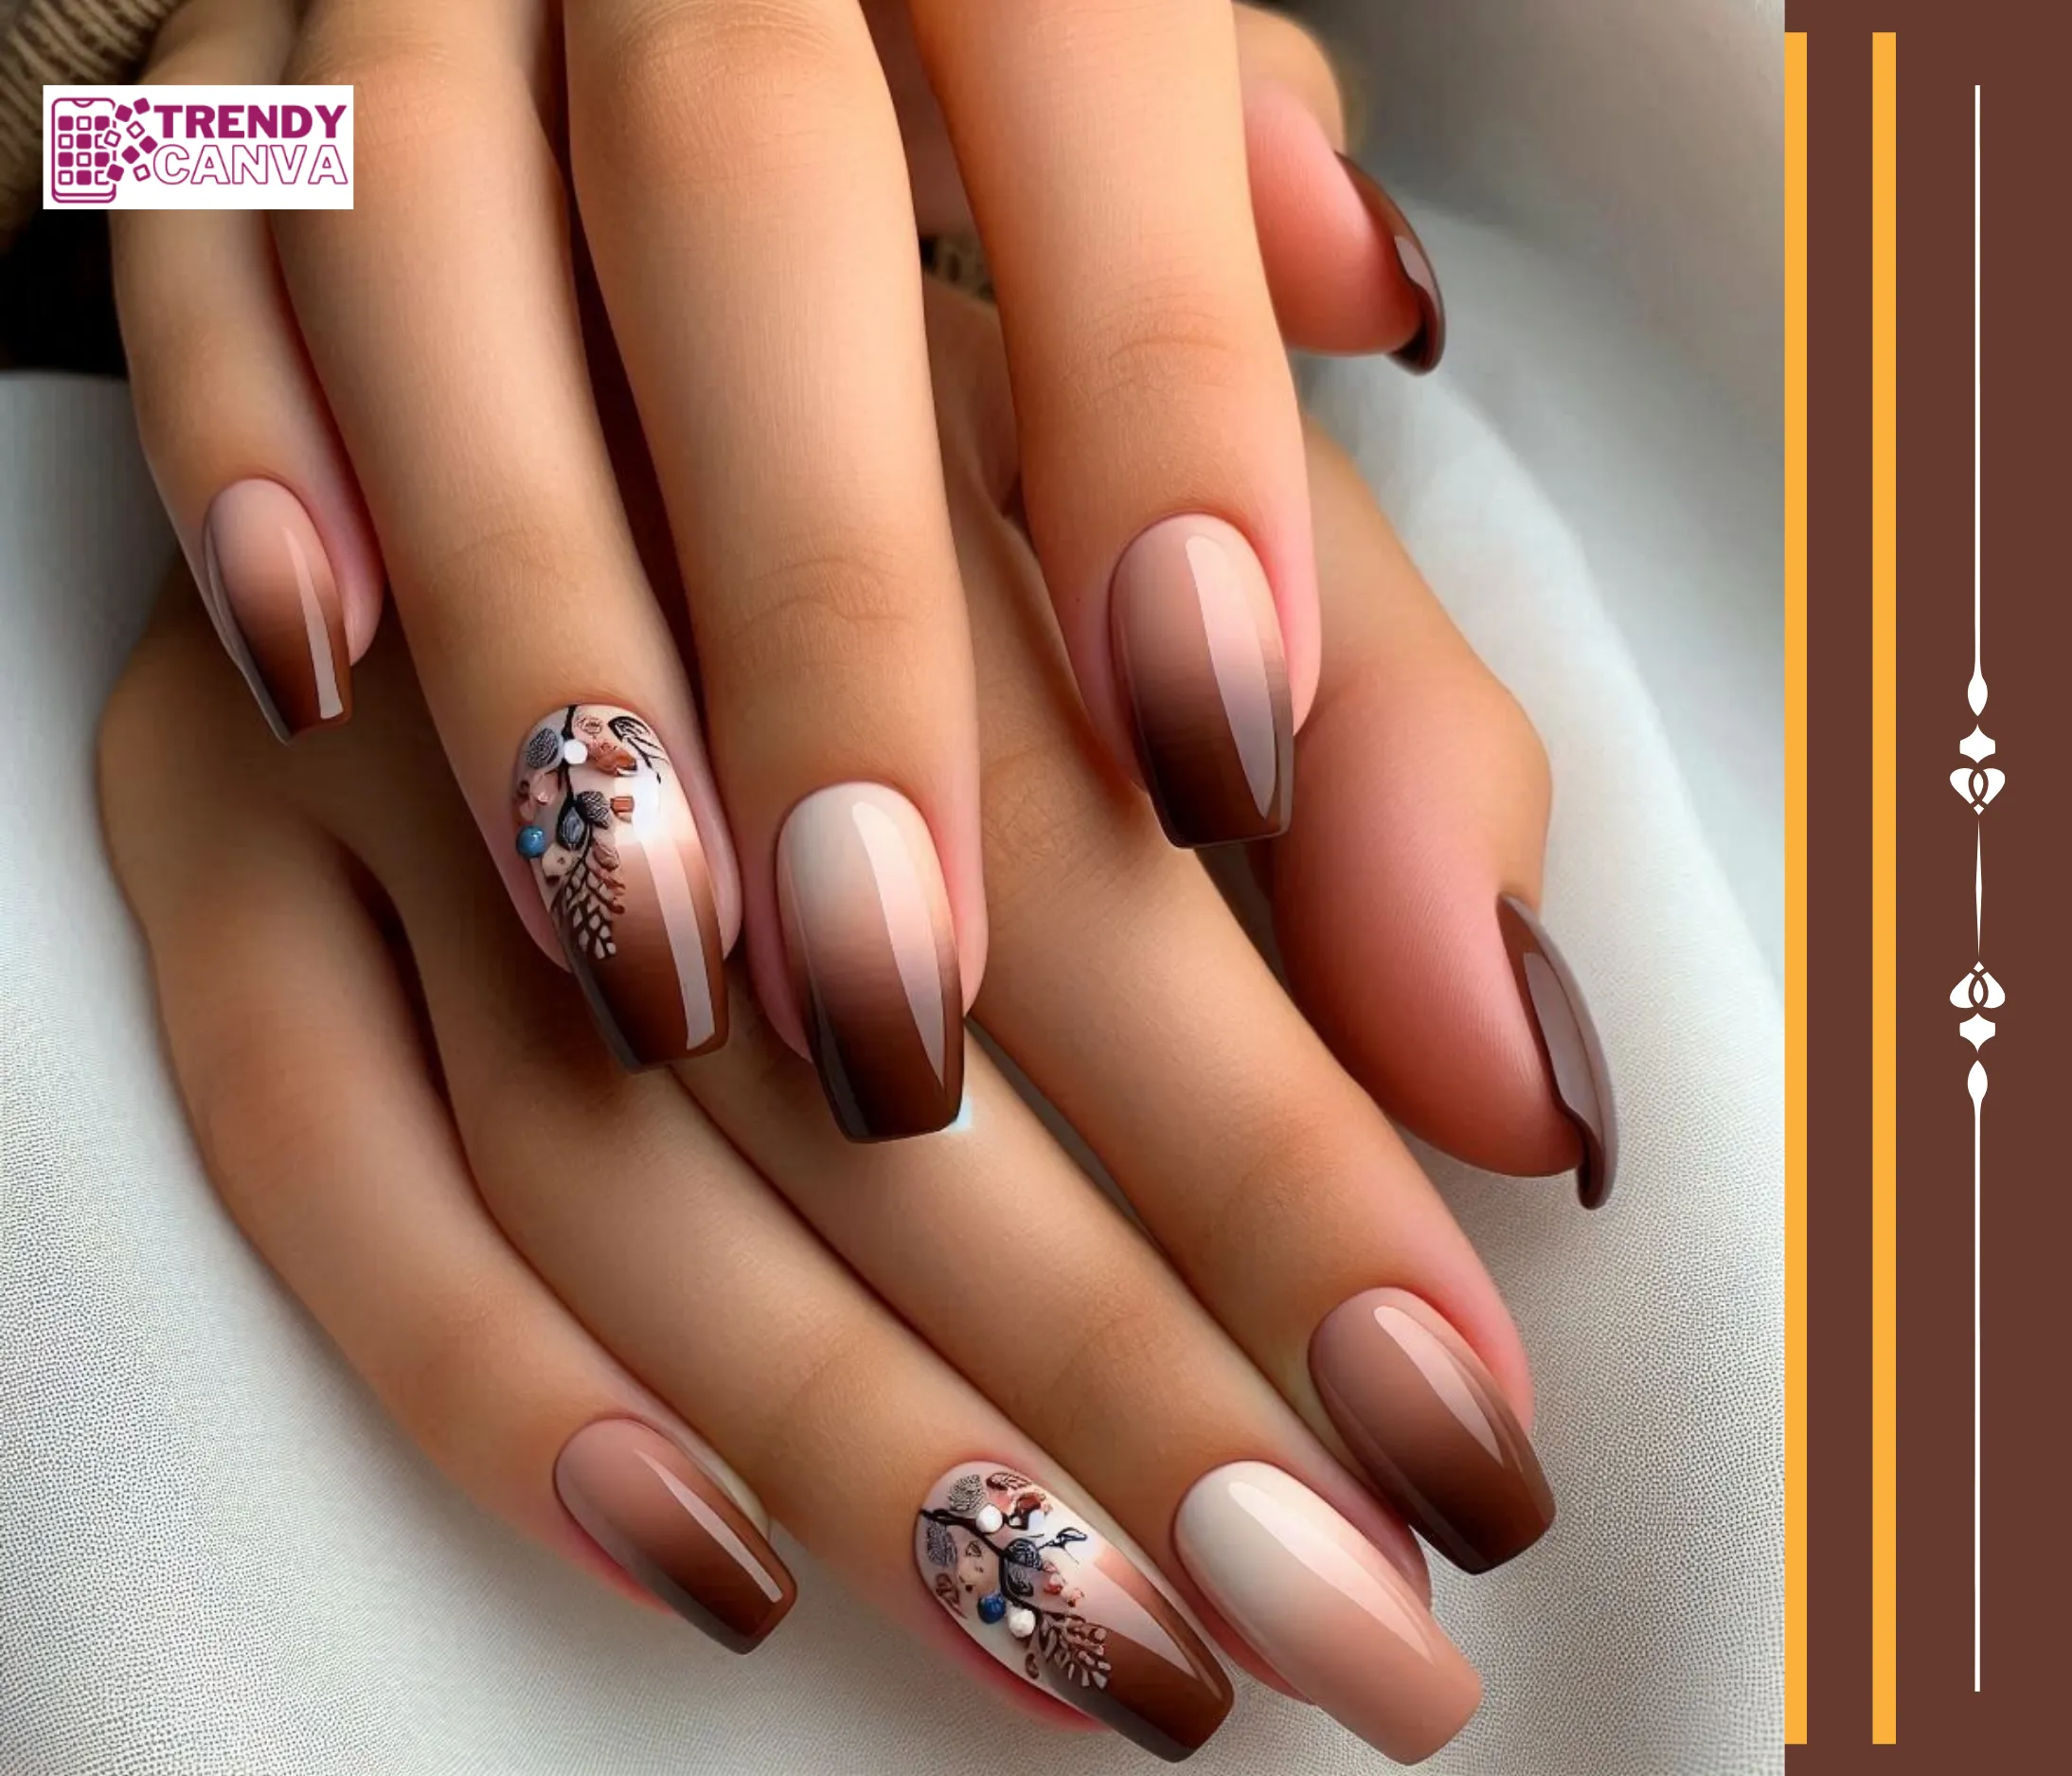
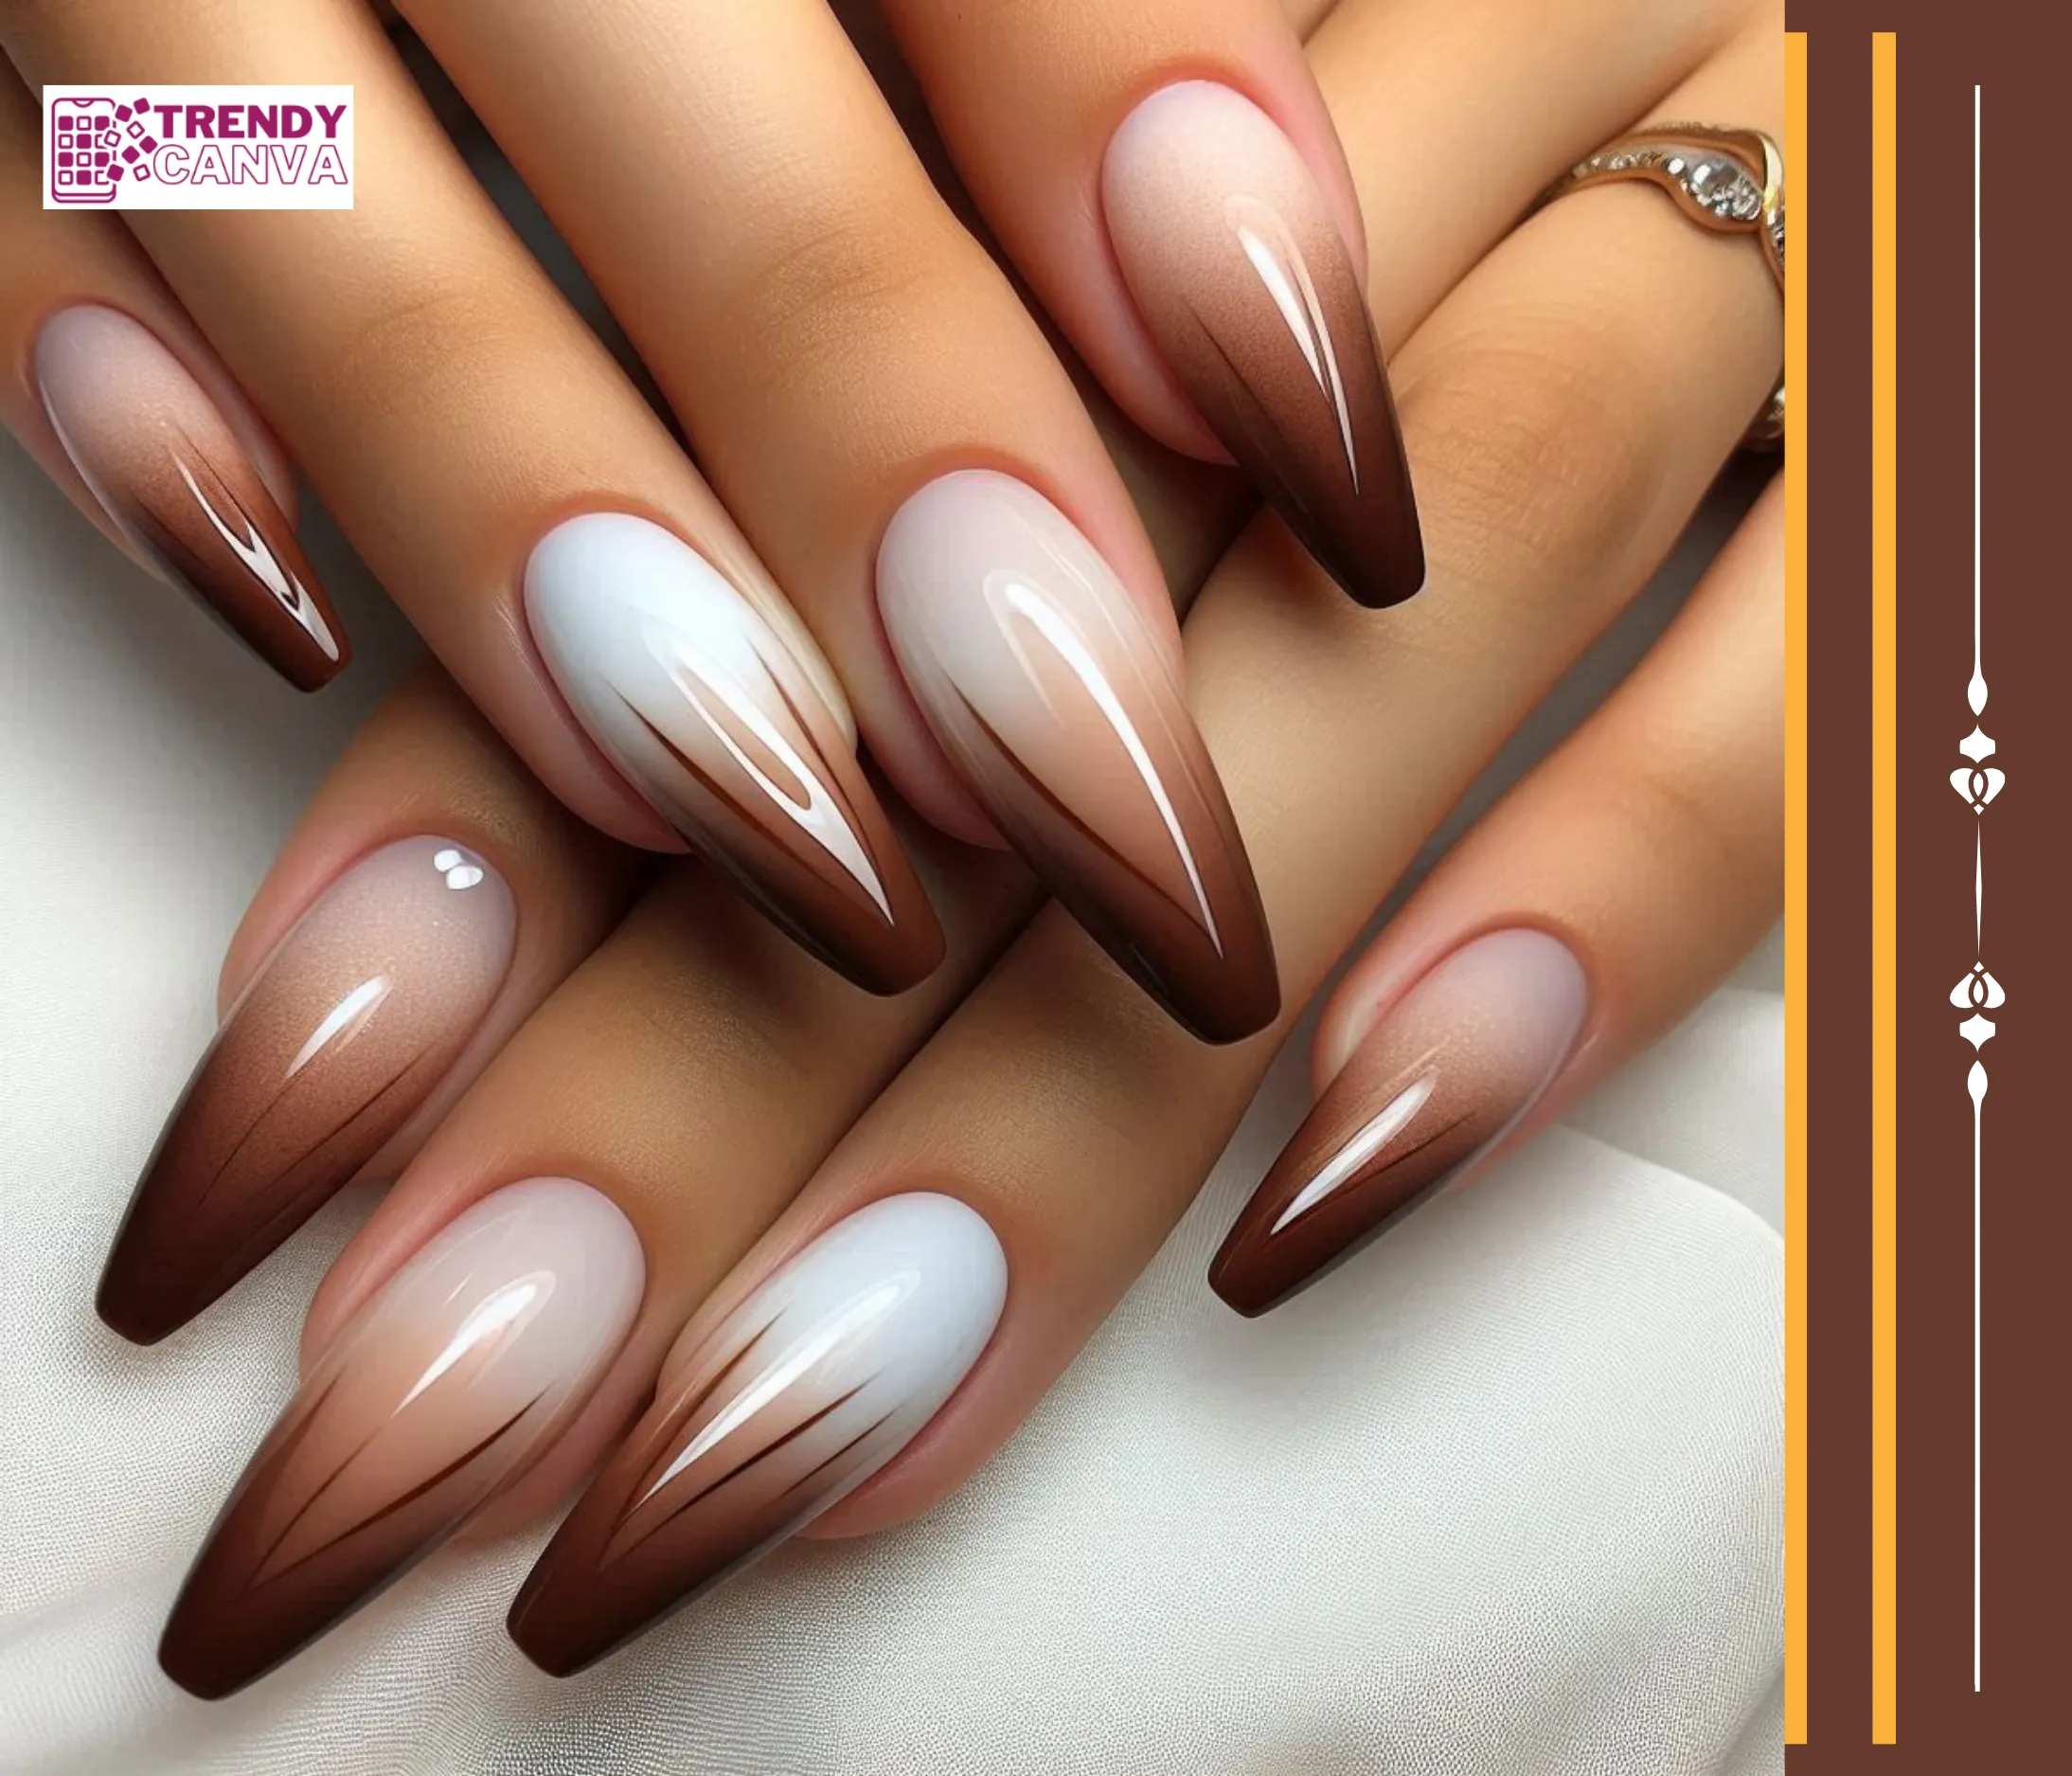
This timeless style worked perfect for everyone who want classy brown Ombre nail design or elegant brown nail designs which is created in a gradient manner, where the underside of the nail is depicted in a pastel beige or cream color while the topmost part is in a deep brown color that is akin to the taste of chocolate. It is still a terrific demonstration of how this shade of brown can be described as ombre nail polish and at the same time be classy.

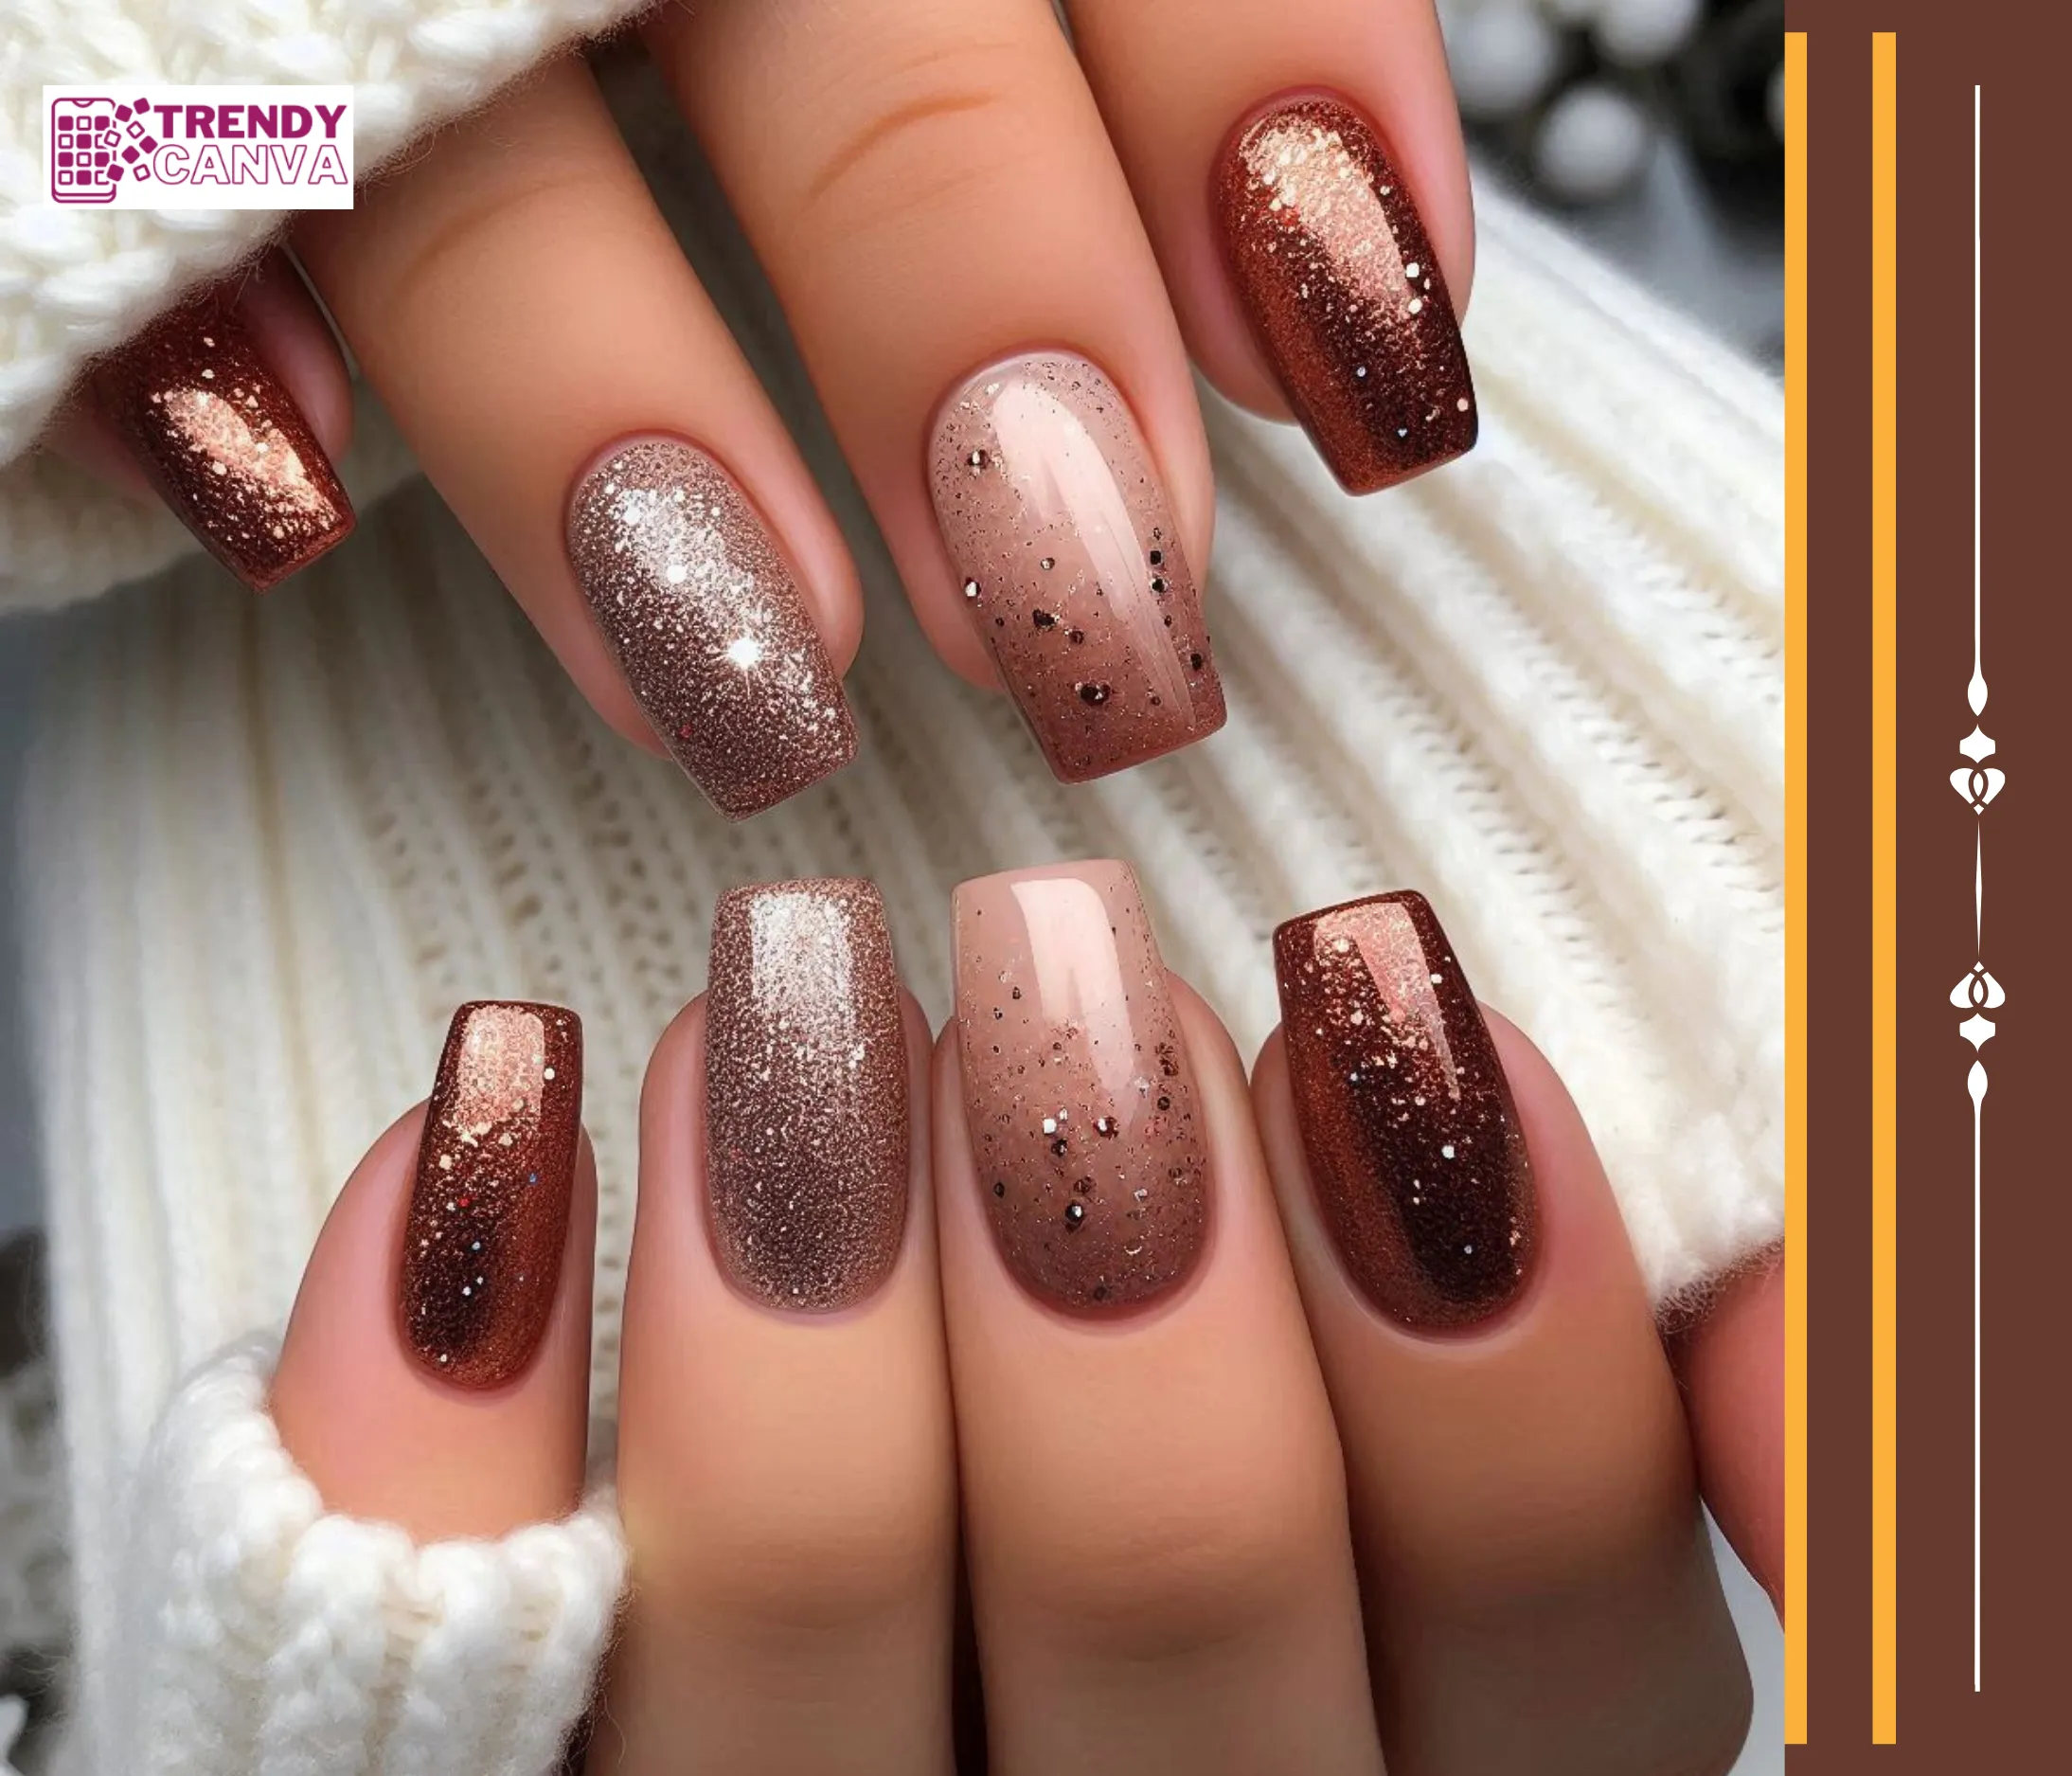
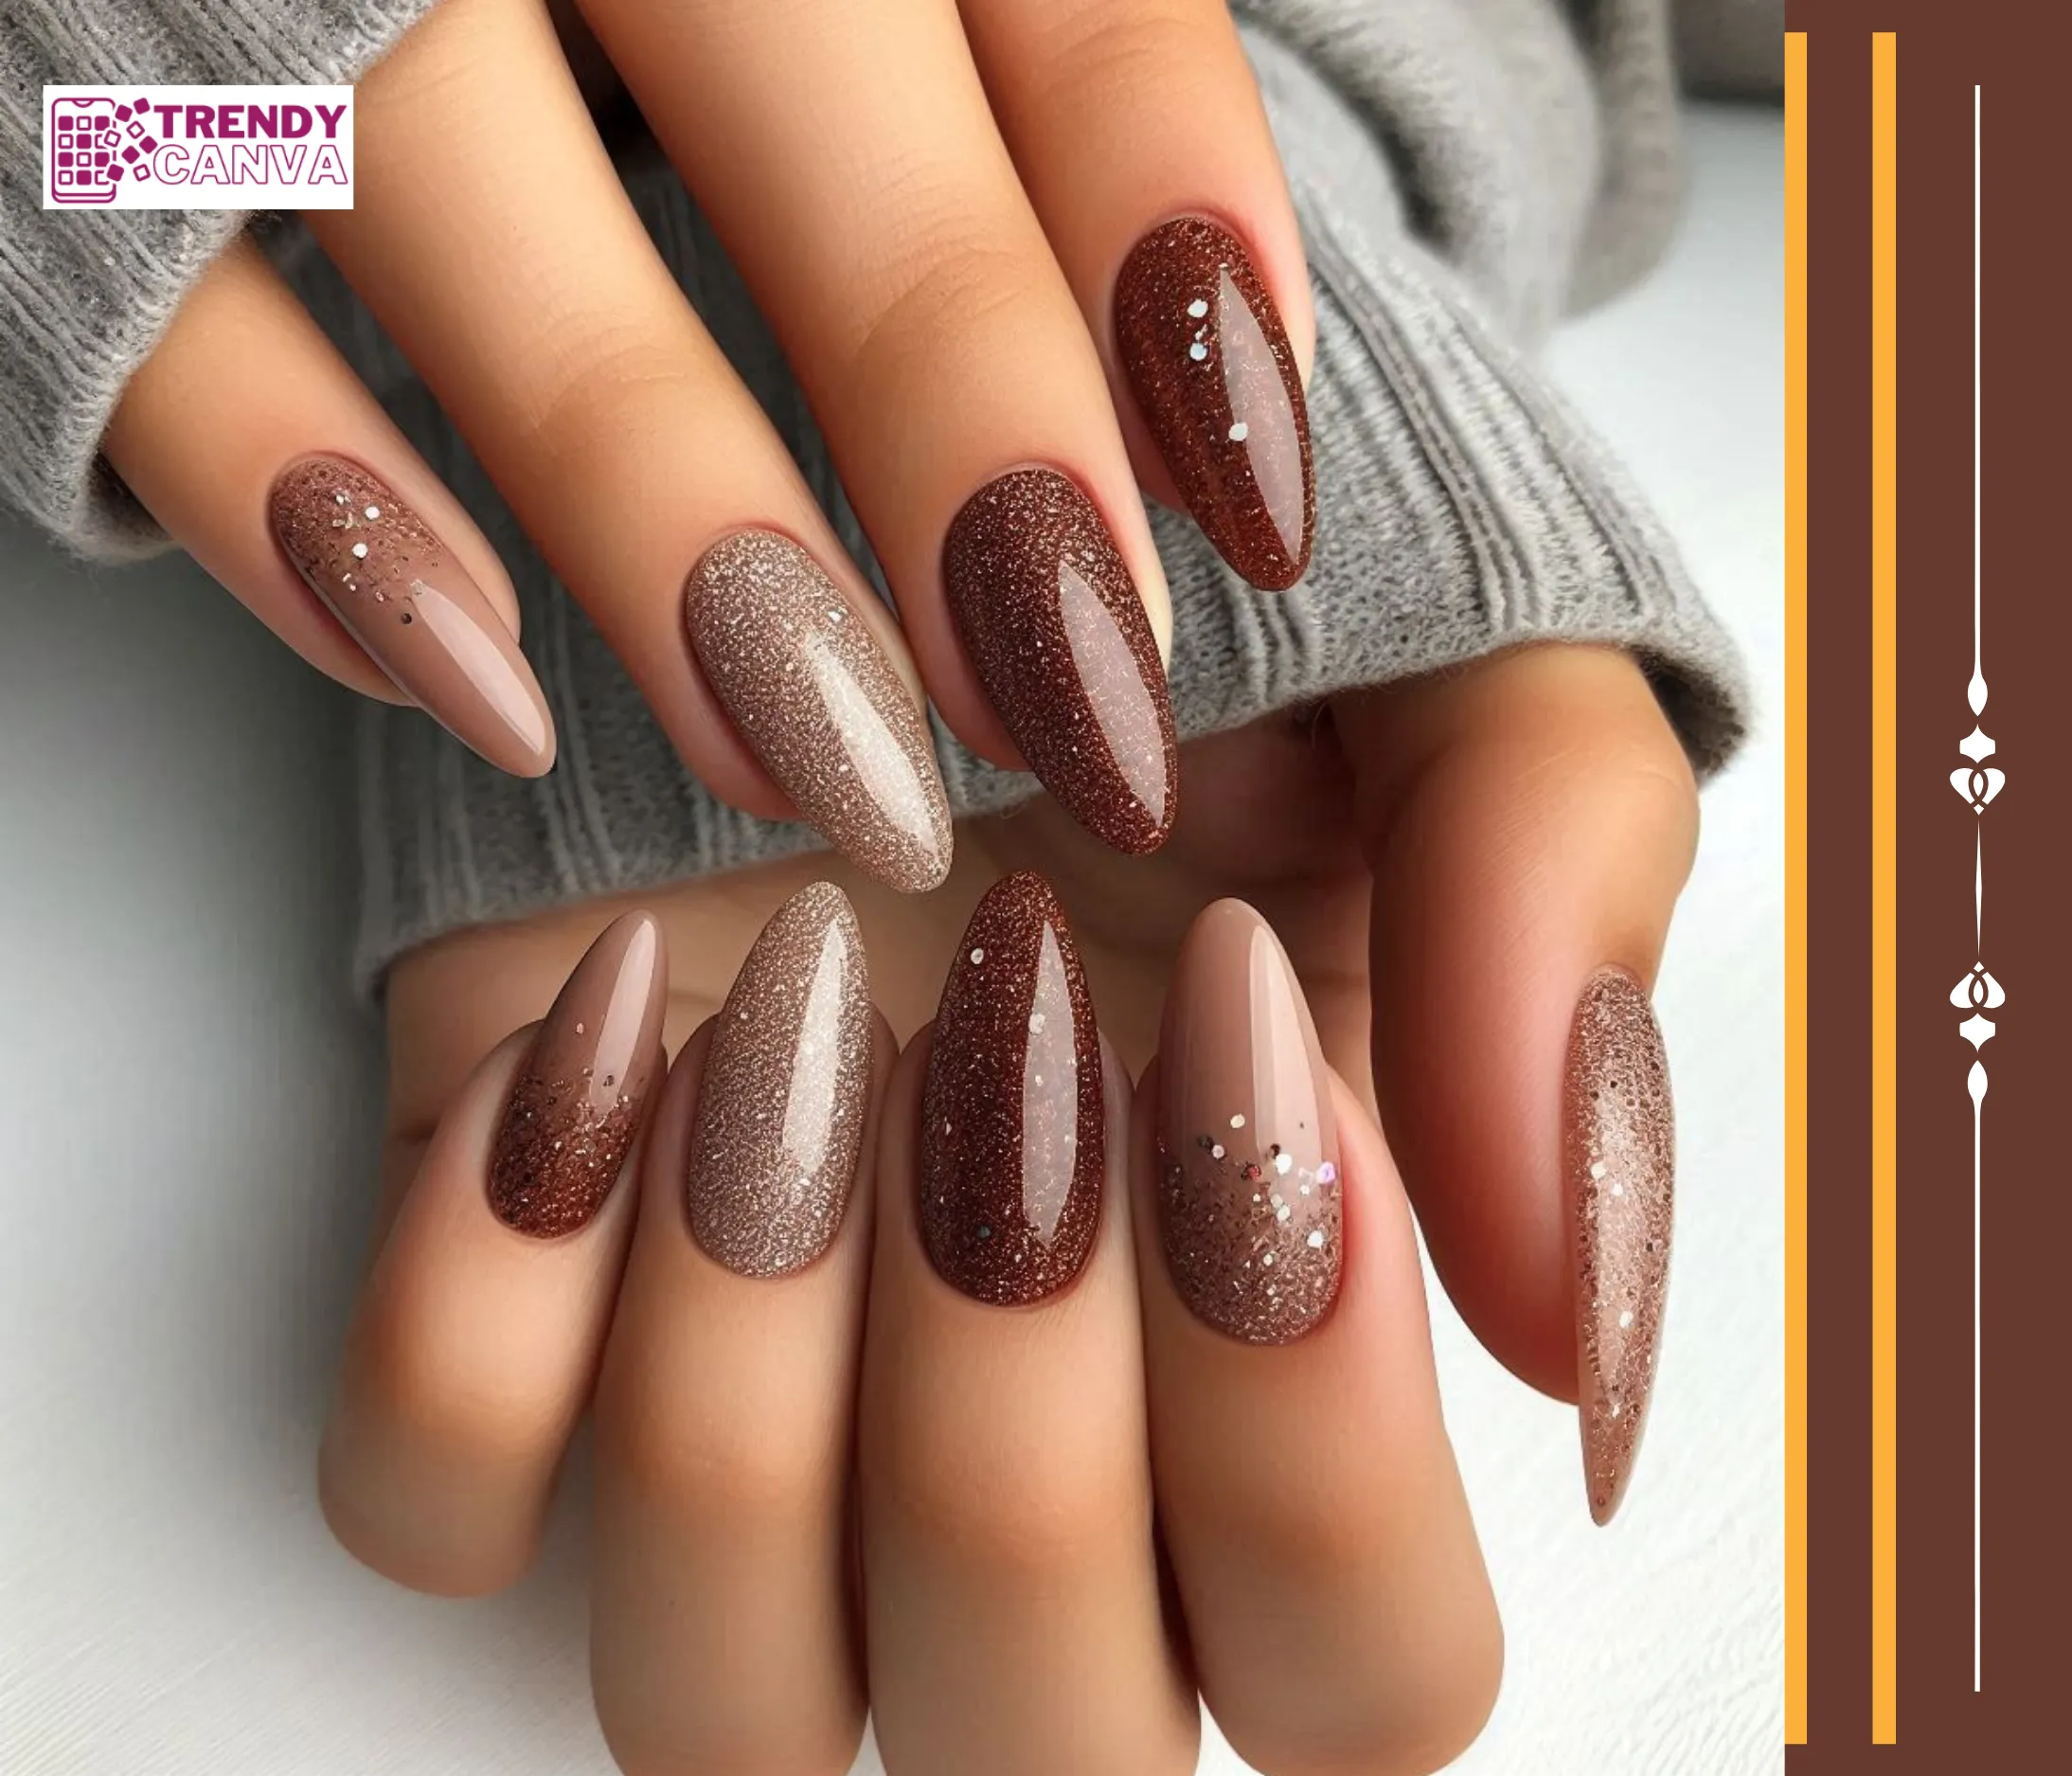
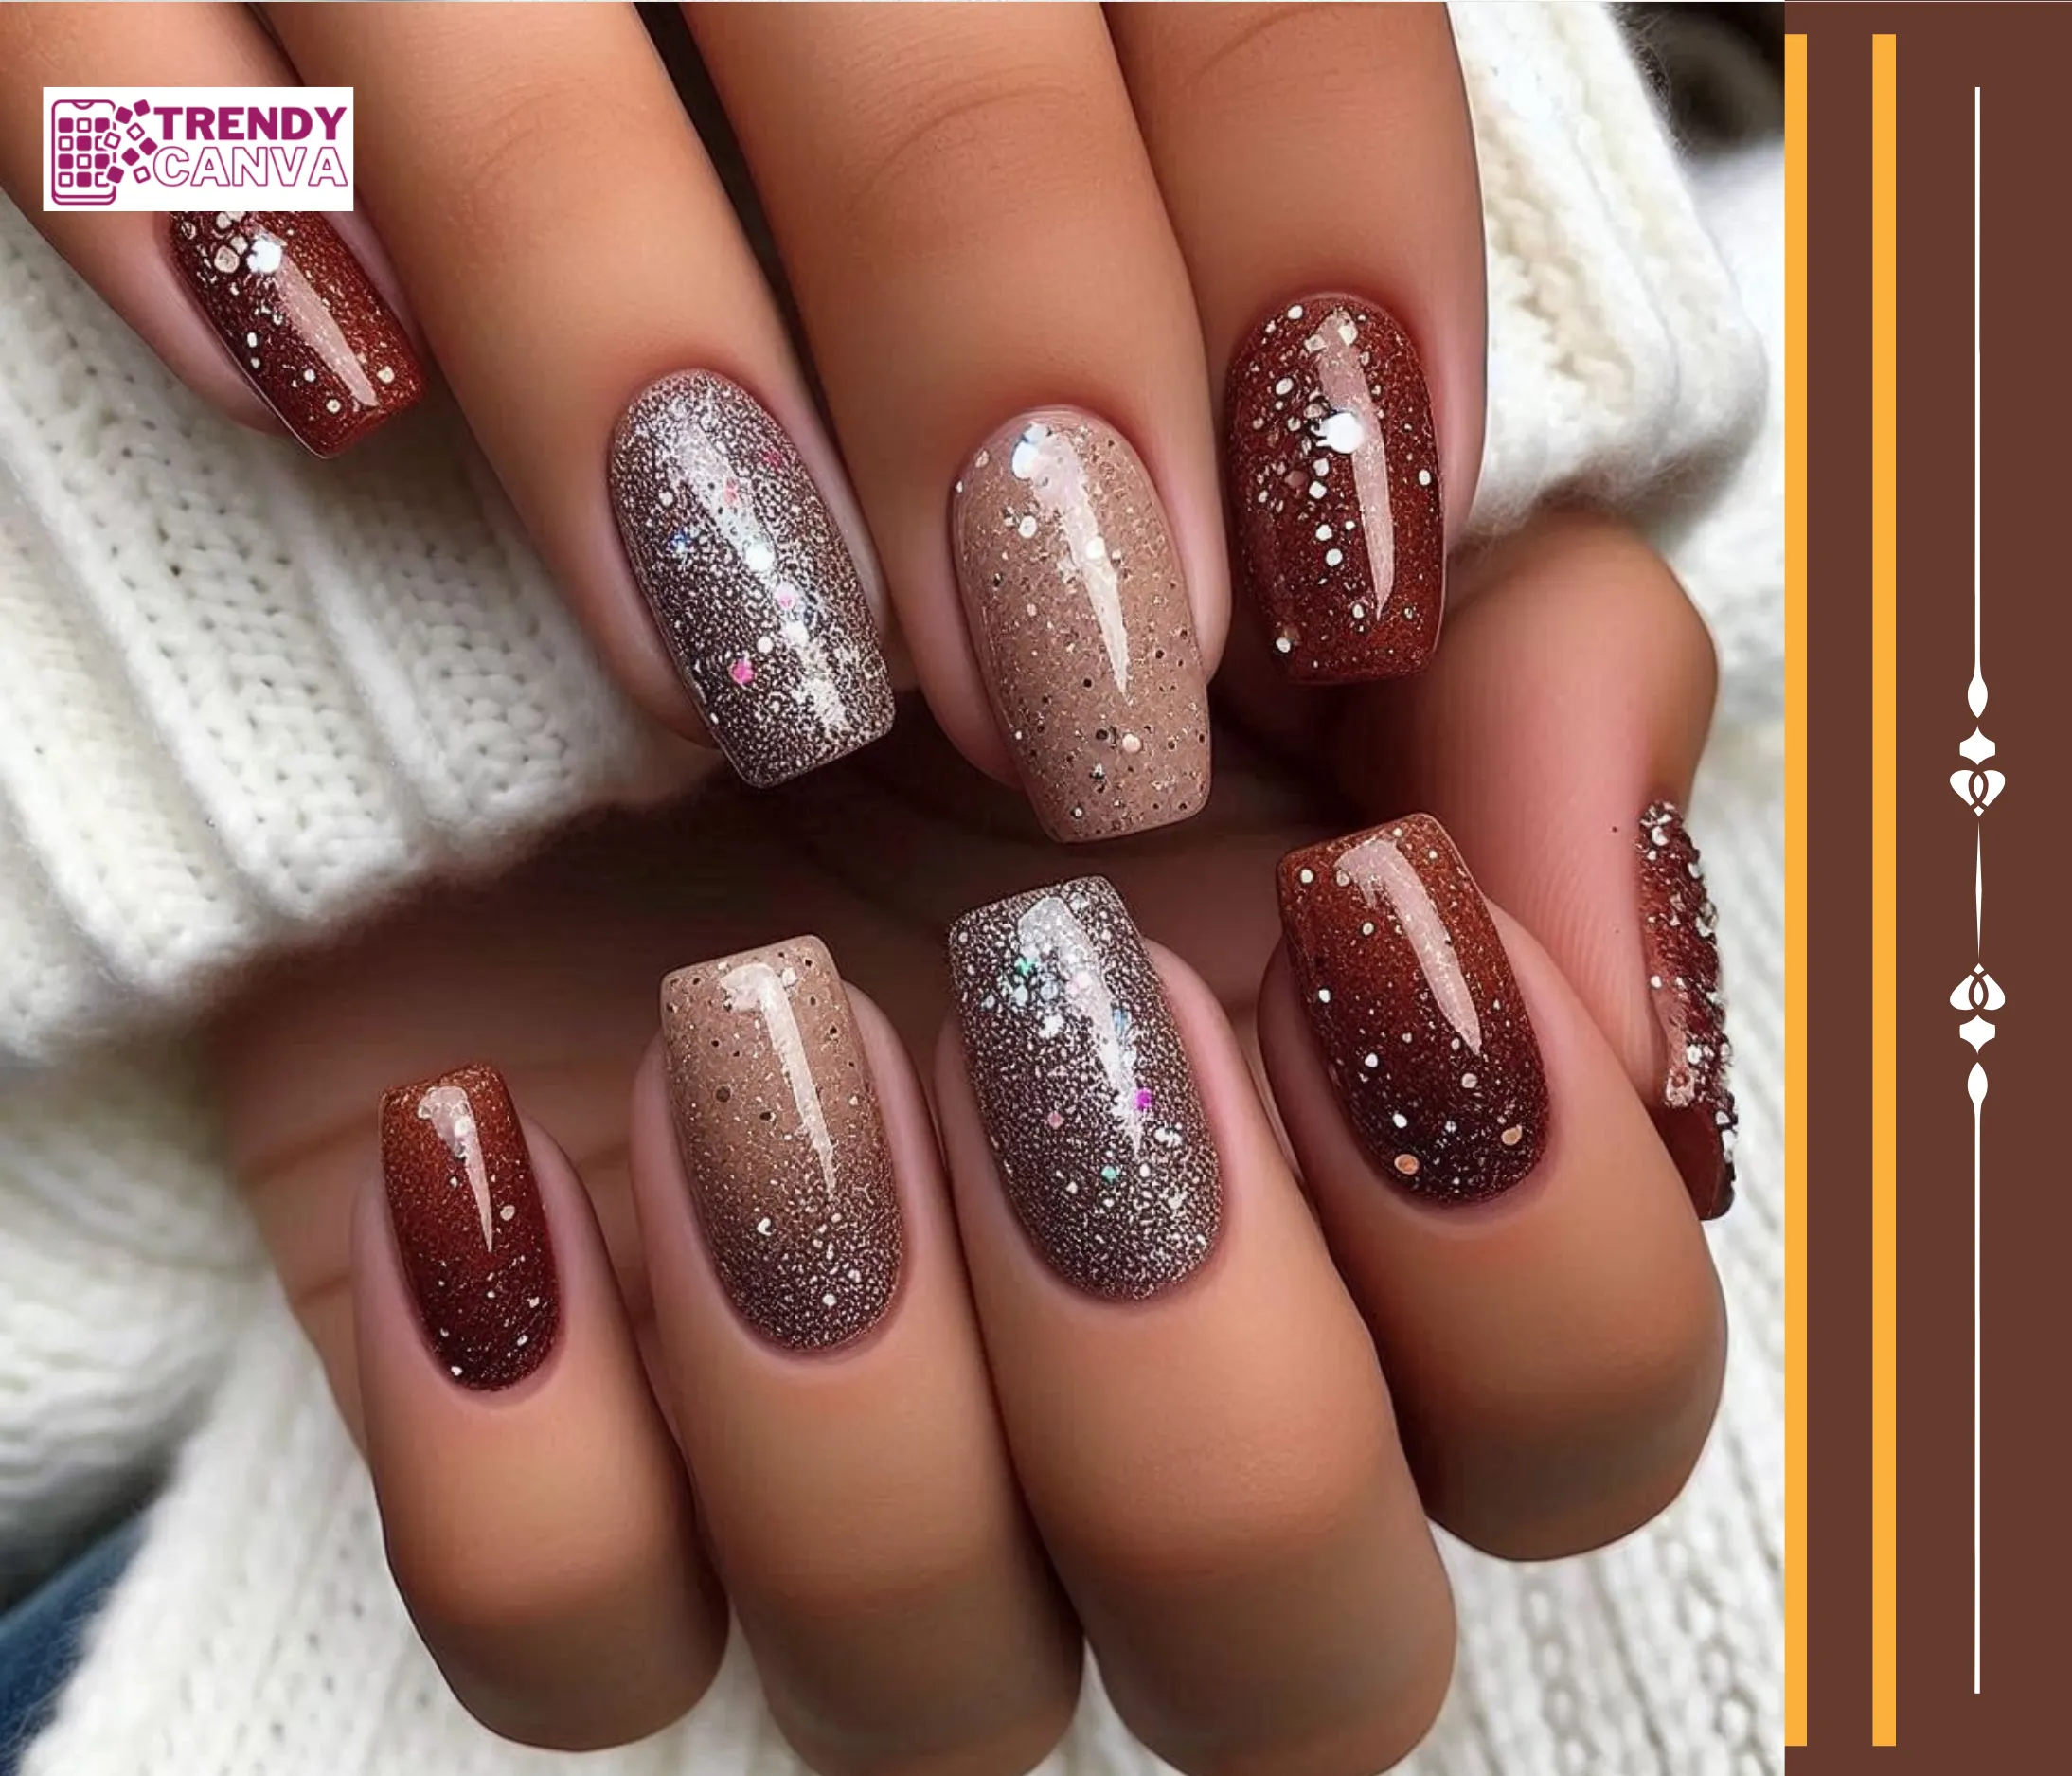
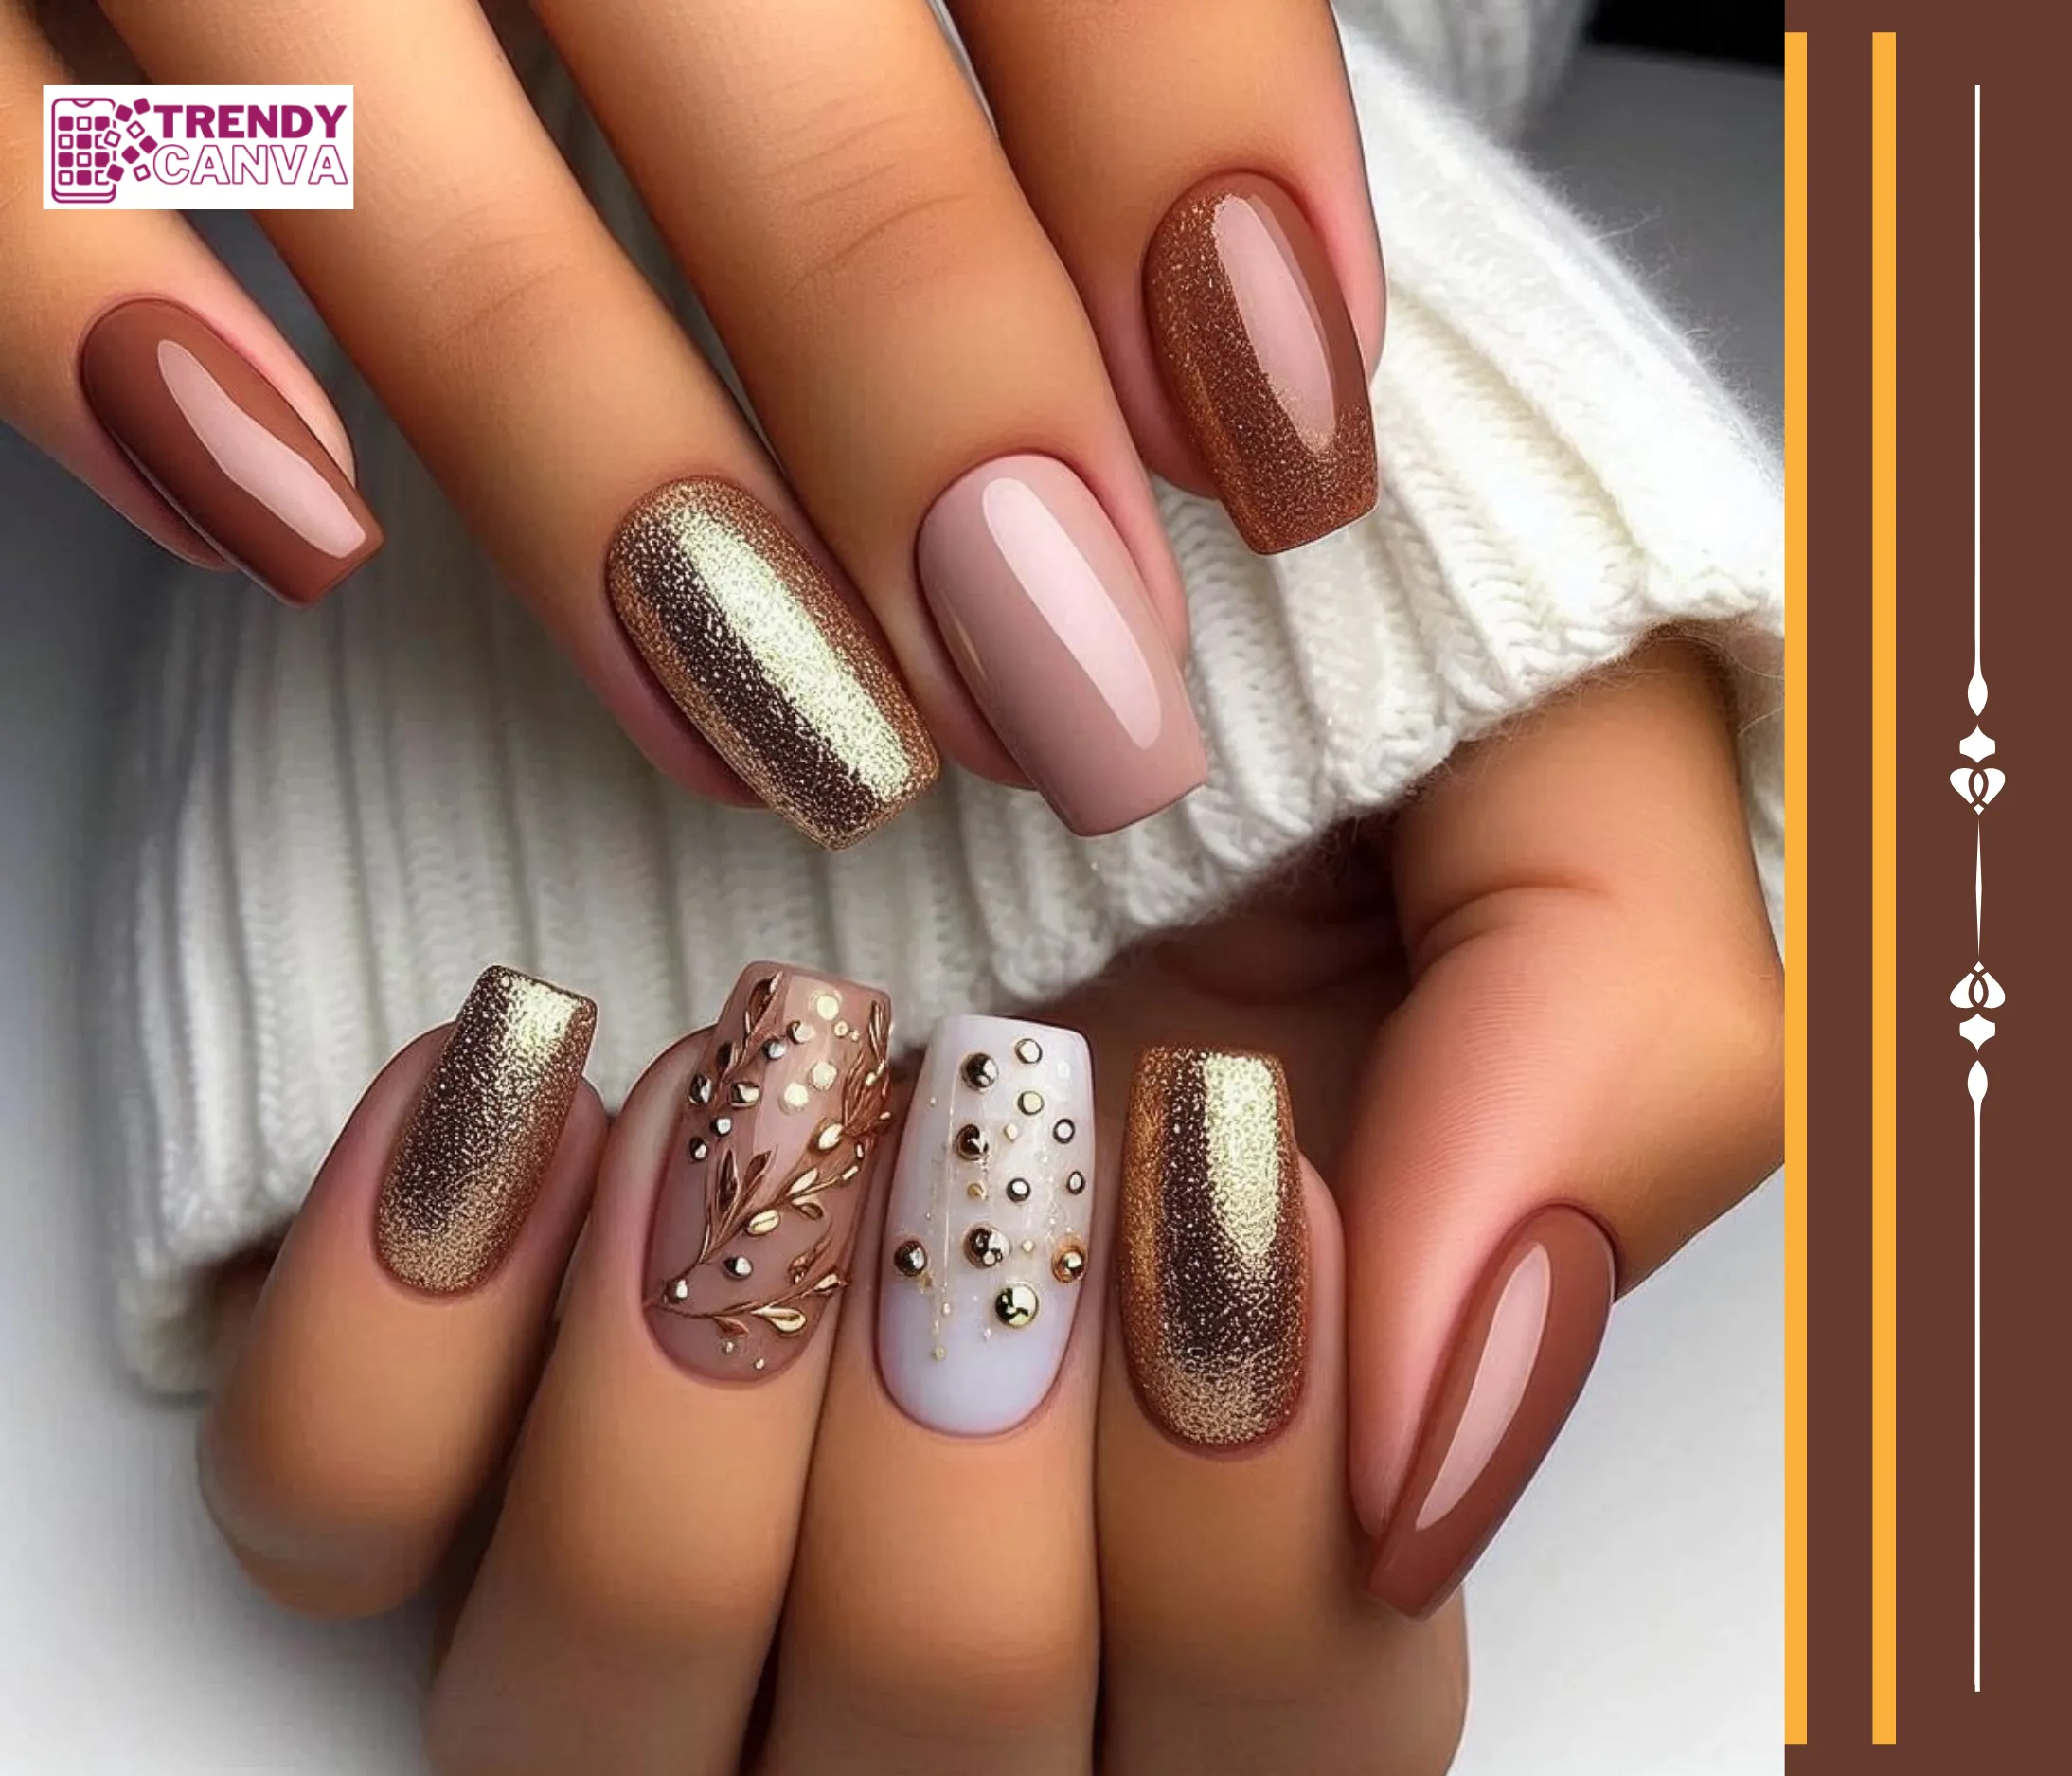
2. Glitter Brown Ombre Nails
To give it that lil’ extra boost of glam, apply a layer of glitter polish on the brown gradient tips! This playful twist on the classic design is a fun way to add some holiday cheer to your appearance. This look is ideal if you love brown ombre nails with glitter that still feel polished and wearable.
If you want to add a unique atmosphere to the festival, you can try Custom Keychains. Custom keychains can be customized with various holiday patterns, such as Christmas, Mother’s Day, Thanksgiving, etc.

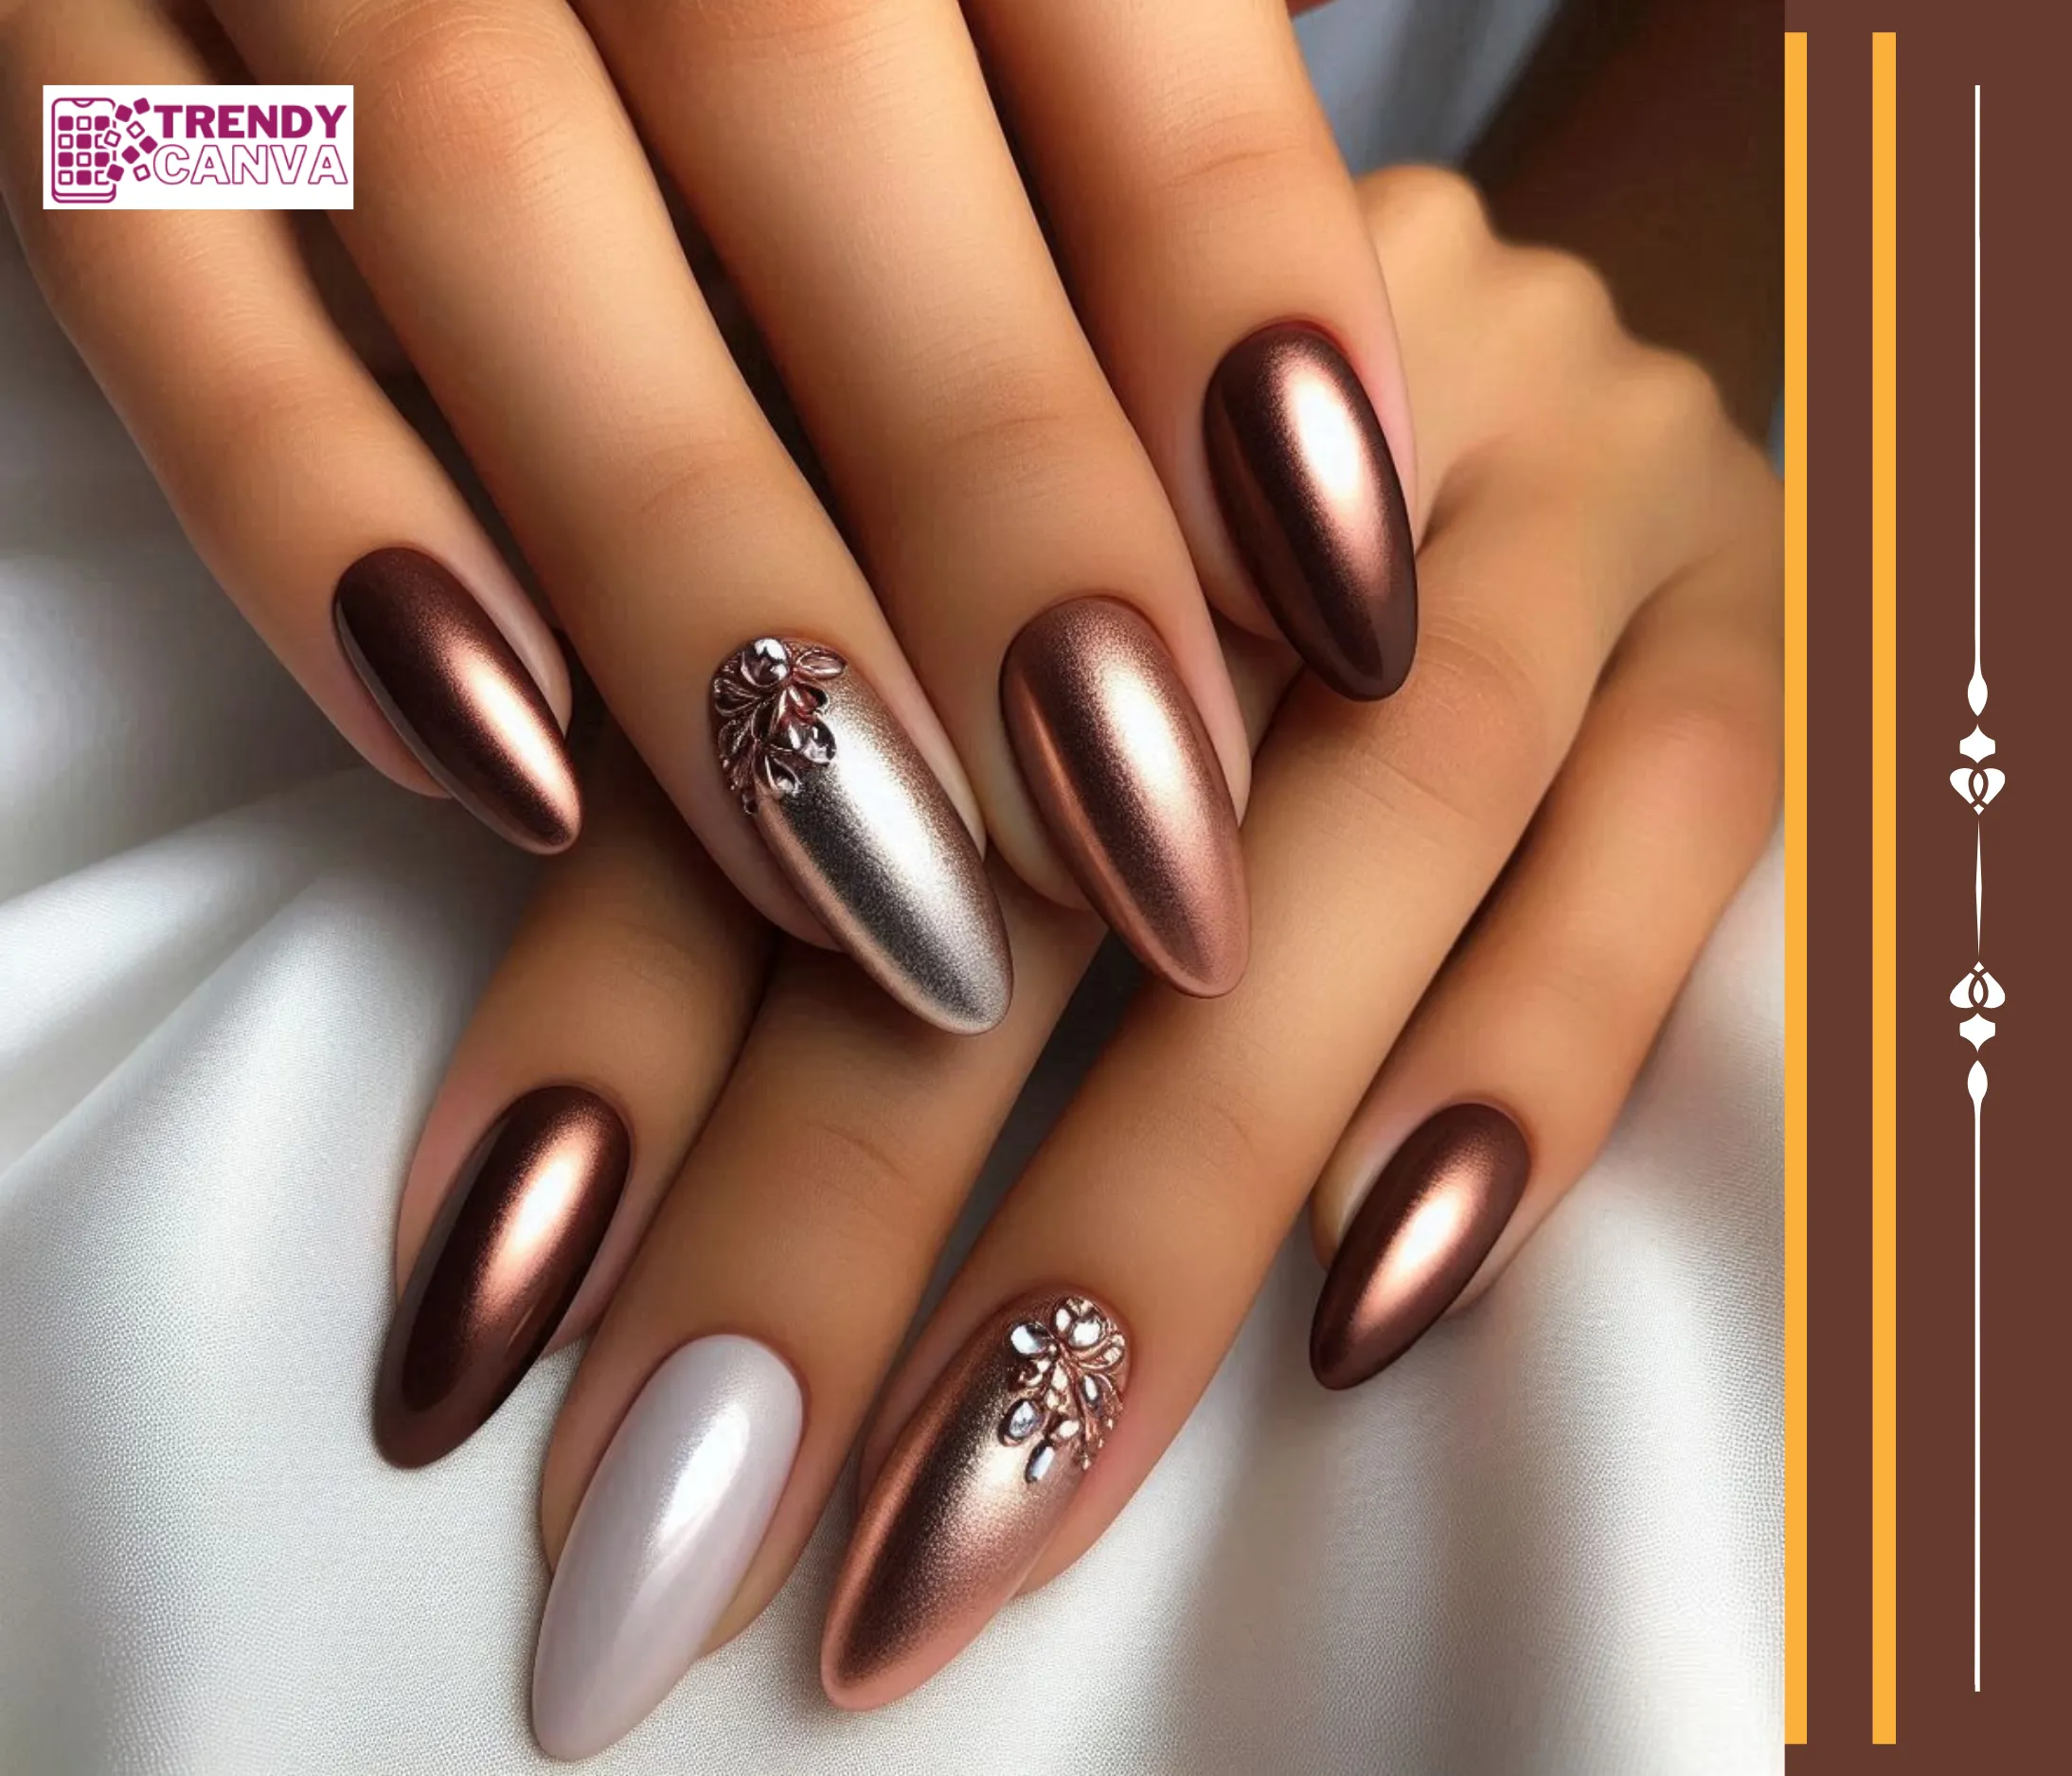
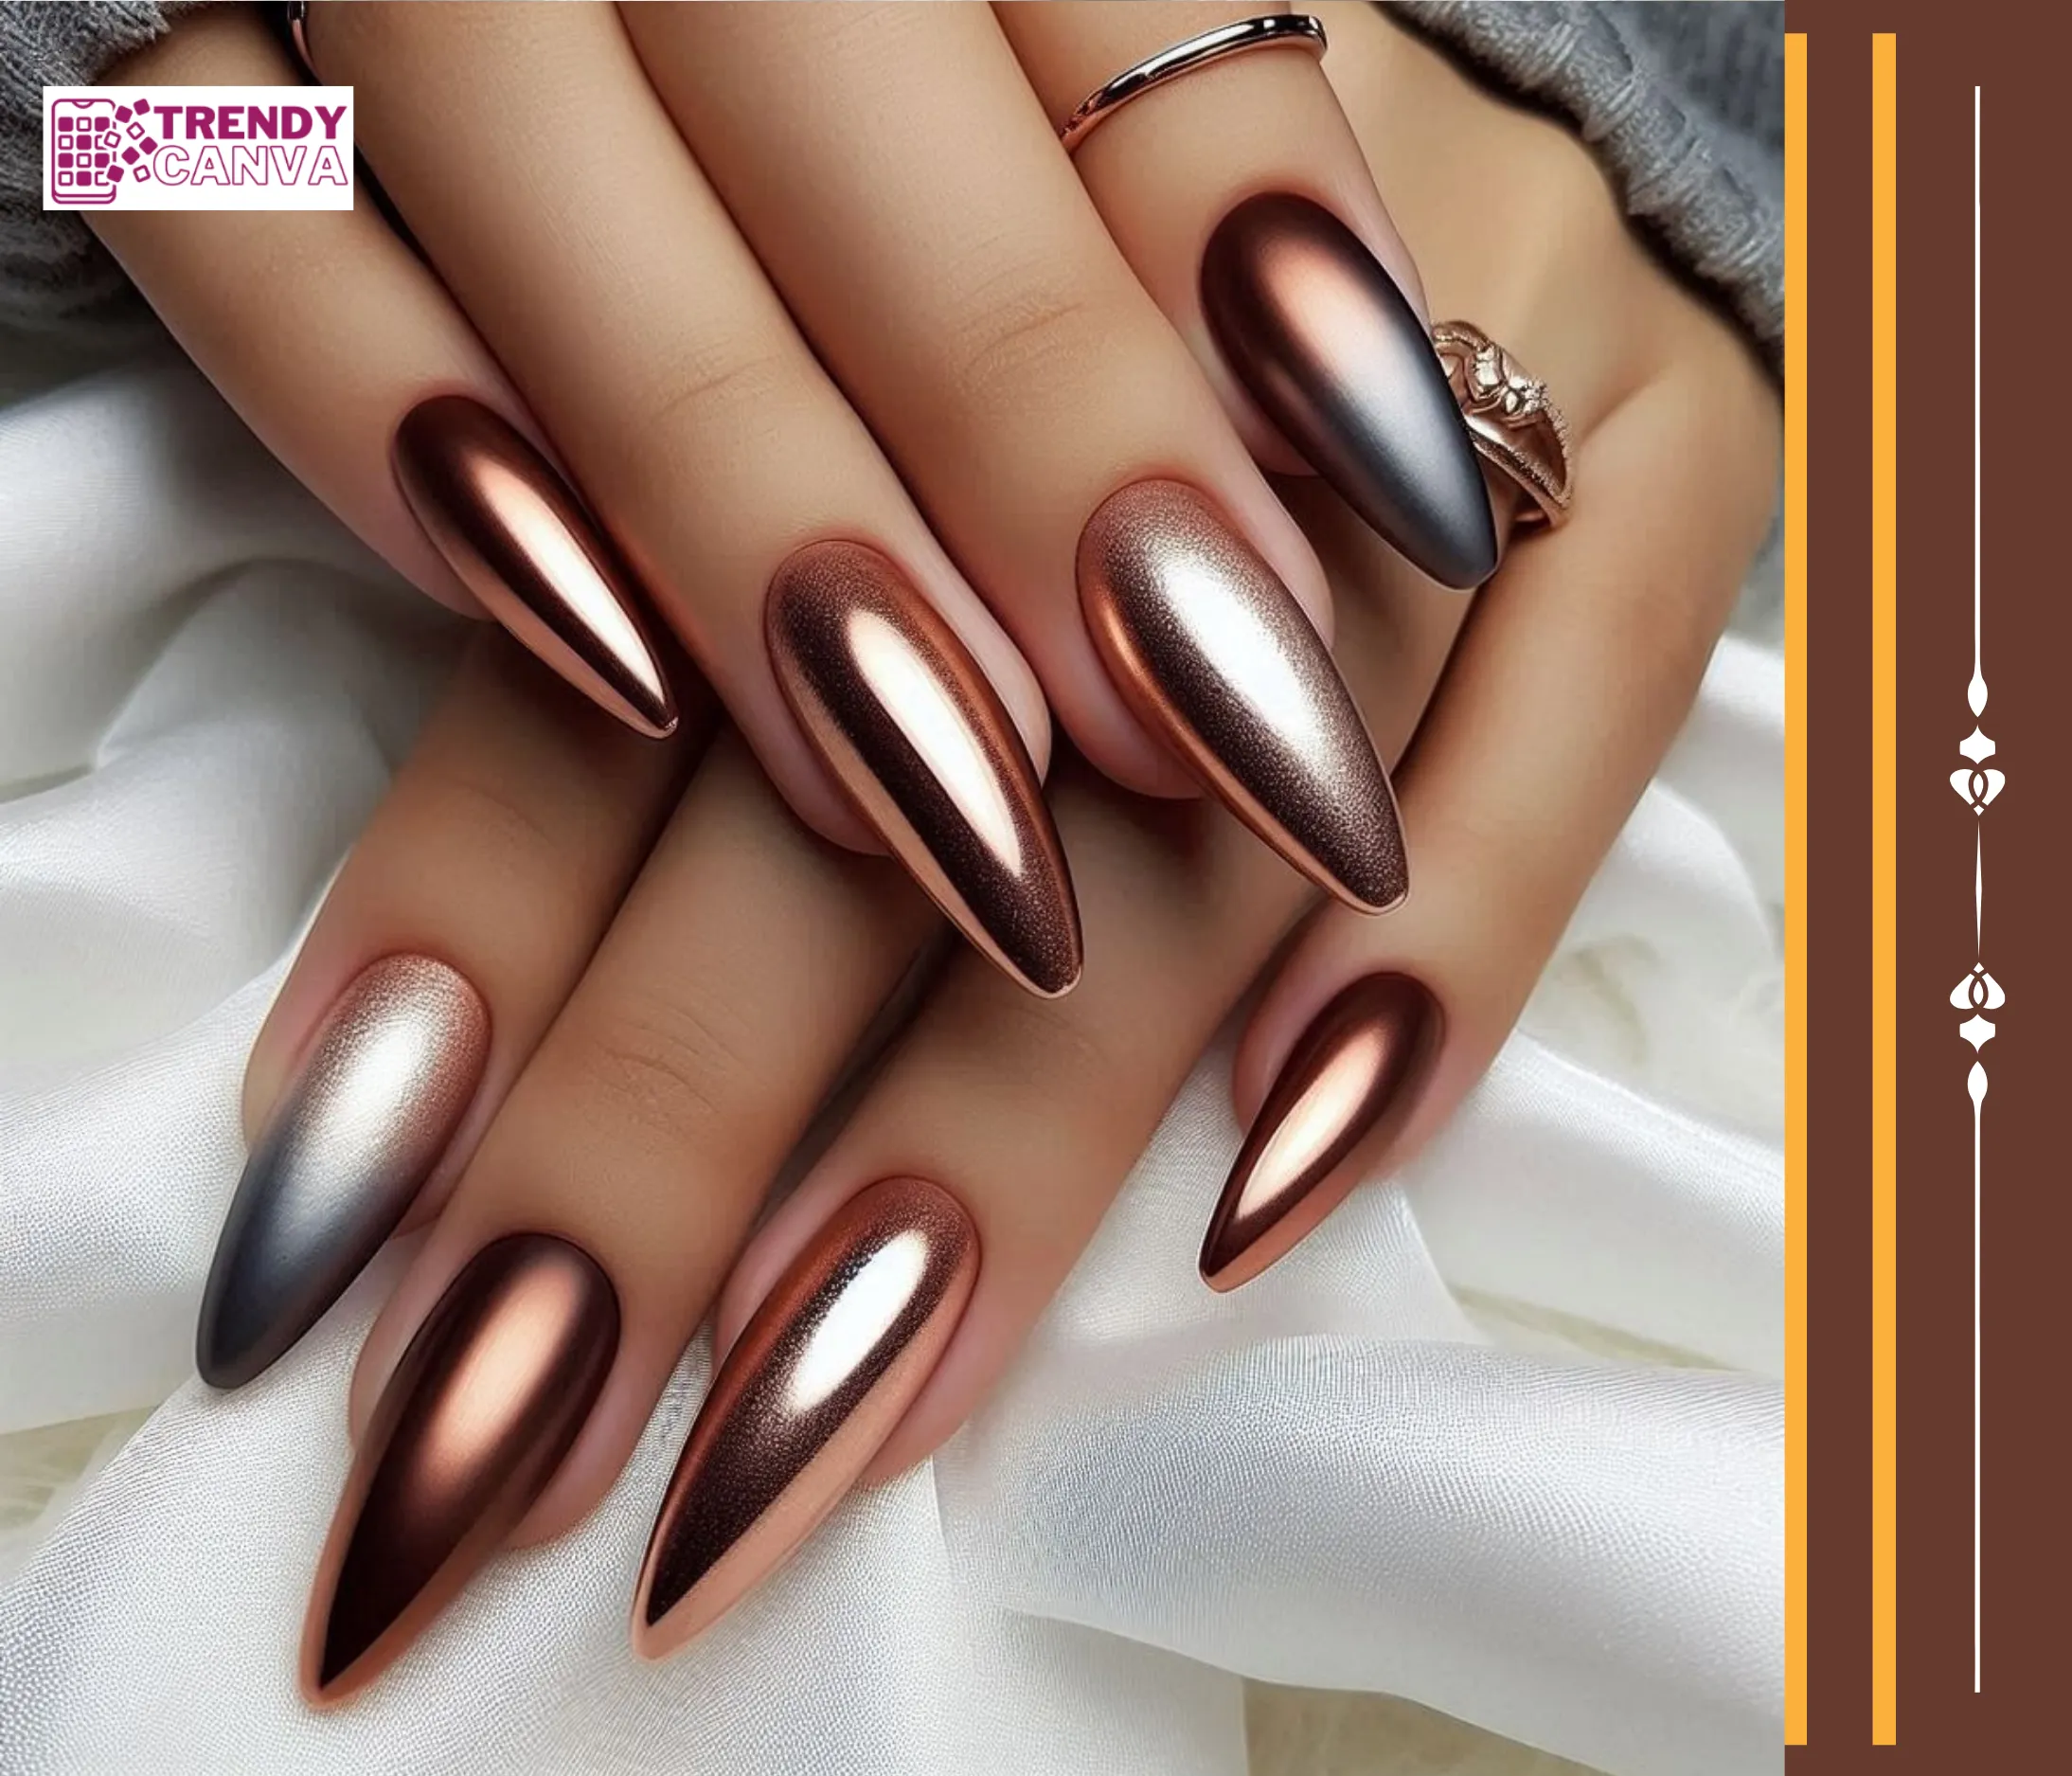
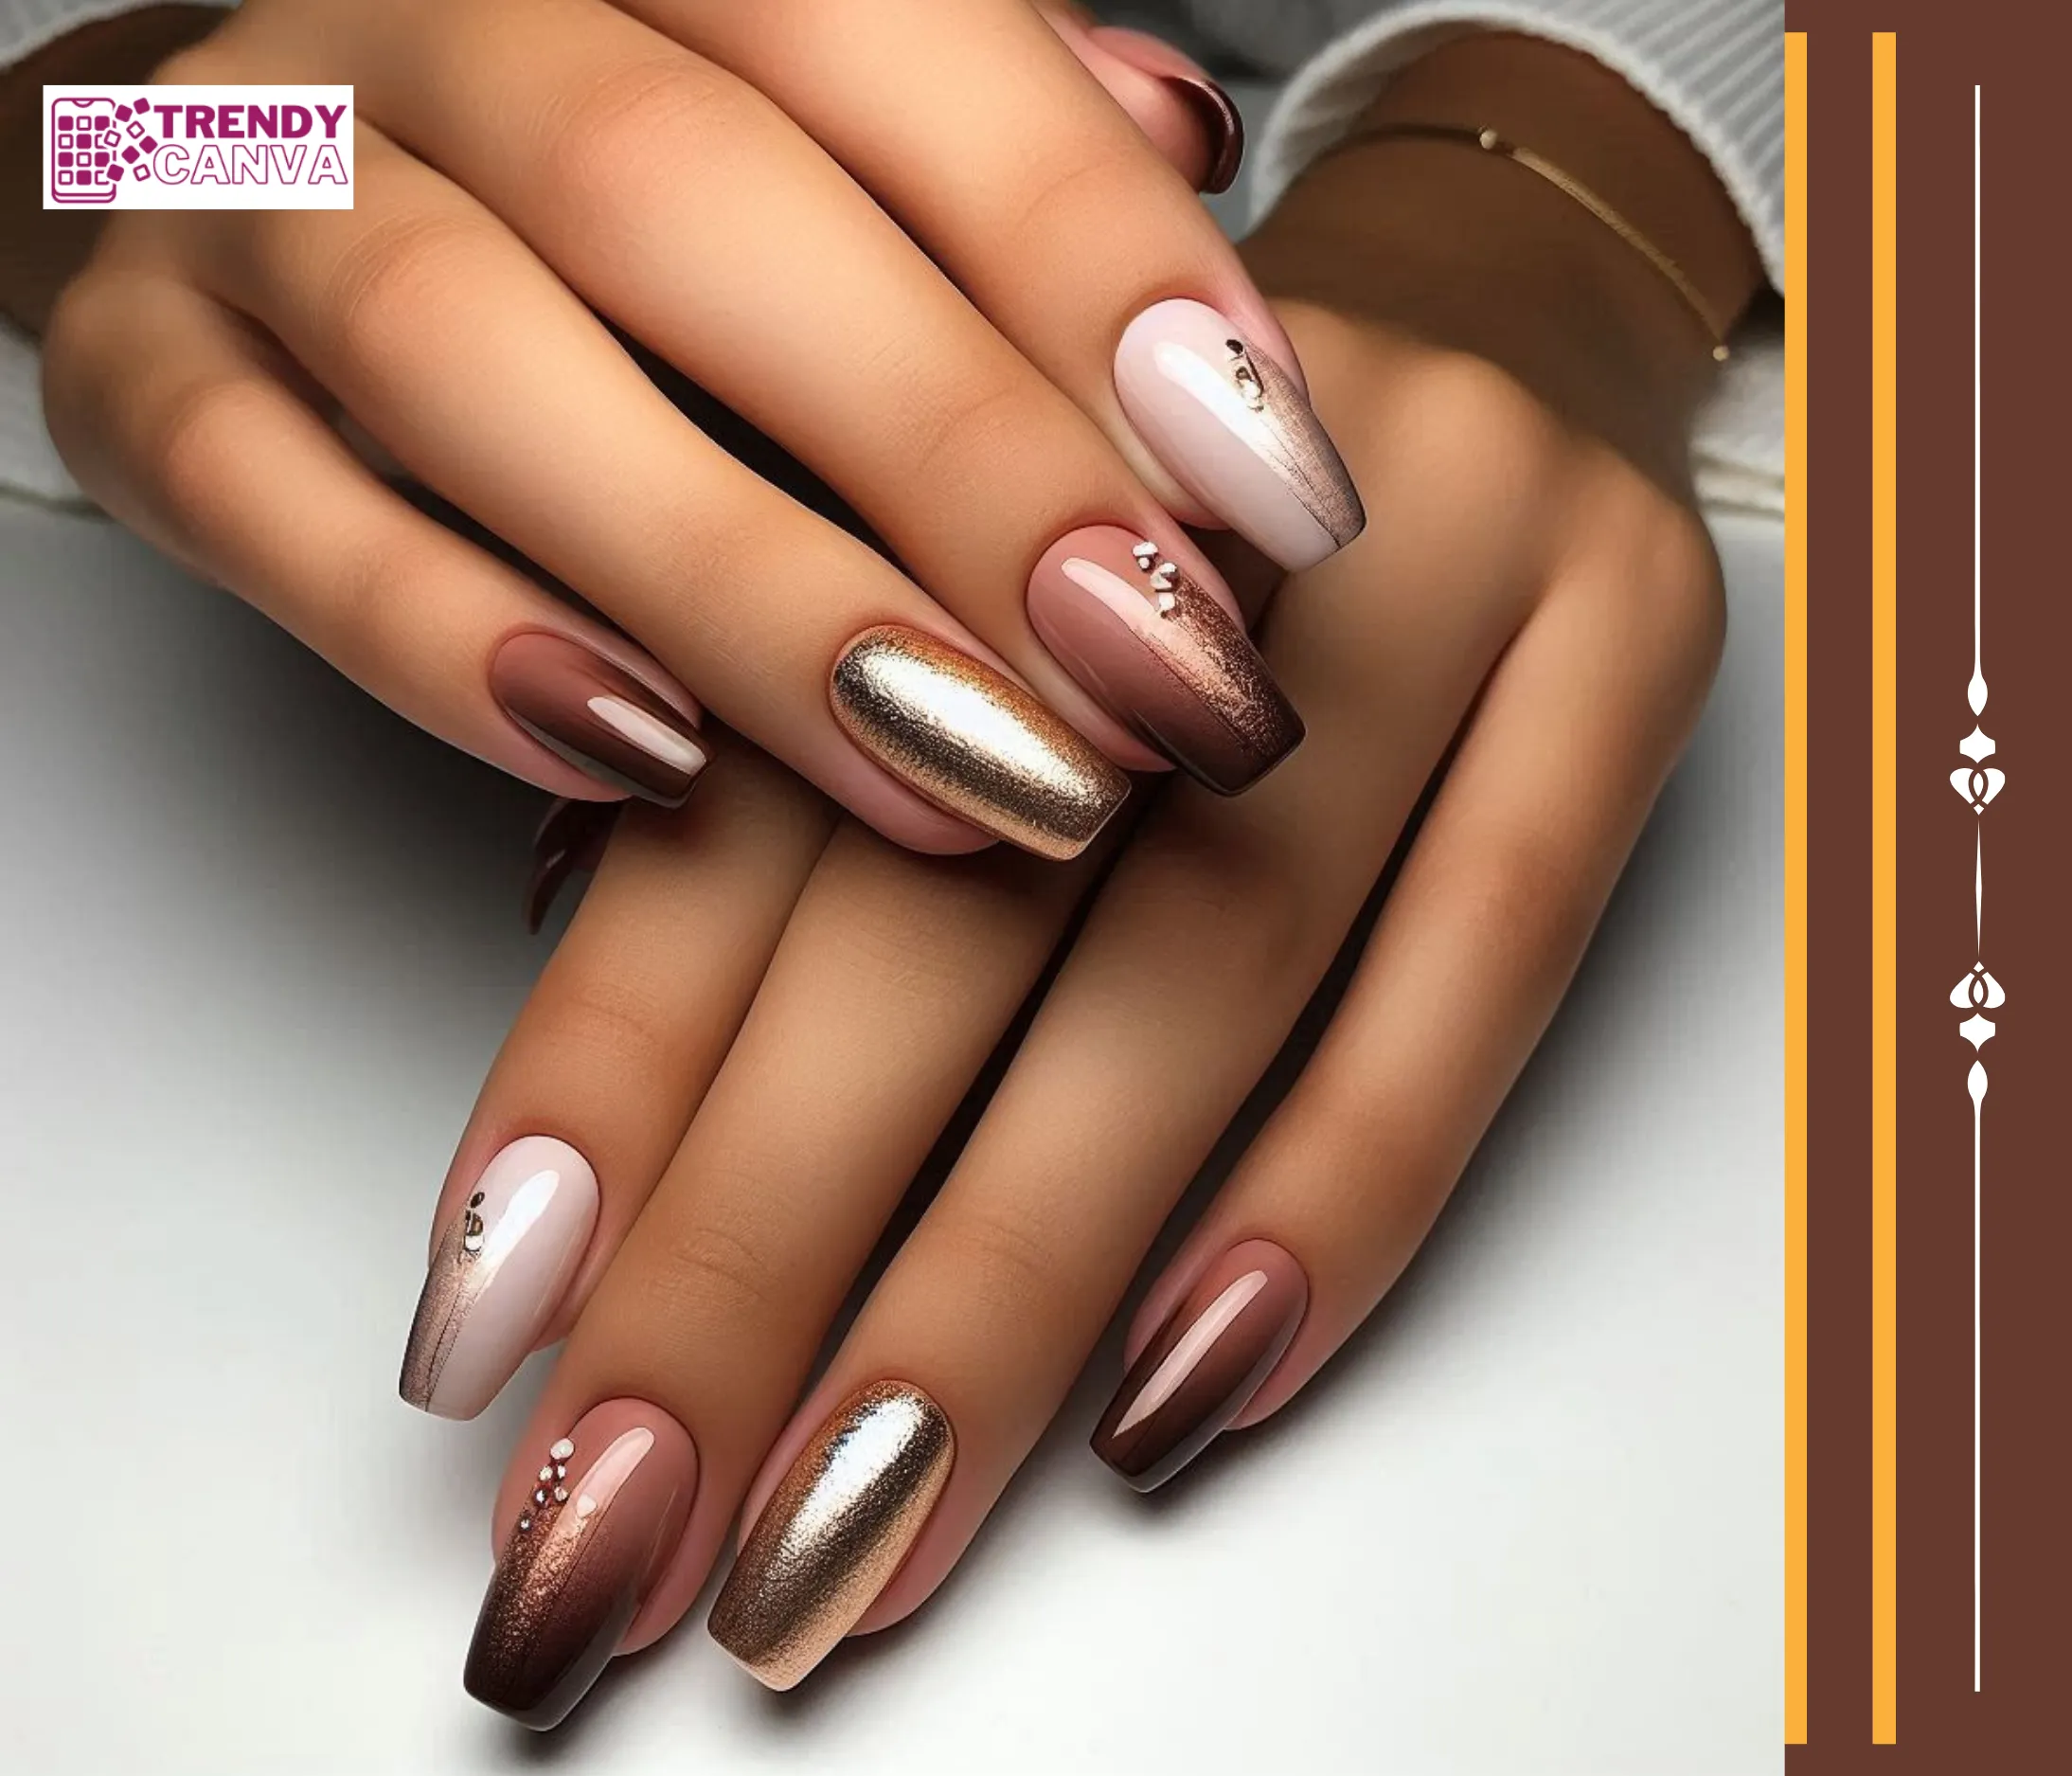
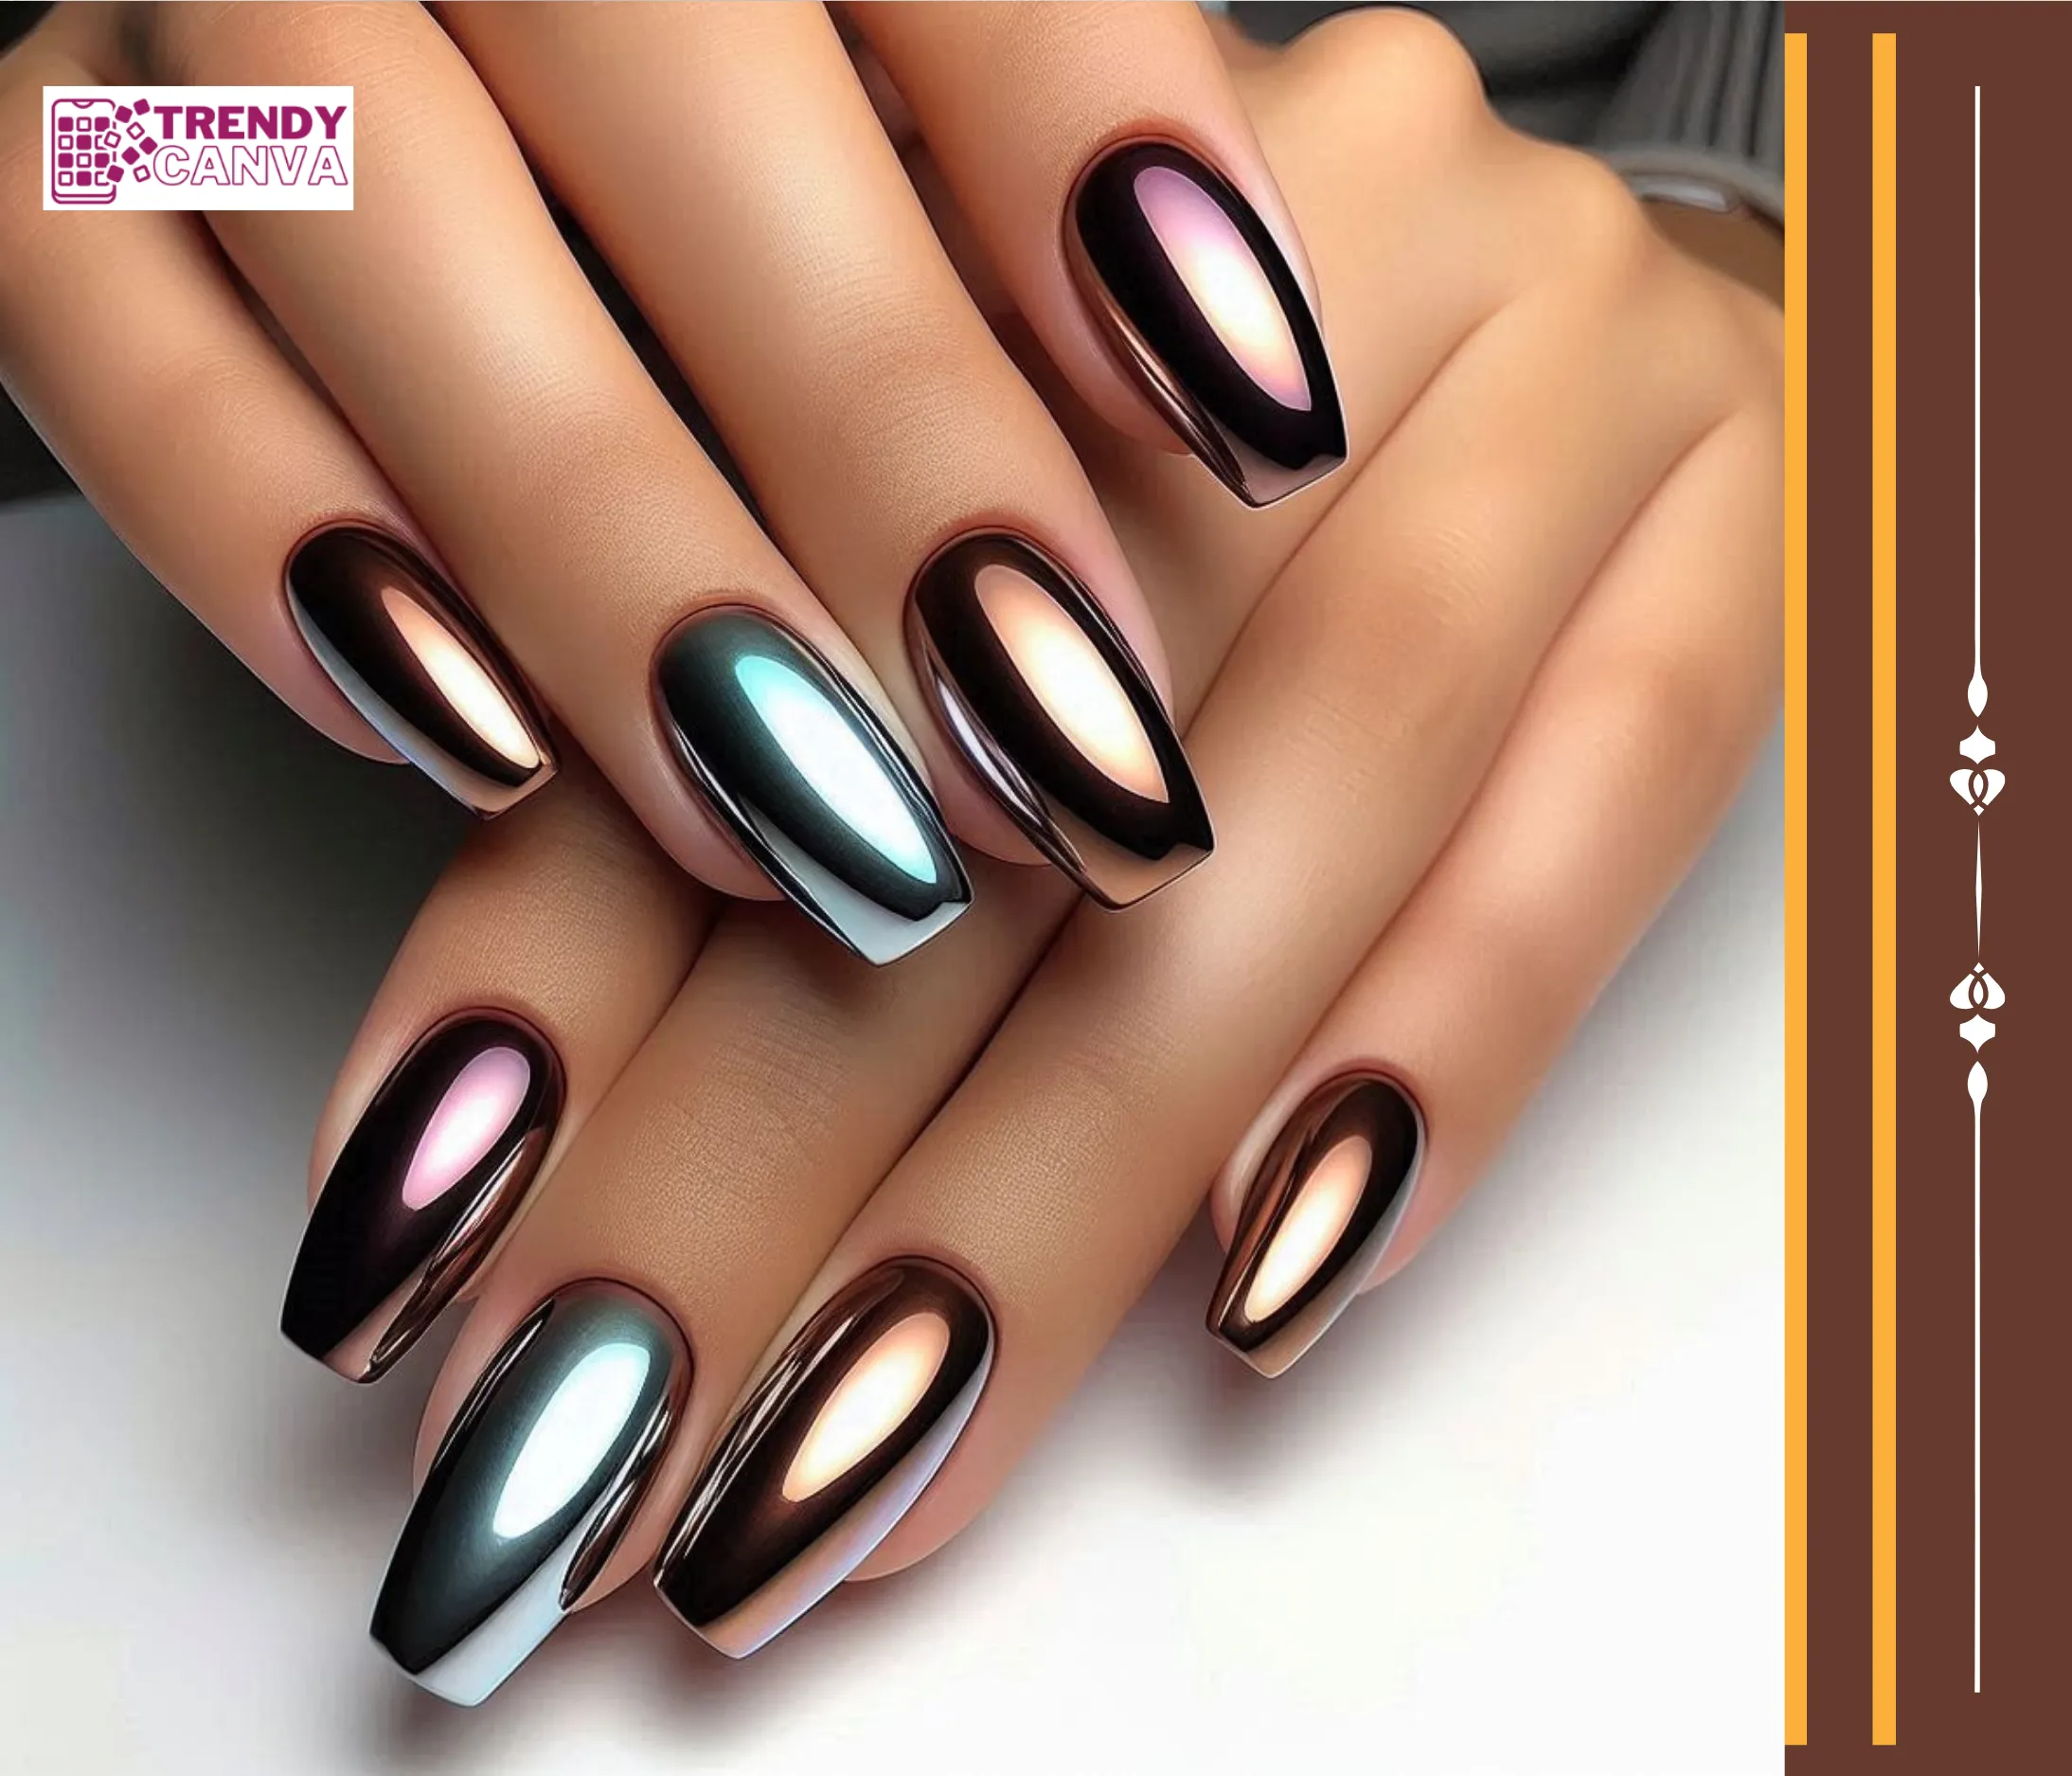
3. Metallic Brown Ombre Nails
Want some glitz for your texts? Prefer a metallic brown contour stepped-gradient. The reflective design of this fantastic accessory is ideal for use at night or any events that will make a luminous appearance out of the wearer.

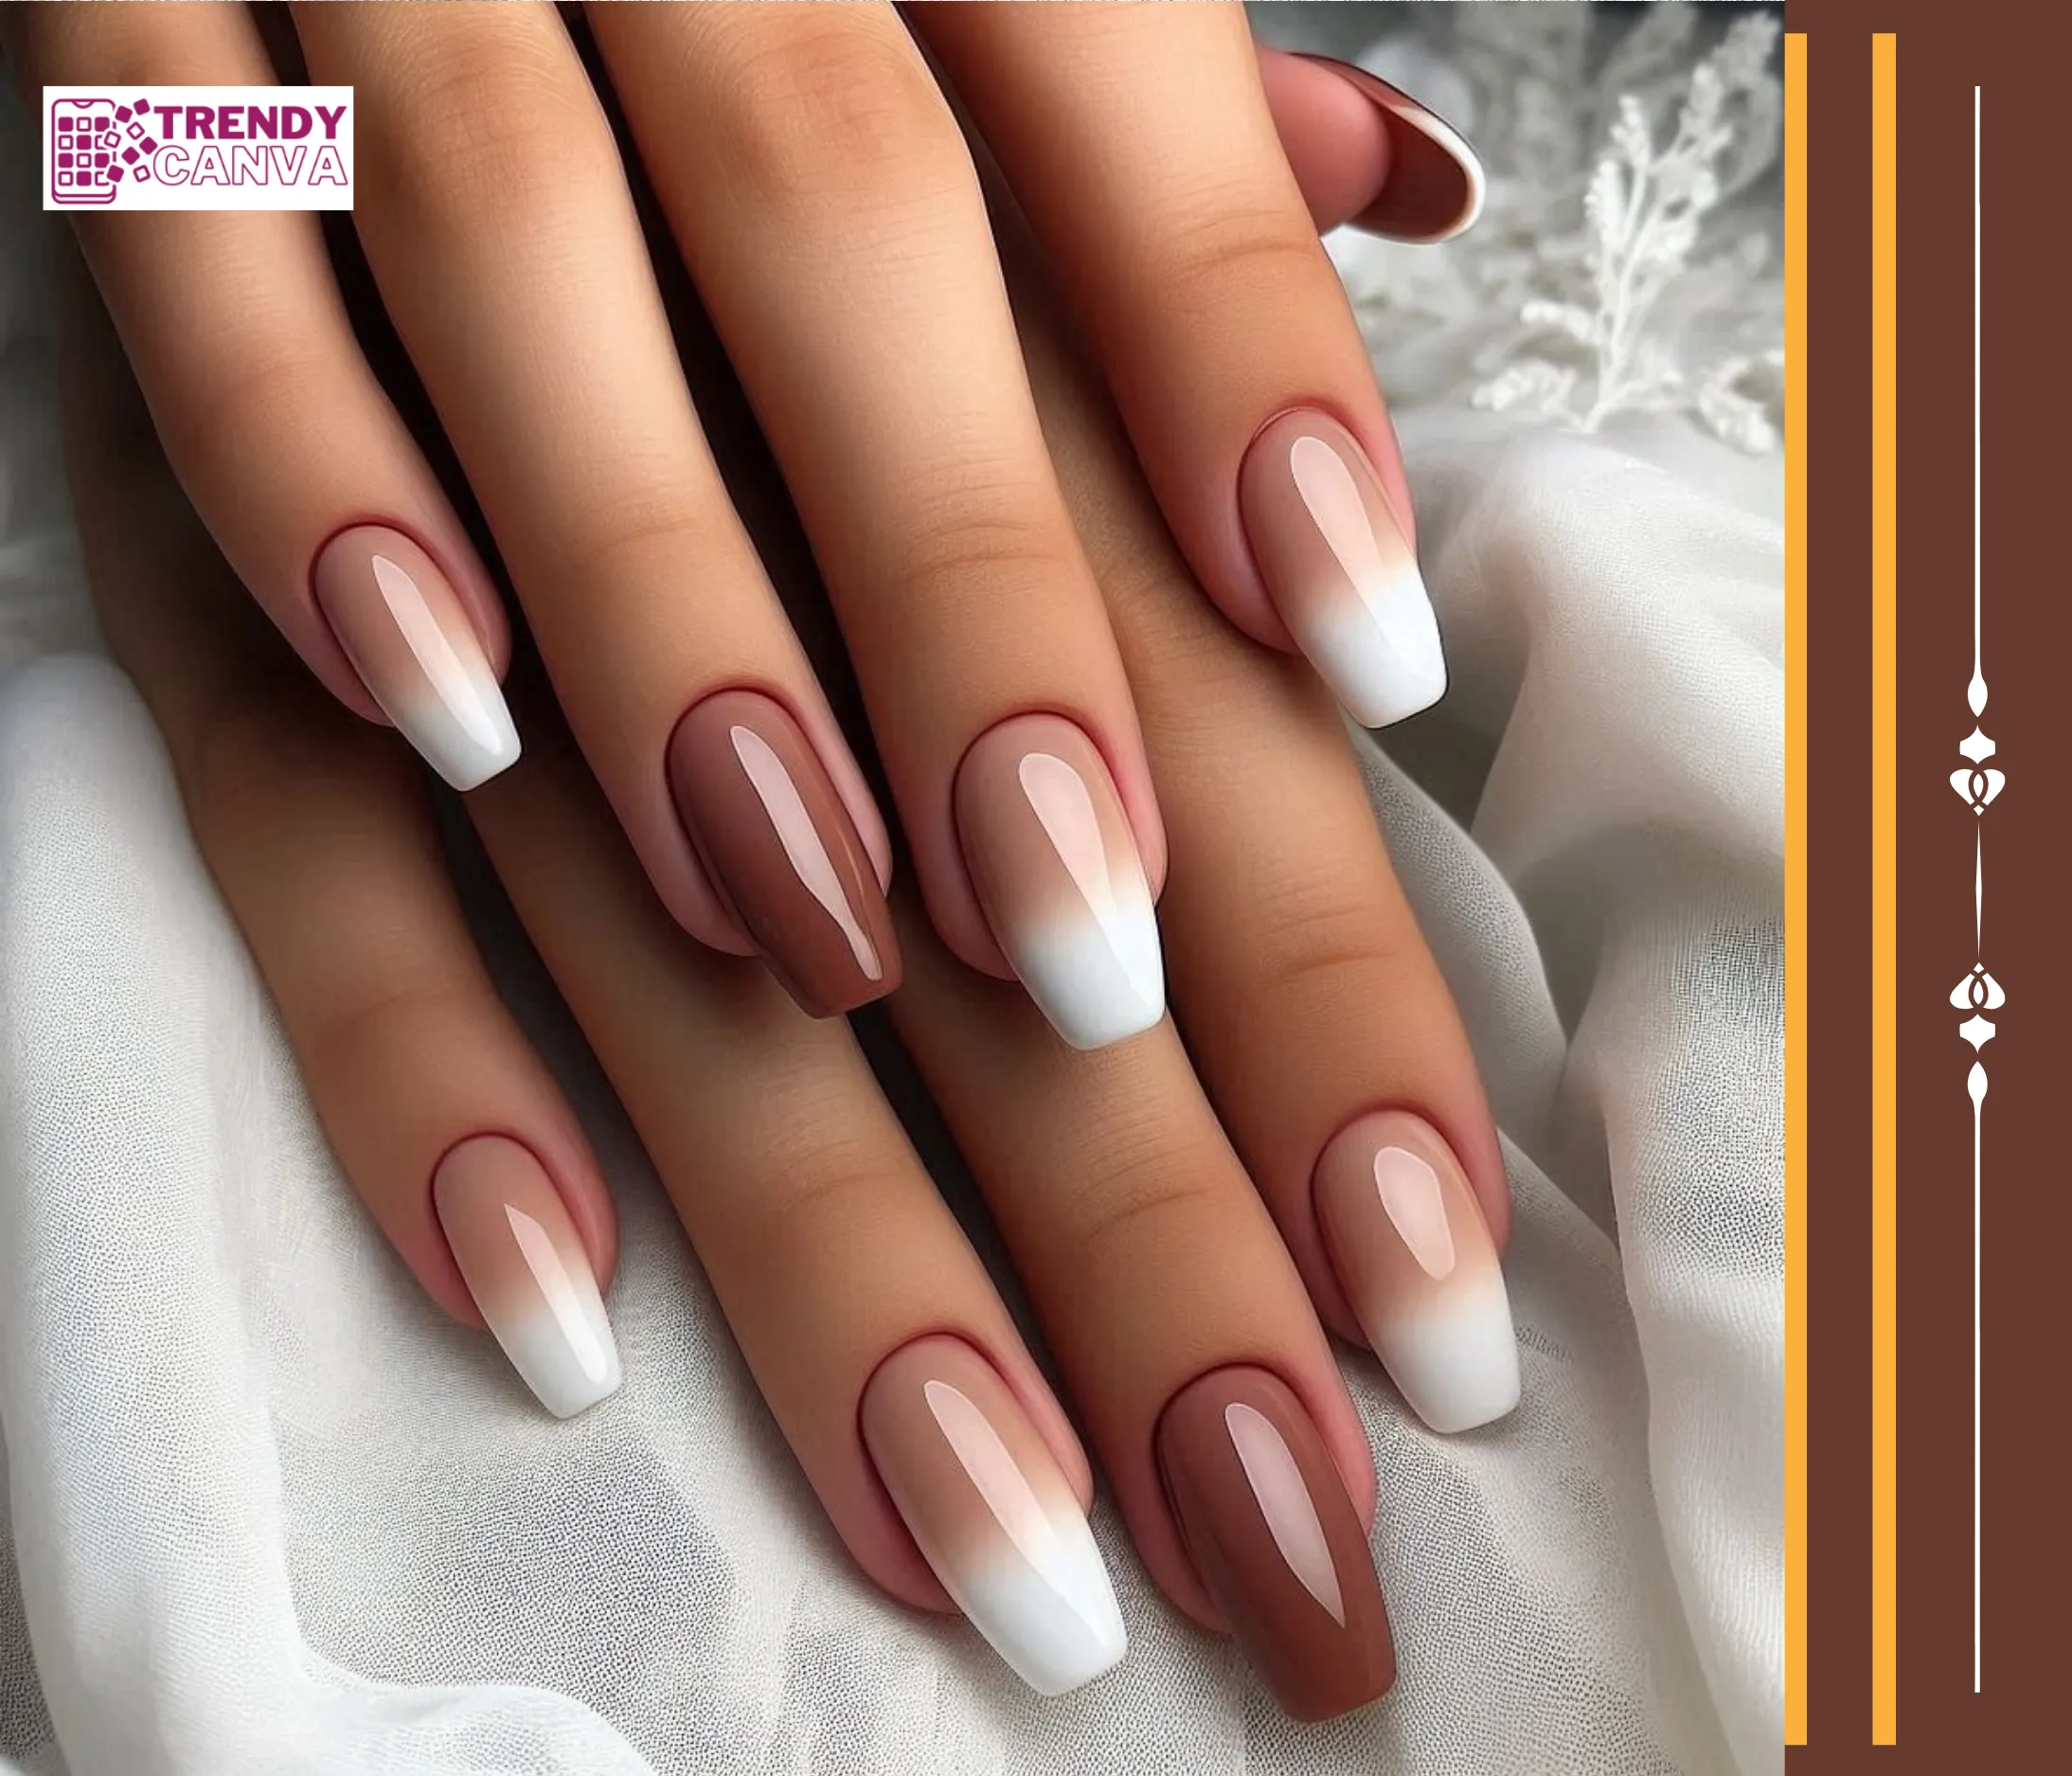
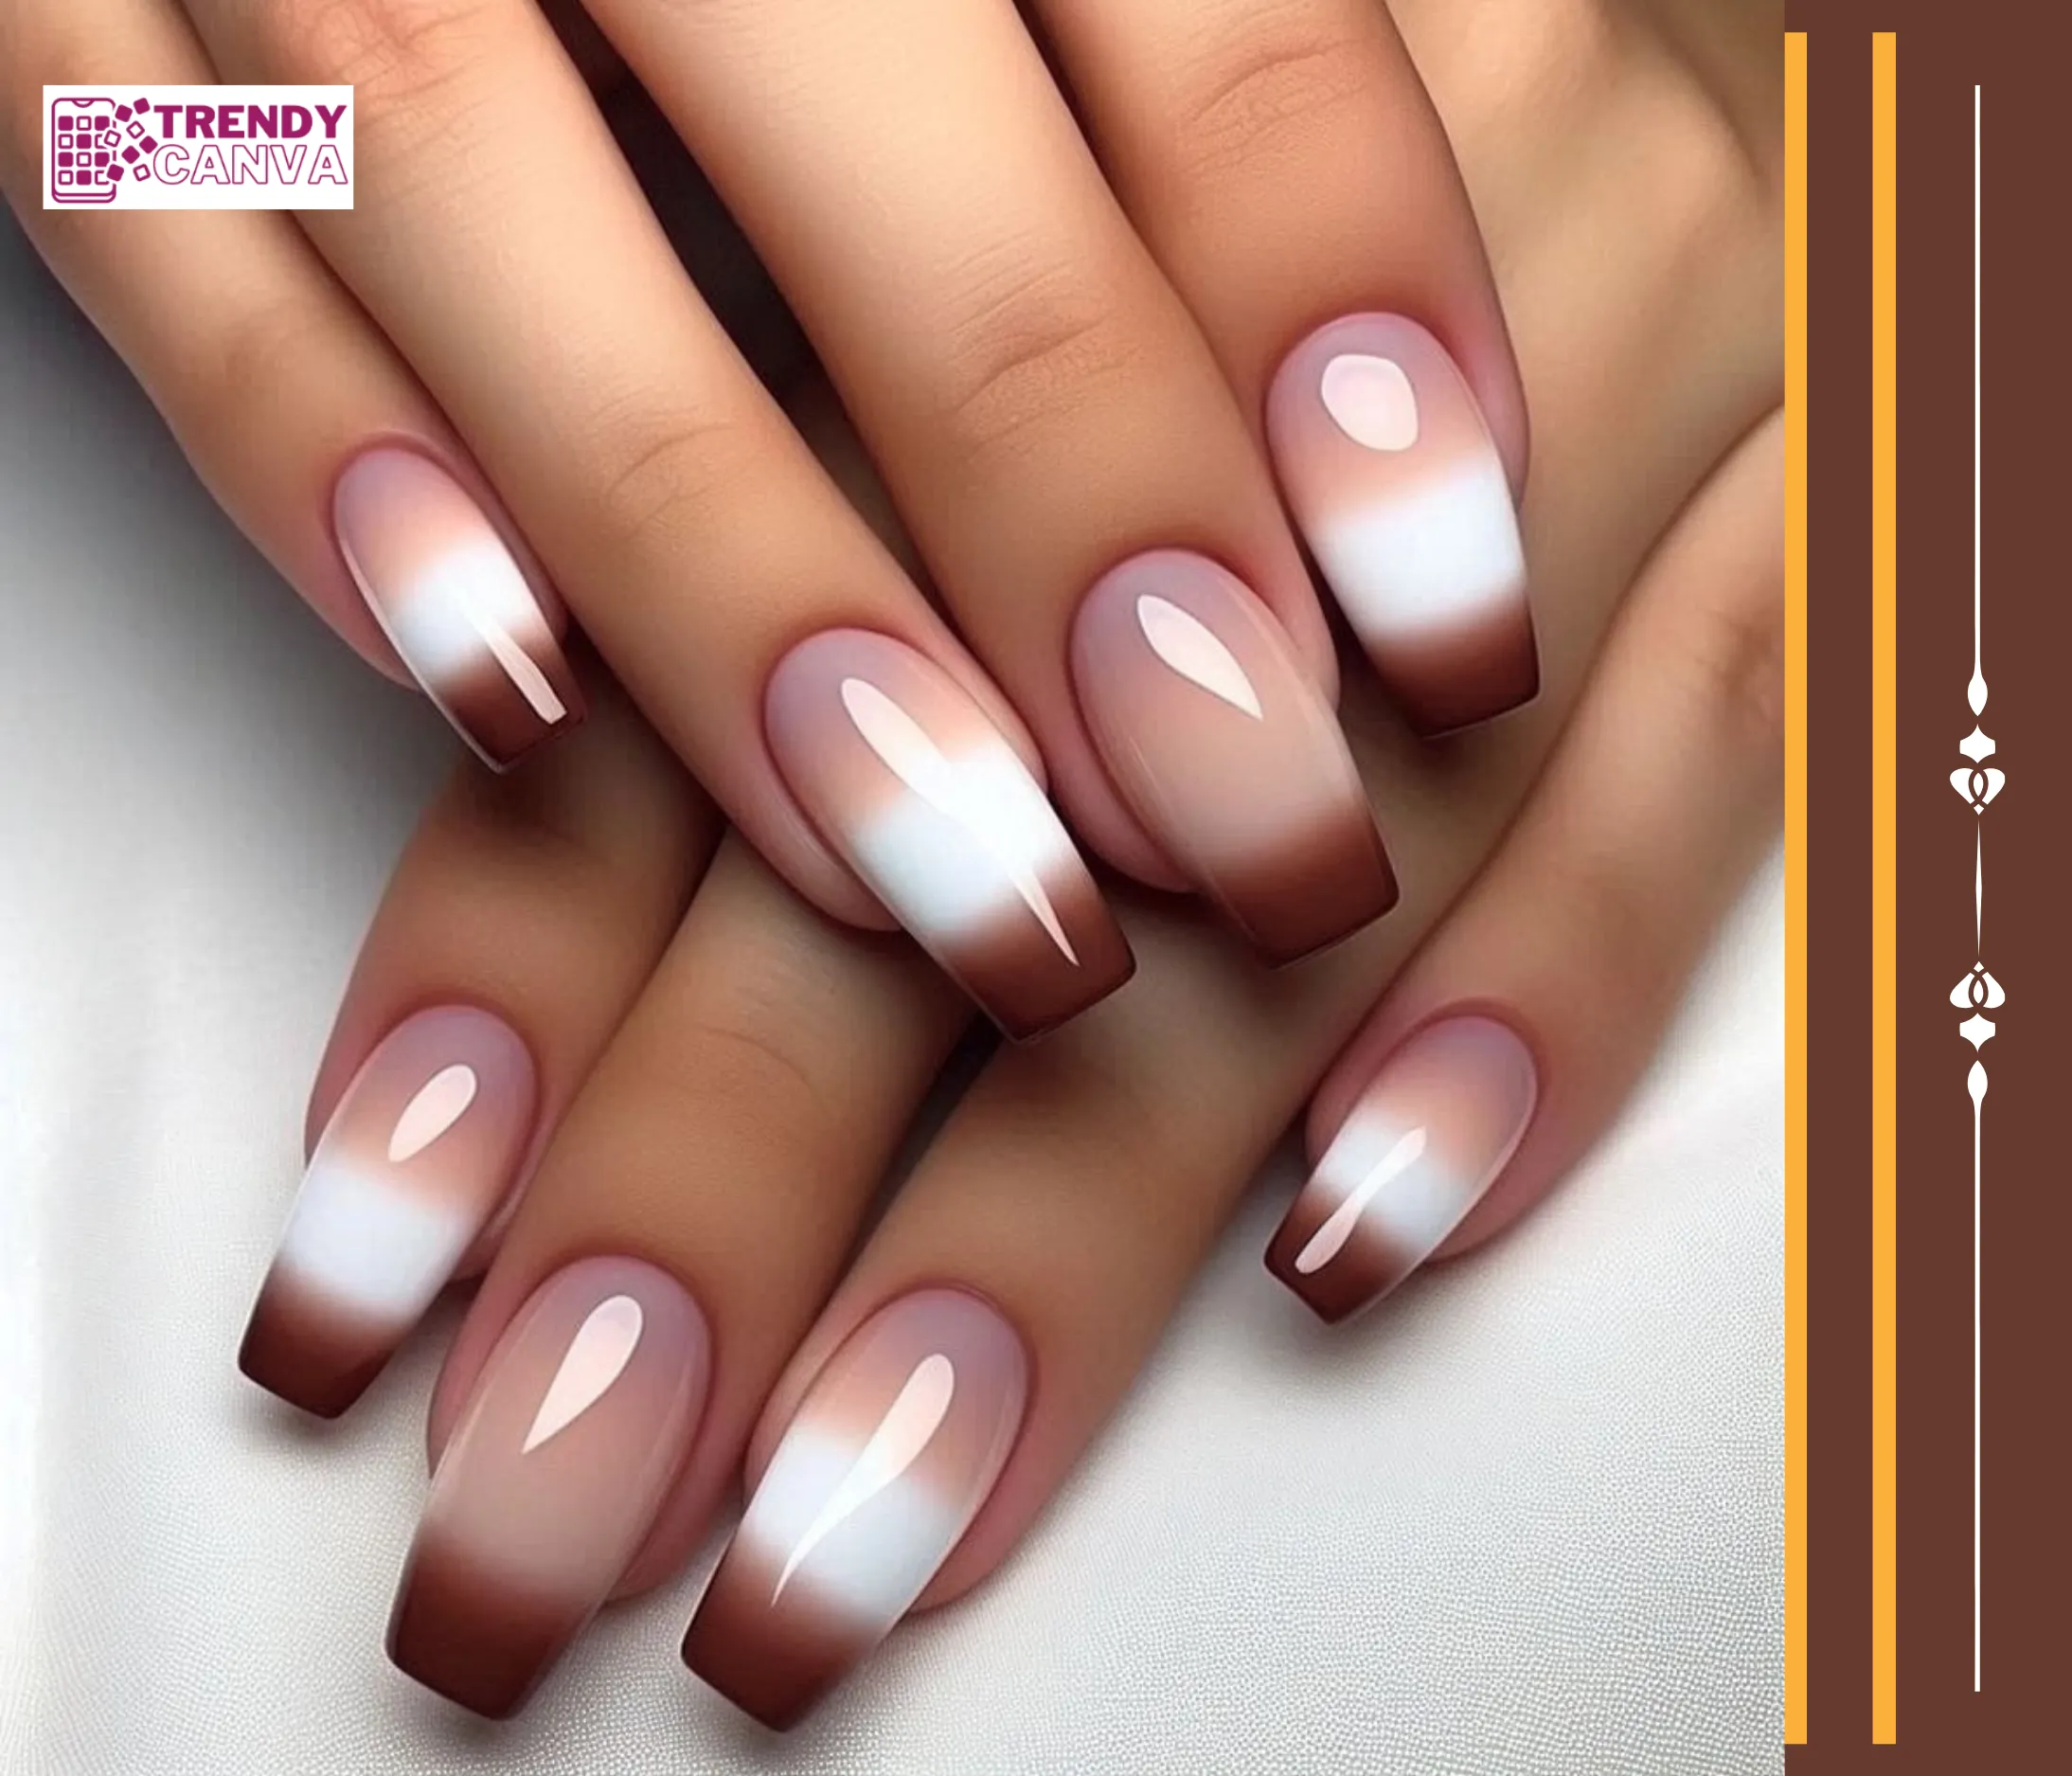
4. French Fade Brown Ombre Nails
For a fashionable modification of the French manicure, try to implement an ombre design in a rich brown color. Considered this subtle French tip luxurious and smart enough for work or for business casual simple and elegant look. This subtle design is perfect for fans of brown ombre french nails who want a professional yet trendy manicure.
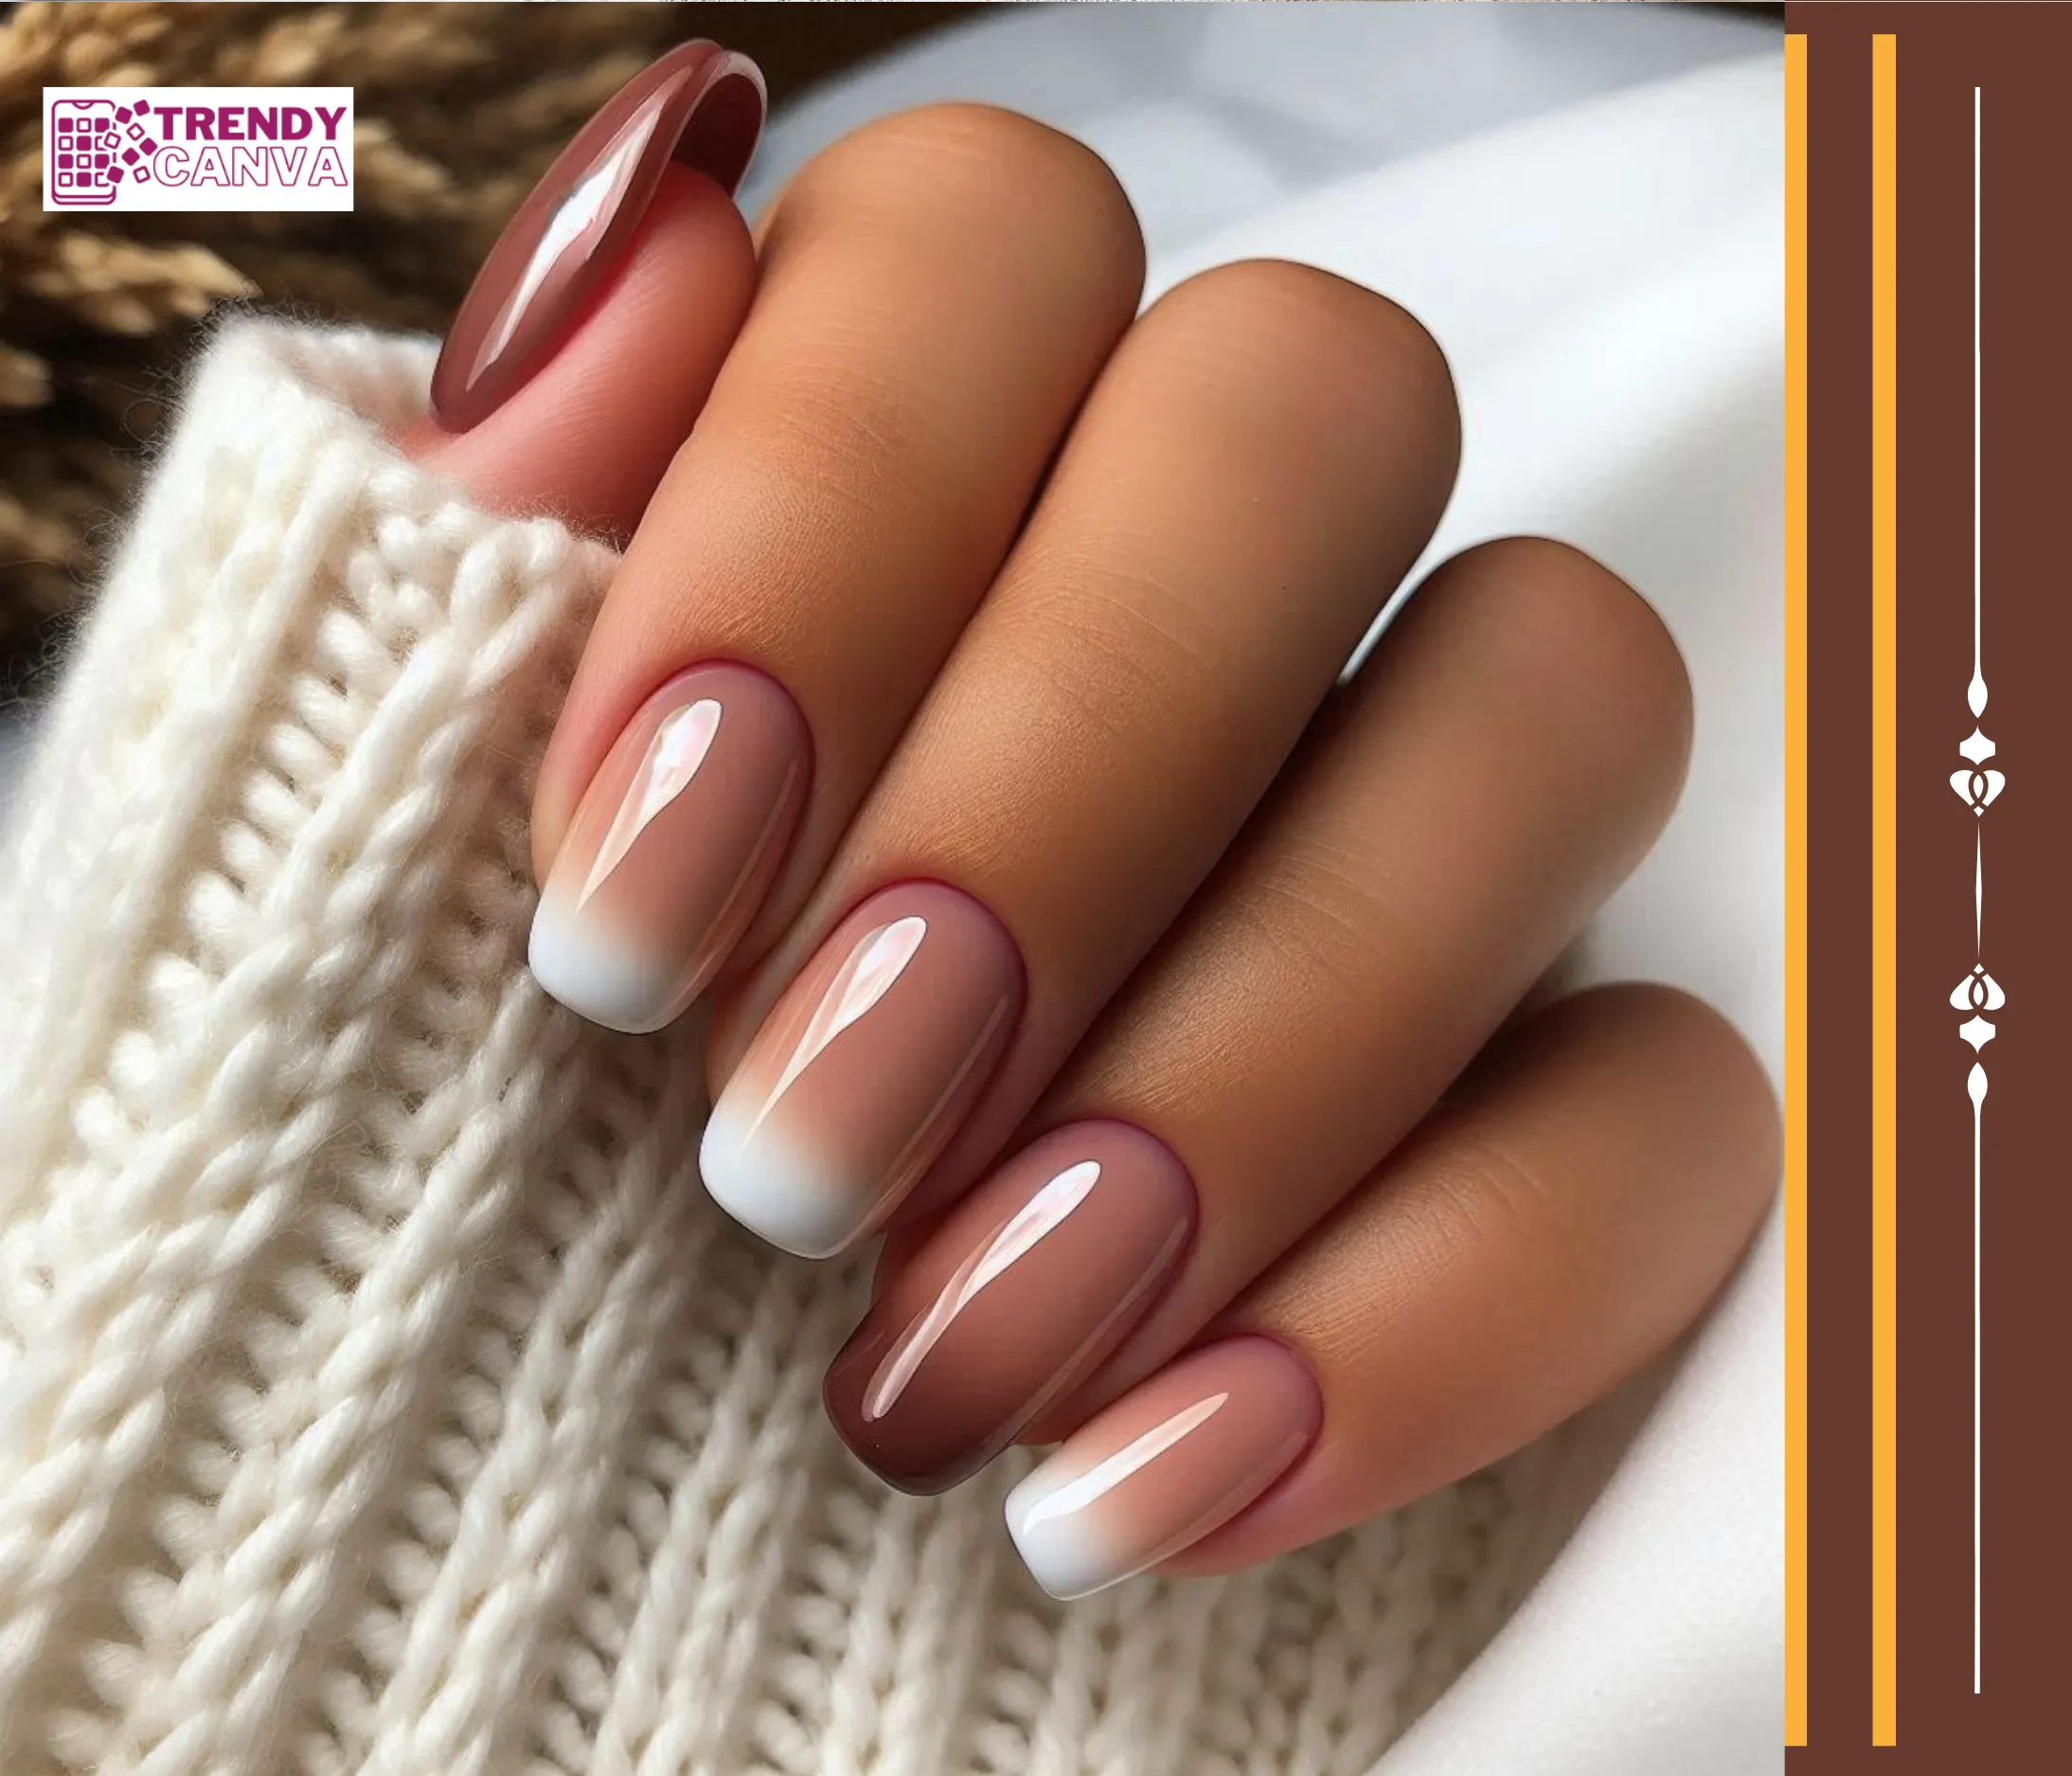
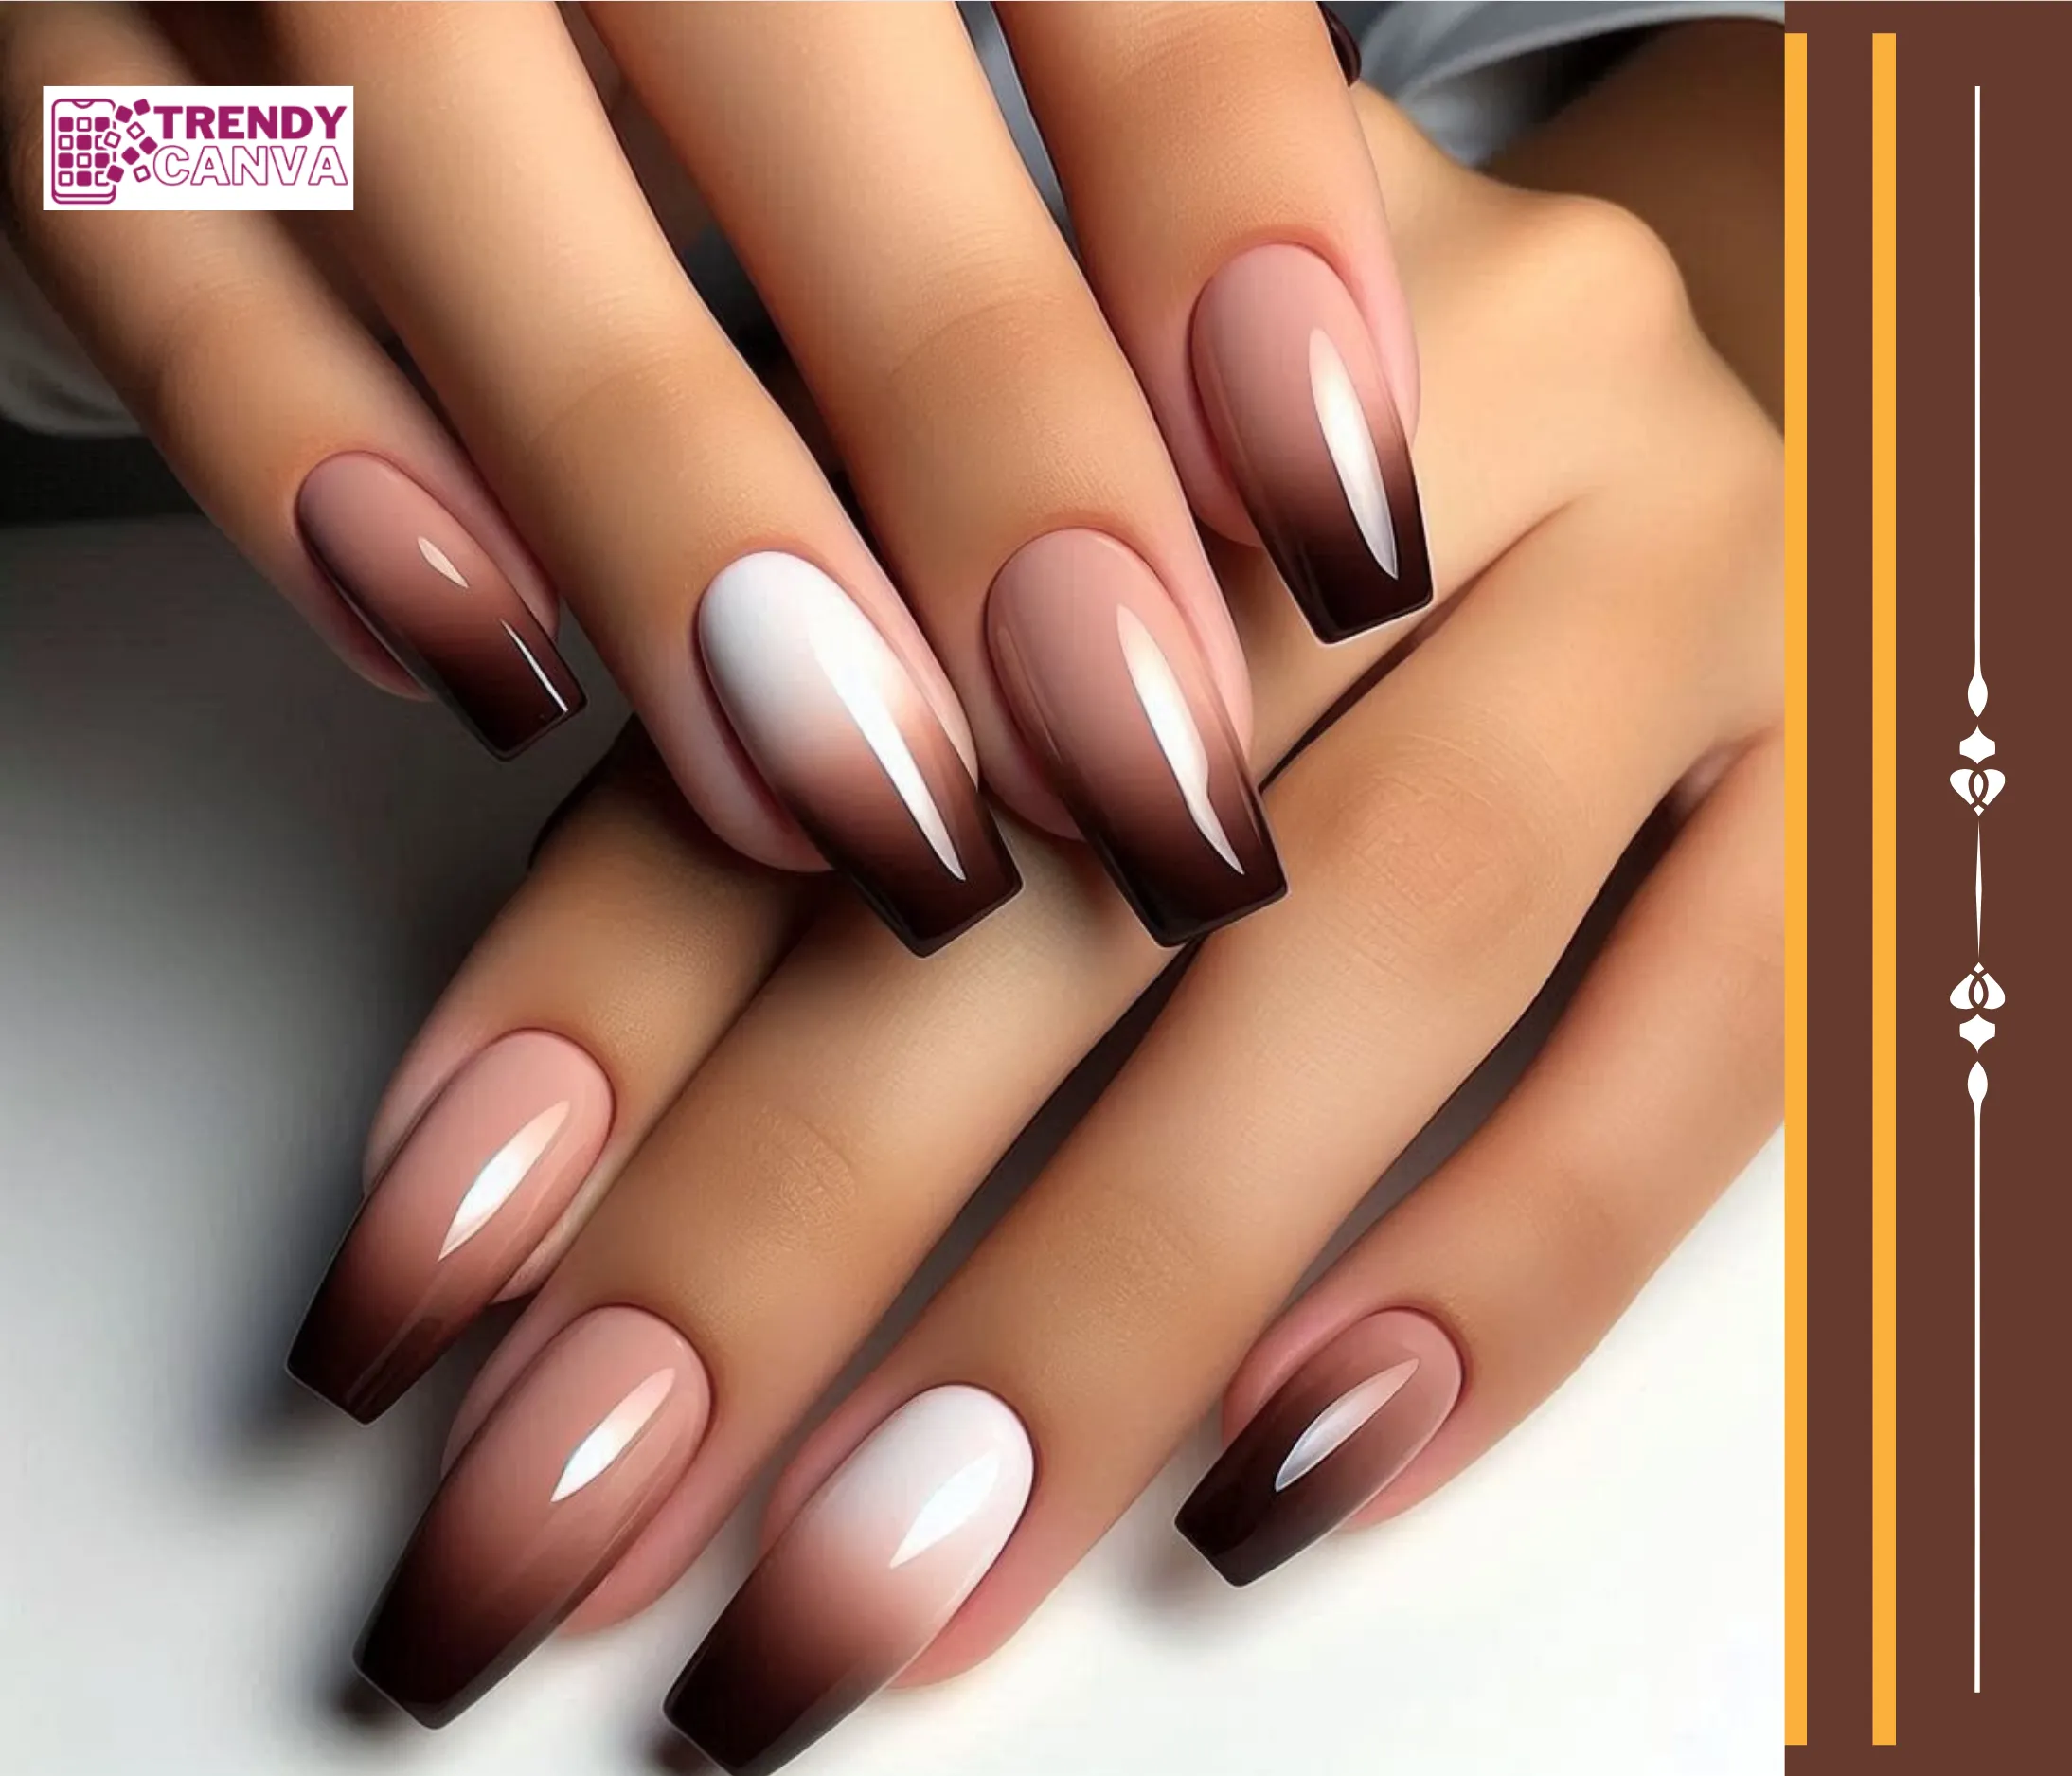
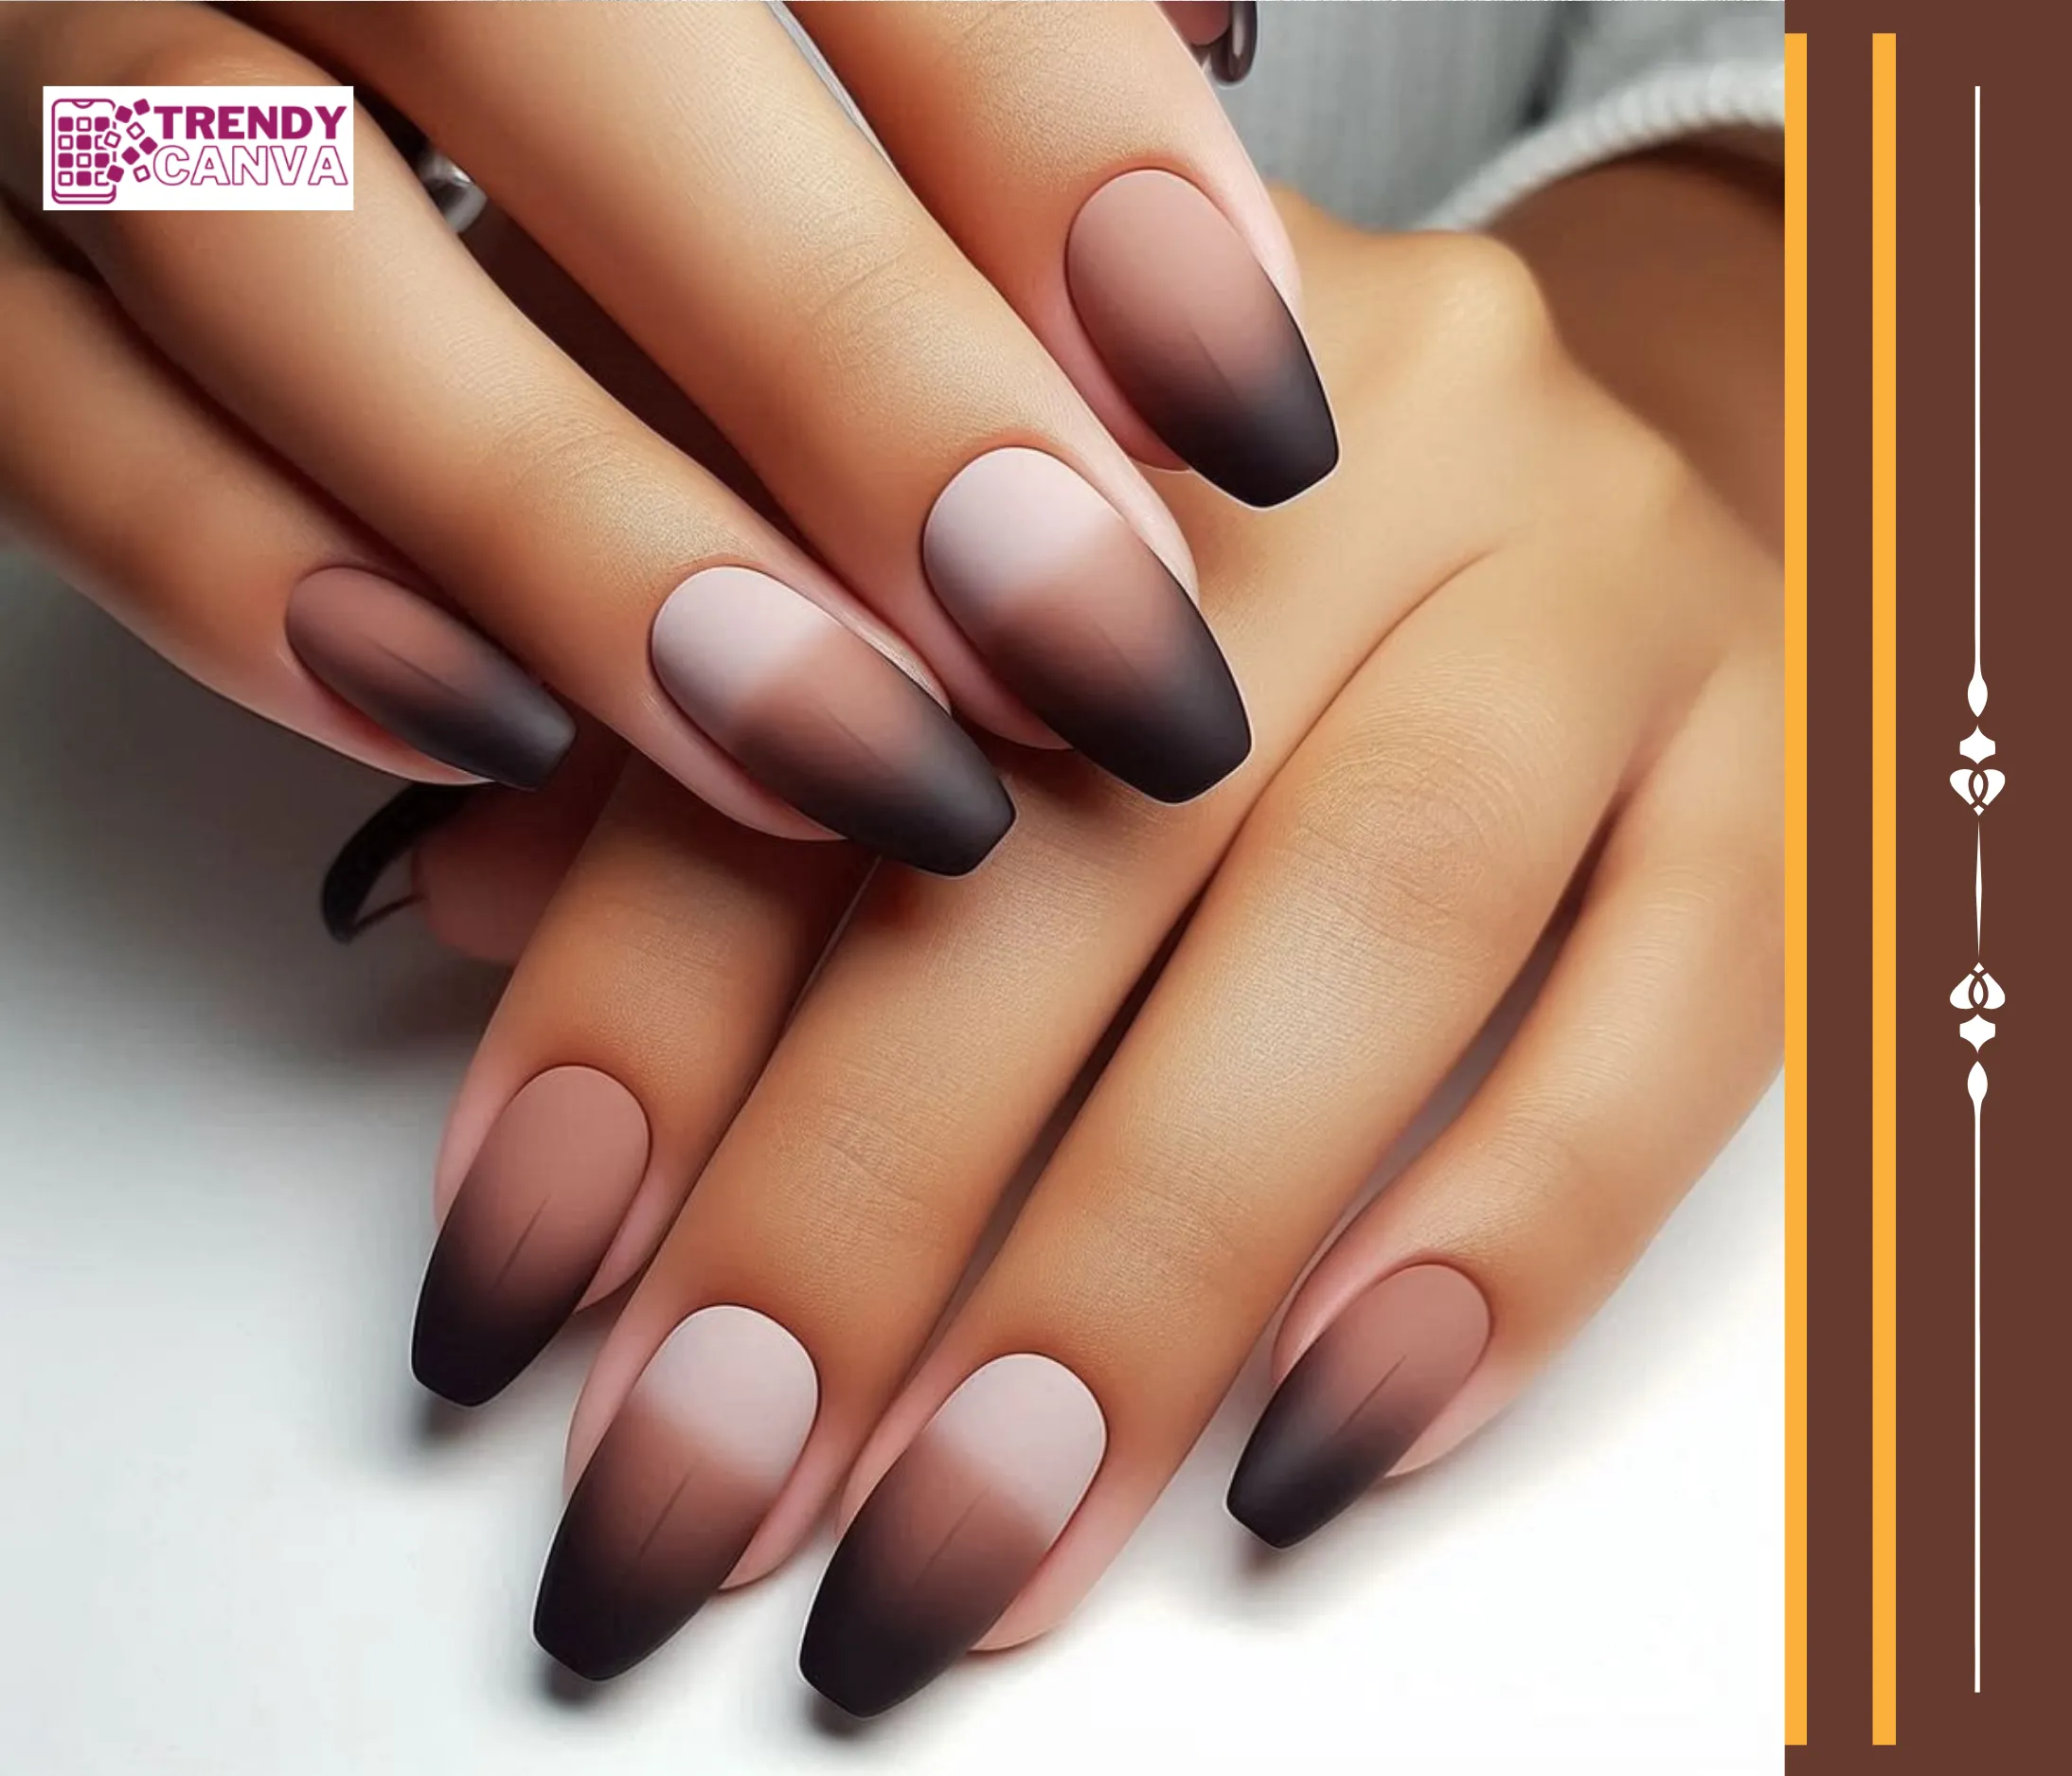
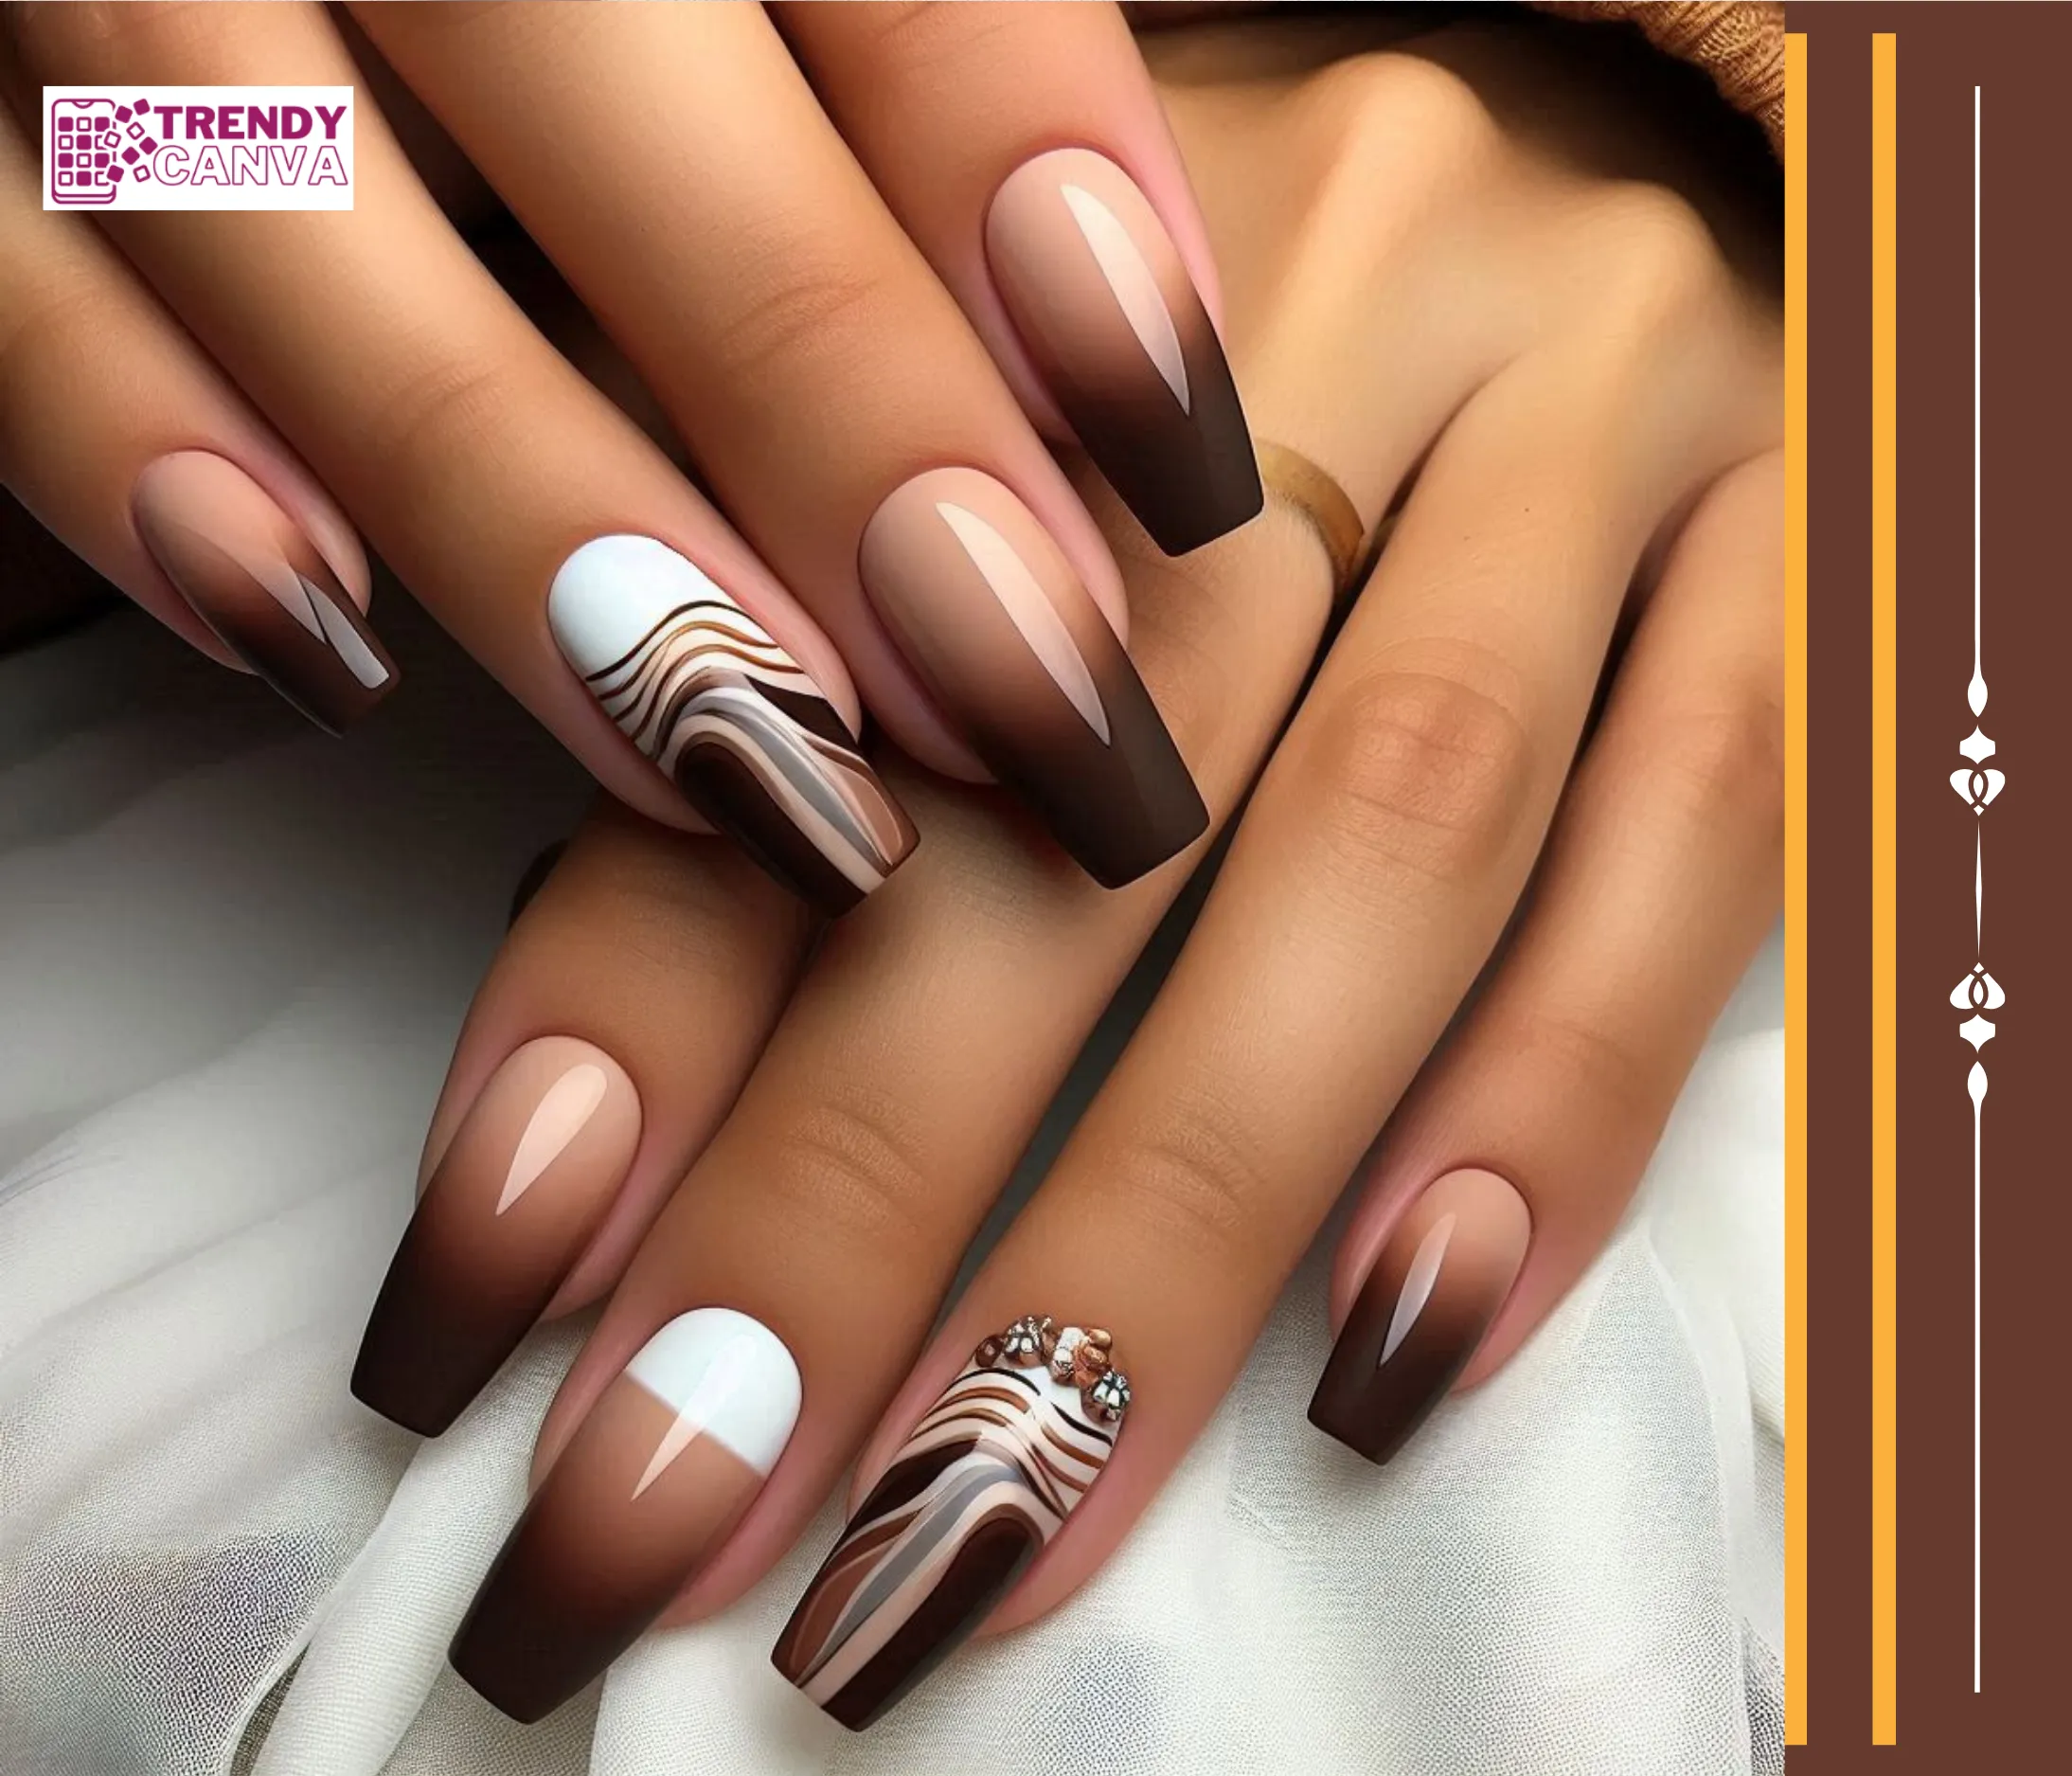
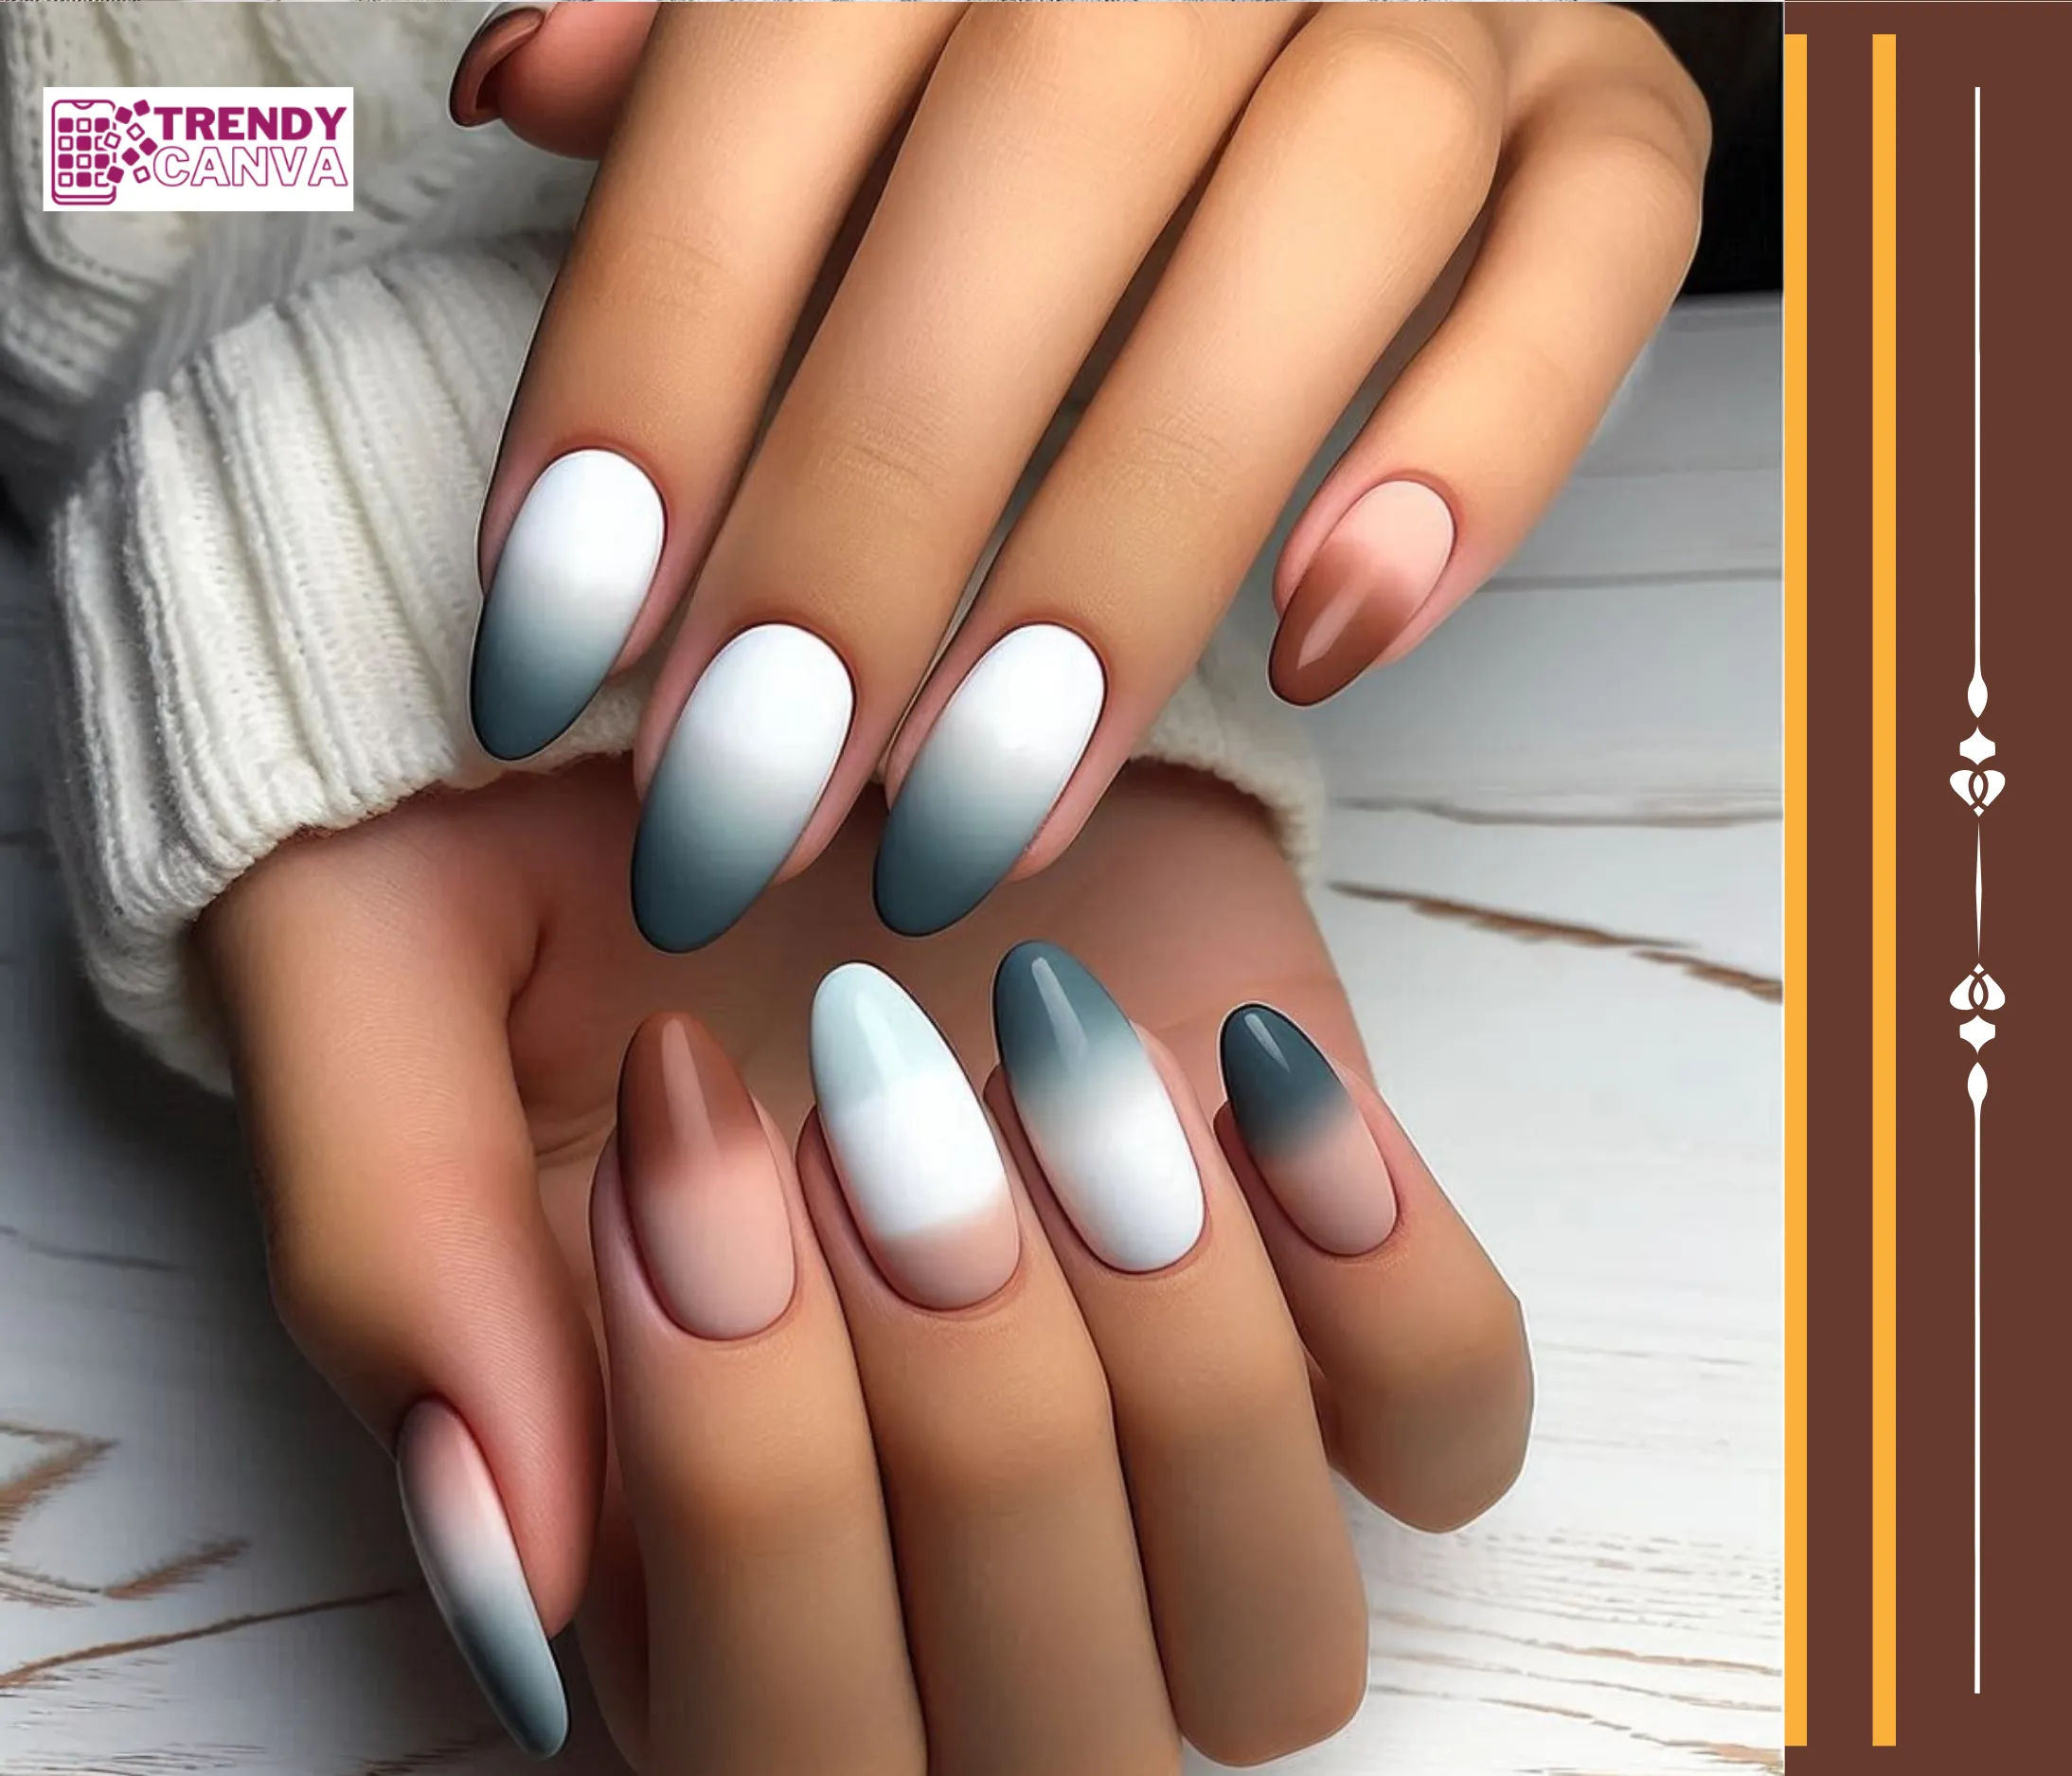
5. Reverse Brown Ombre Nails
You can try a reverse brown ombre, which can give your hair a different look that is quite interesting. In this dark brown ombre nails designs, dark brown is shaded at the base and light at the tip part of the nail.
This is rather eye-catching and placing differently colored sections where one would not expect to find them is always a recipe for sparking people’s interest. This bold variation works especially well as dark brown ombre nails and looks stunning on longer nail shapes.
Related Content: Best Capricorn Nail Designs Ideas
Related Content: Best Inspiring Animal Nail Designs Ideas
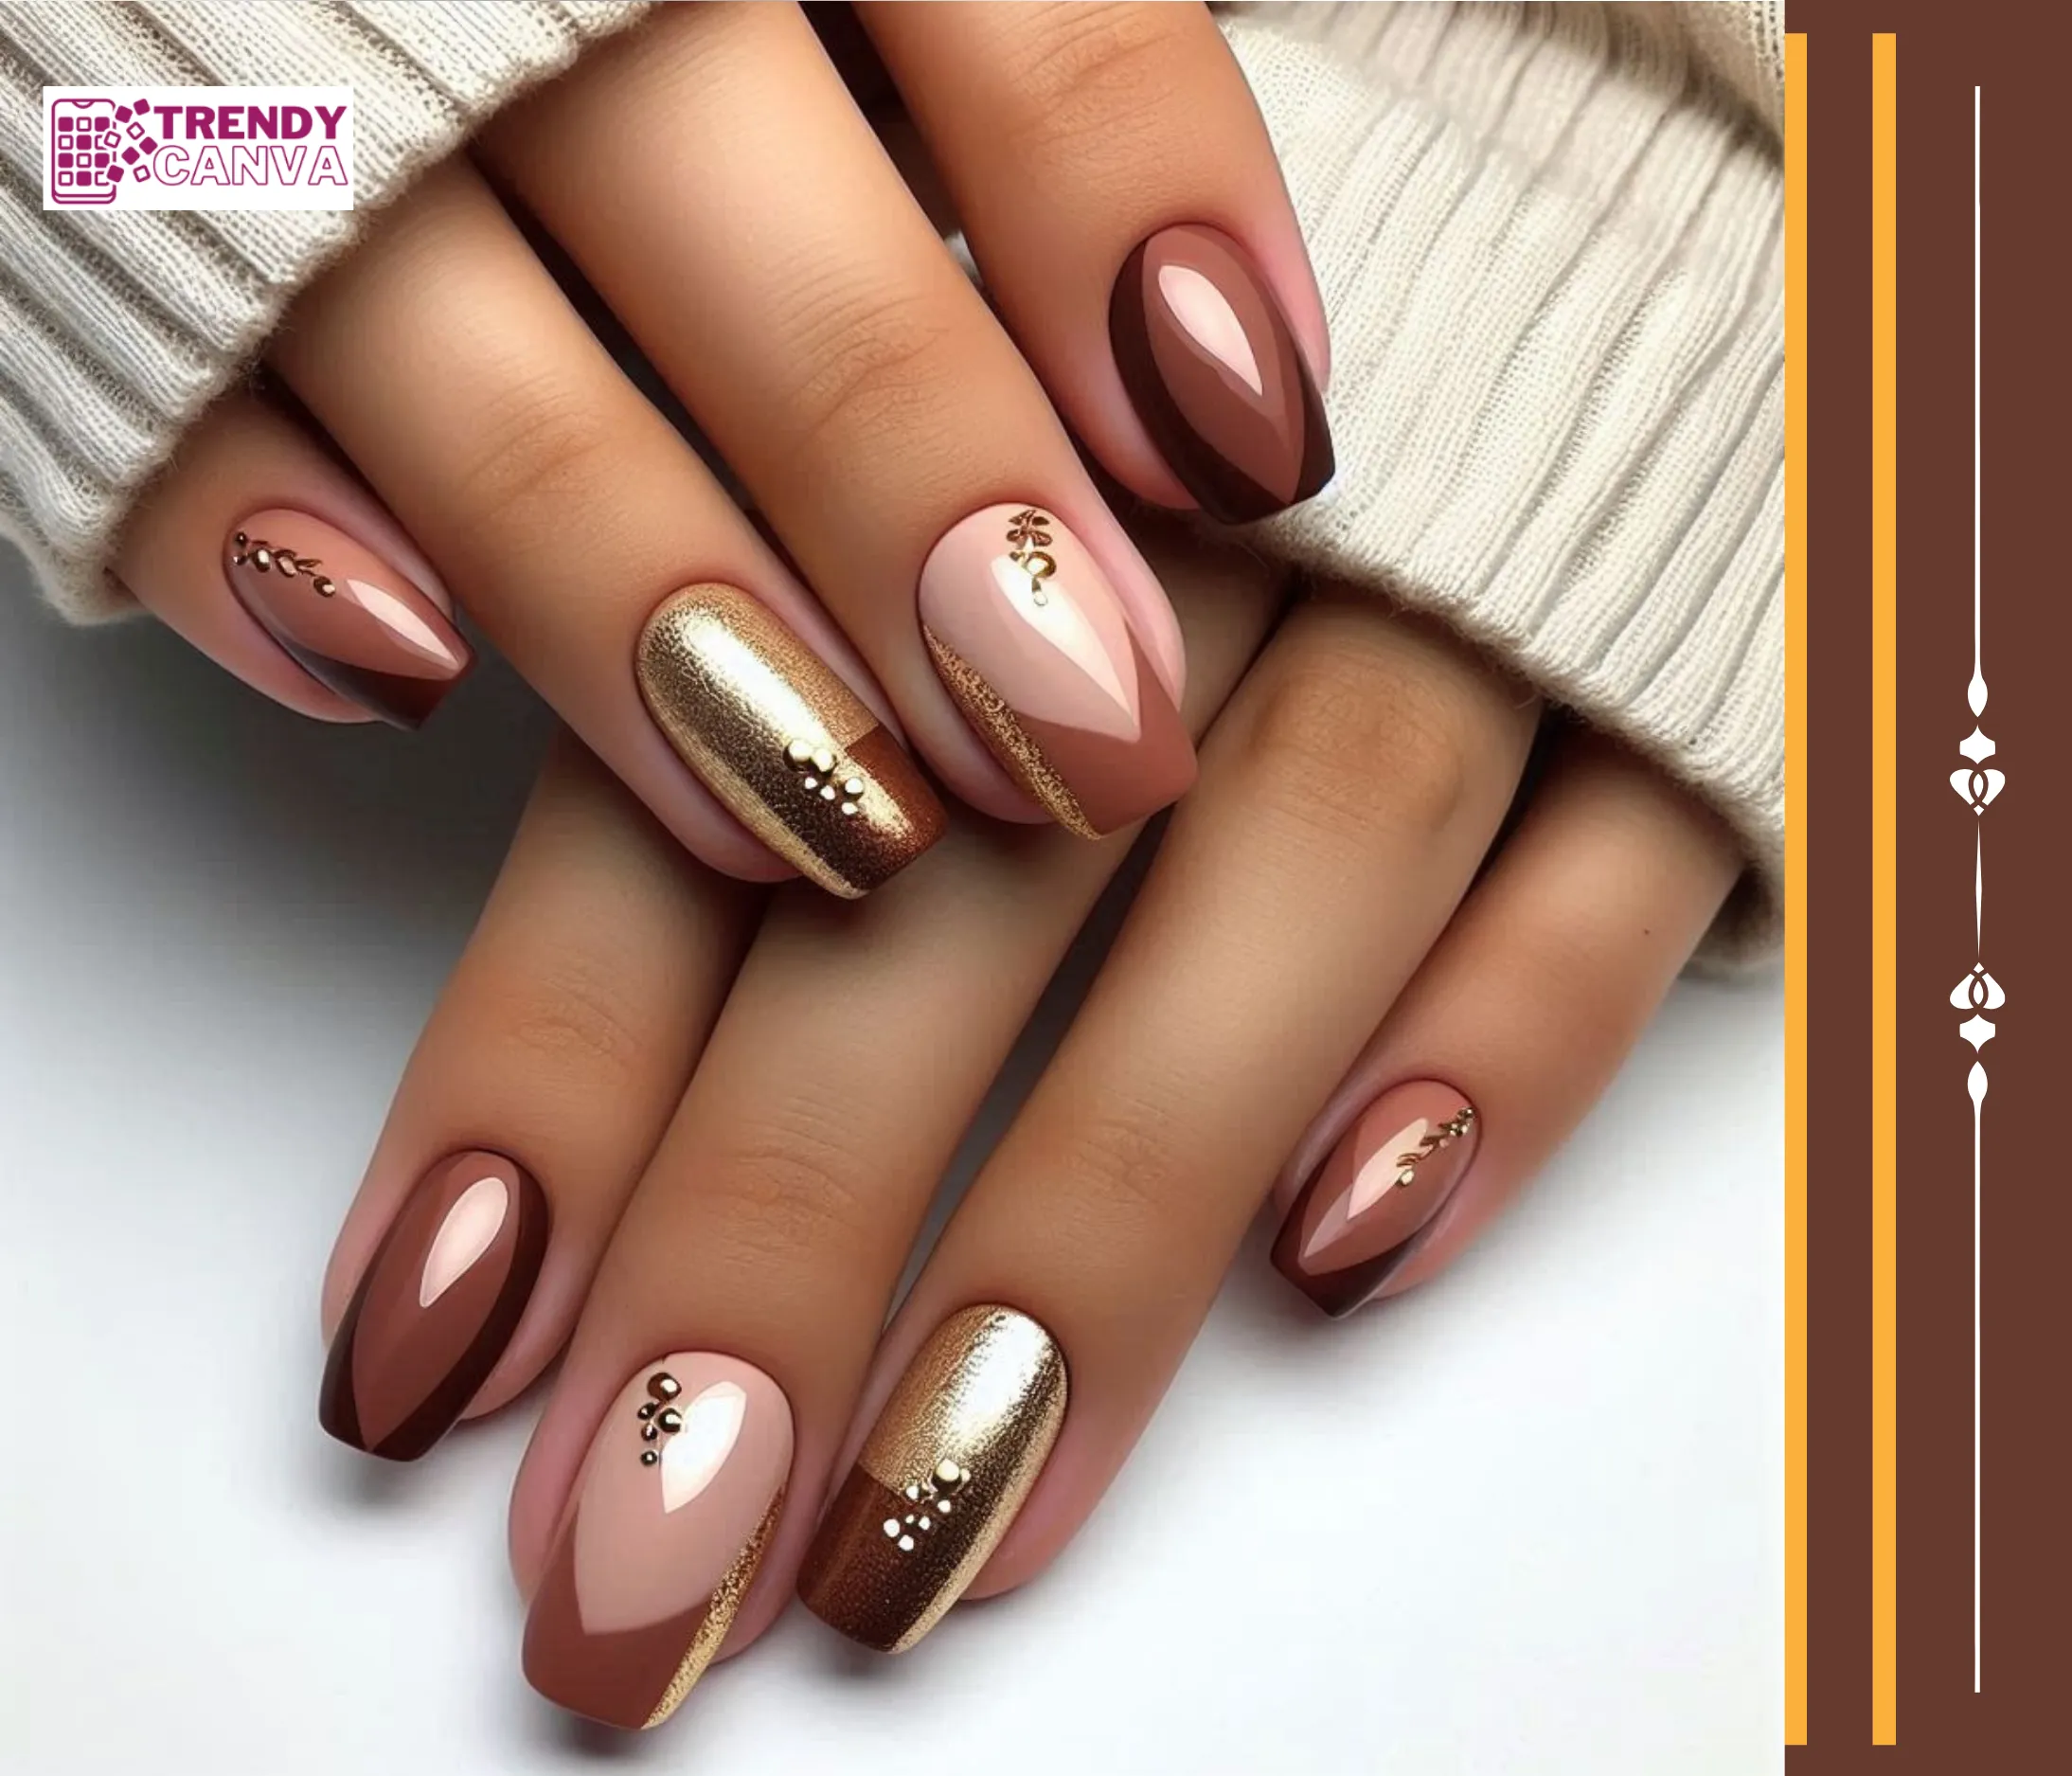
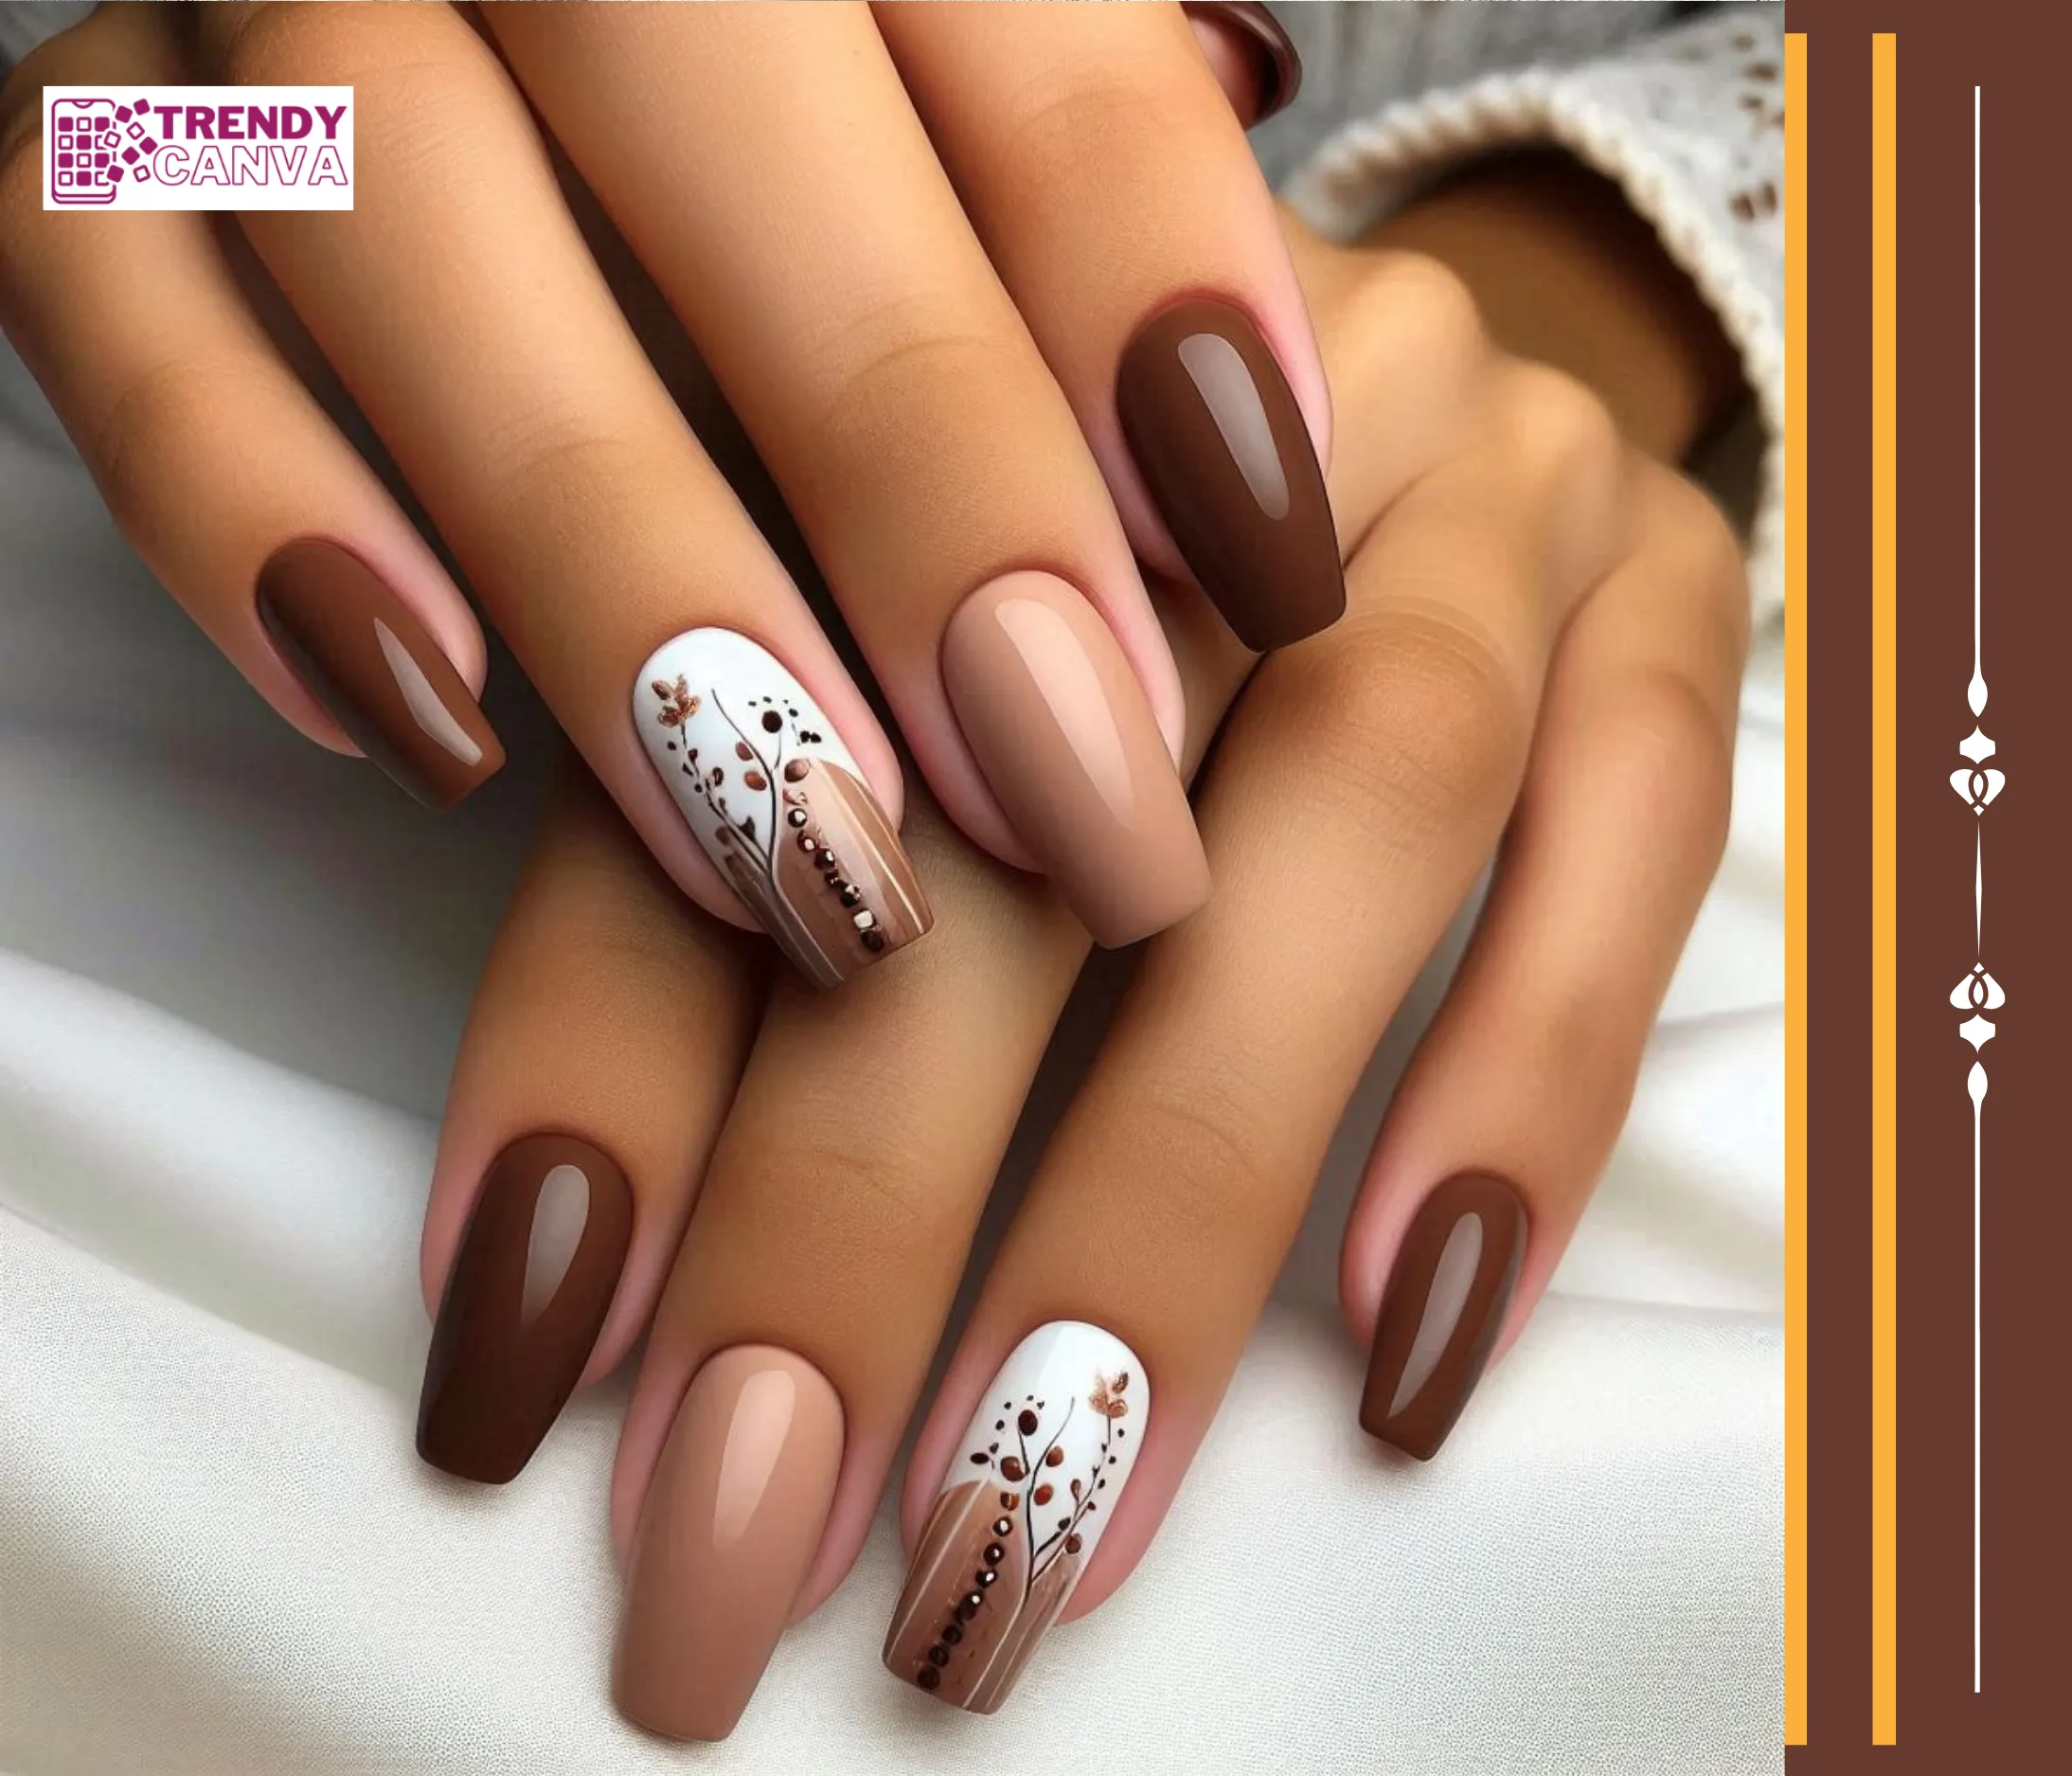
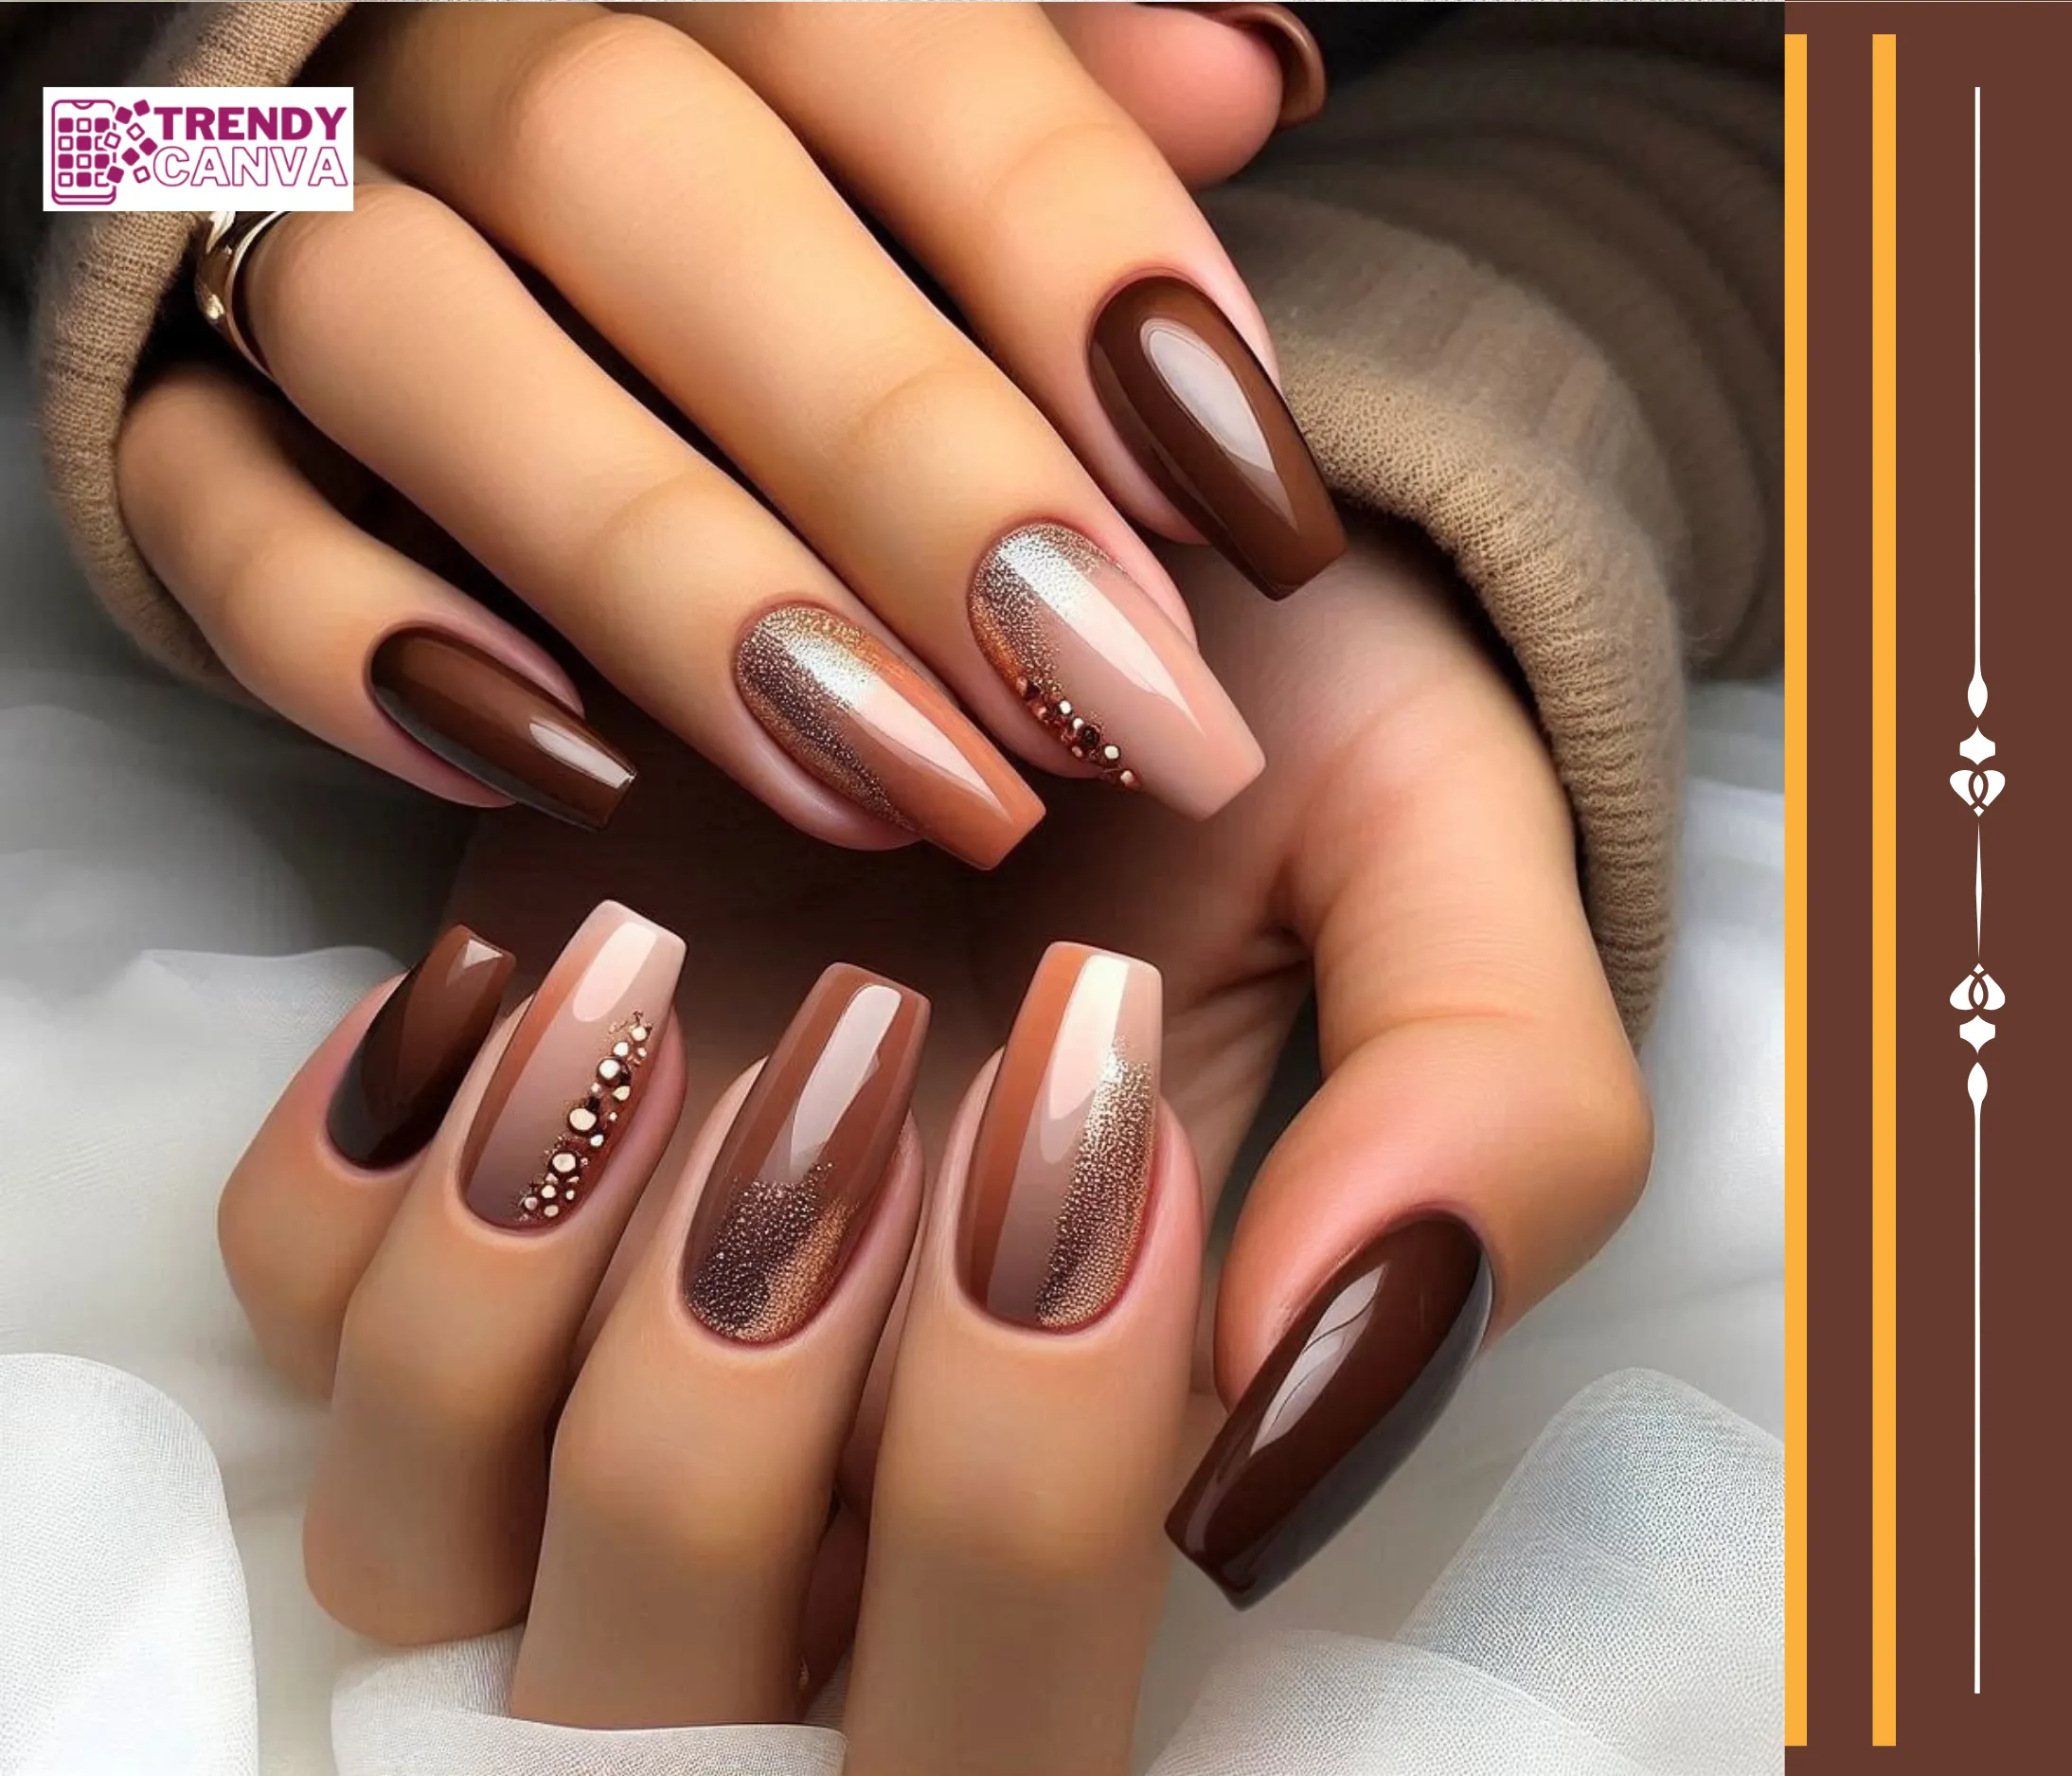
6. Brown and Gold Ombre Nails
Brown and gold Ombre nails is a very elegant color mix that would be best used in a fall and winter theme. This still gives an artistic effect of ombre that very much suits the warm and glamorous look I was looking for. This luxurious pairing is one of the most requested gold and brown ombre nails styles for fall and winter.

7. Matte Brown Ombre Nails
As you know, Matte finishes remain a top trend, and matte brown ombre nails are a favorite for anyone who loves brown matte nails with a modern edge. This look is fashionable and elegant at the same time so it serves nicely the need for a little edge to the brown ombre nails.

Related Content: Best June Nail Designs Ideas
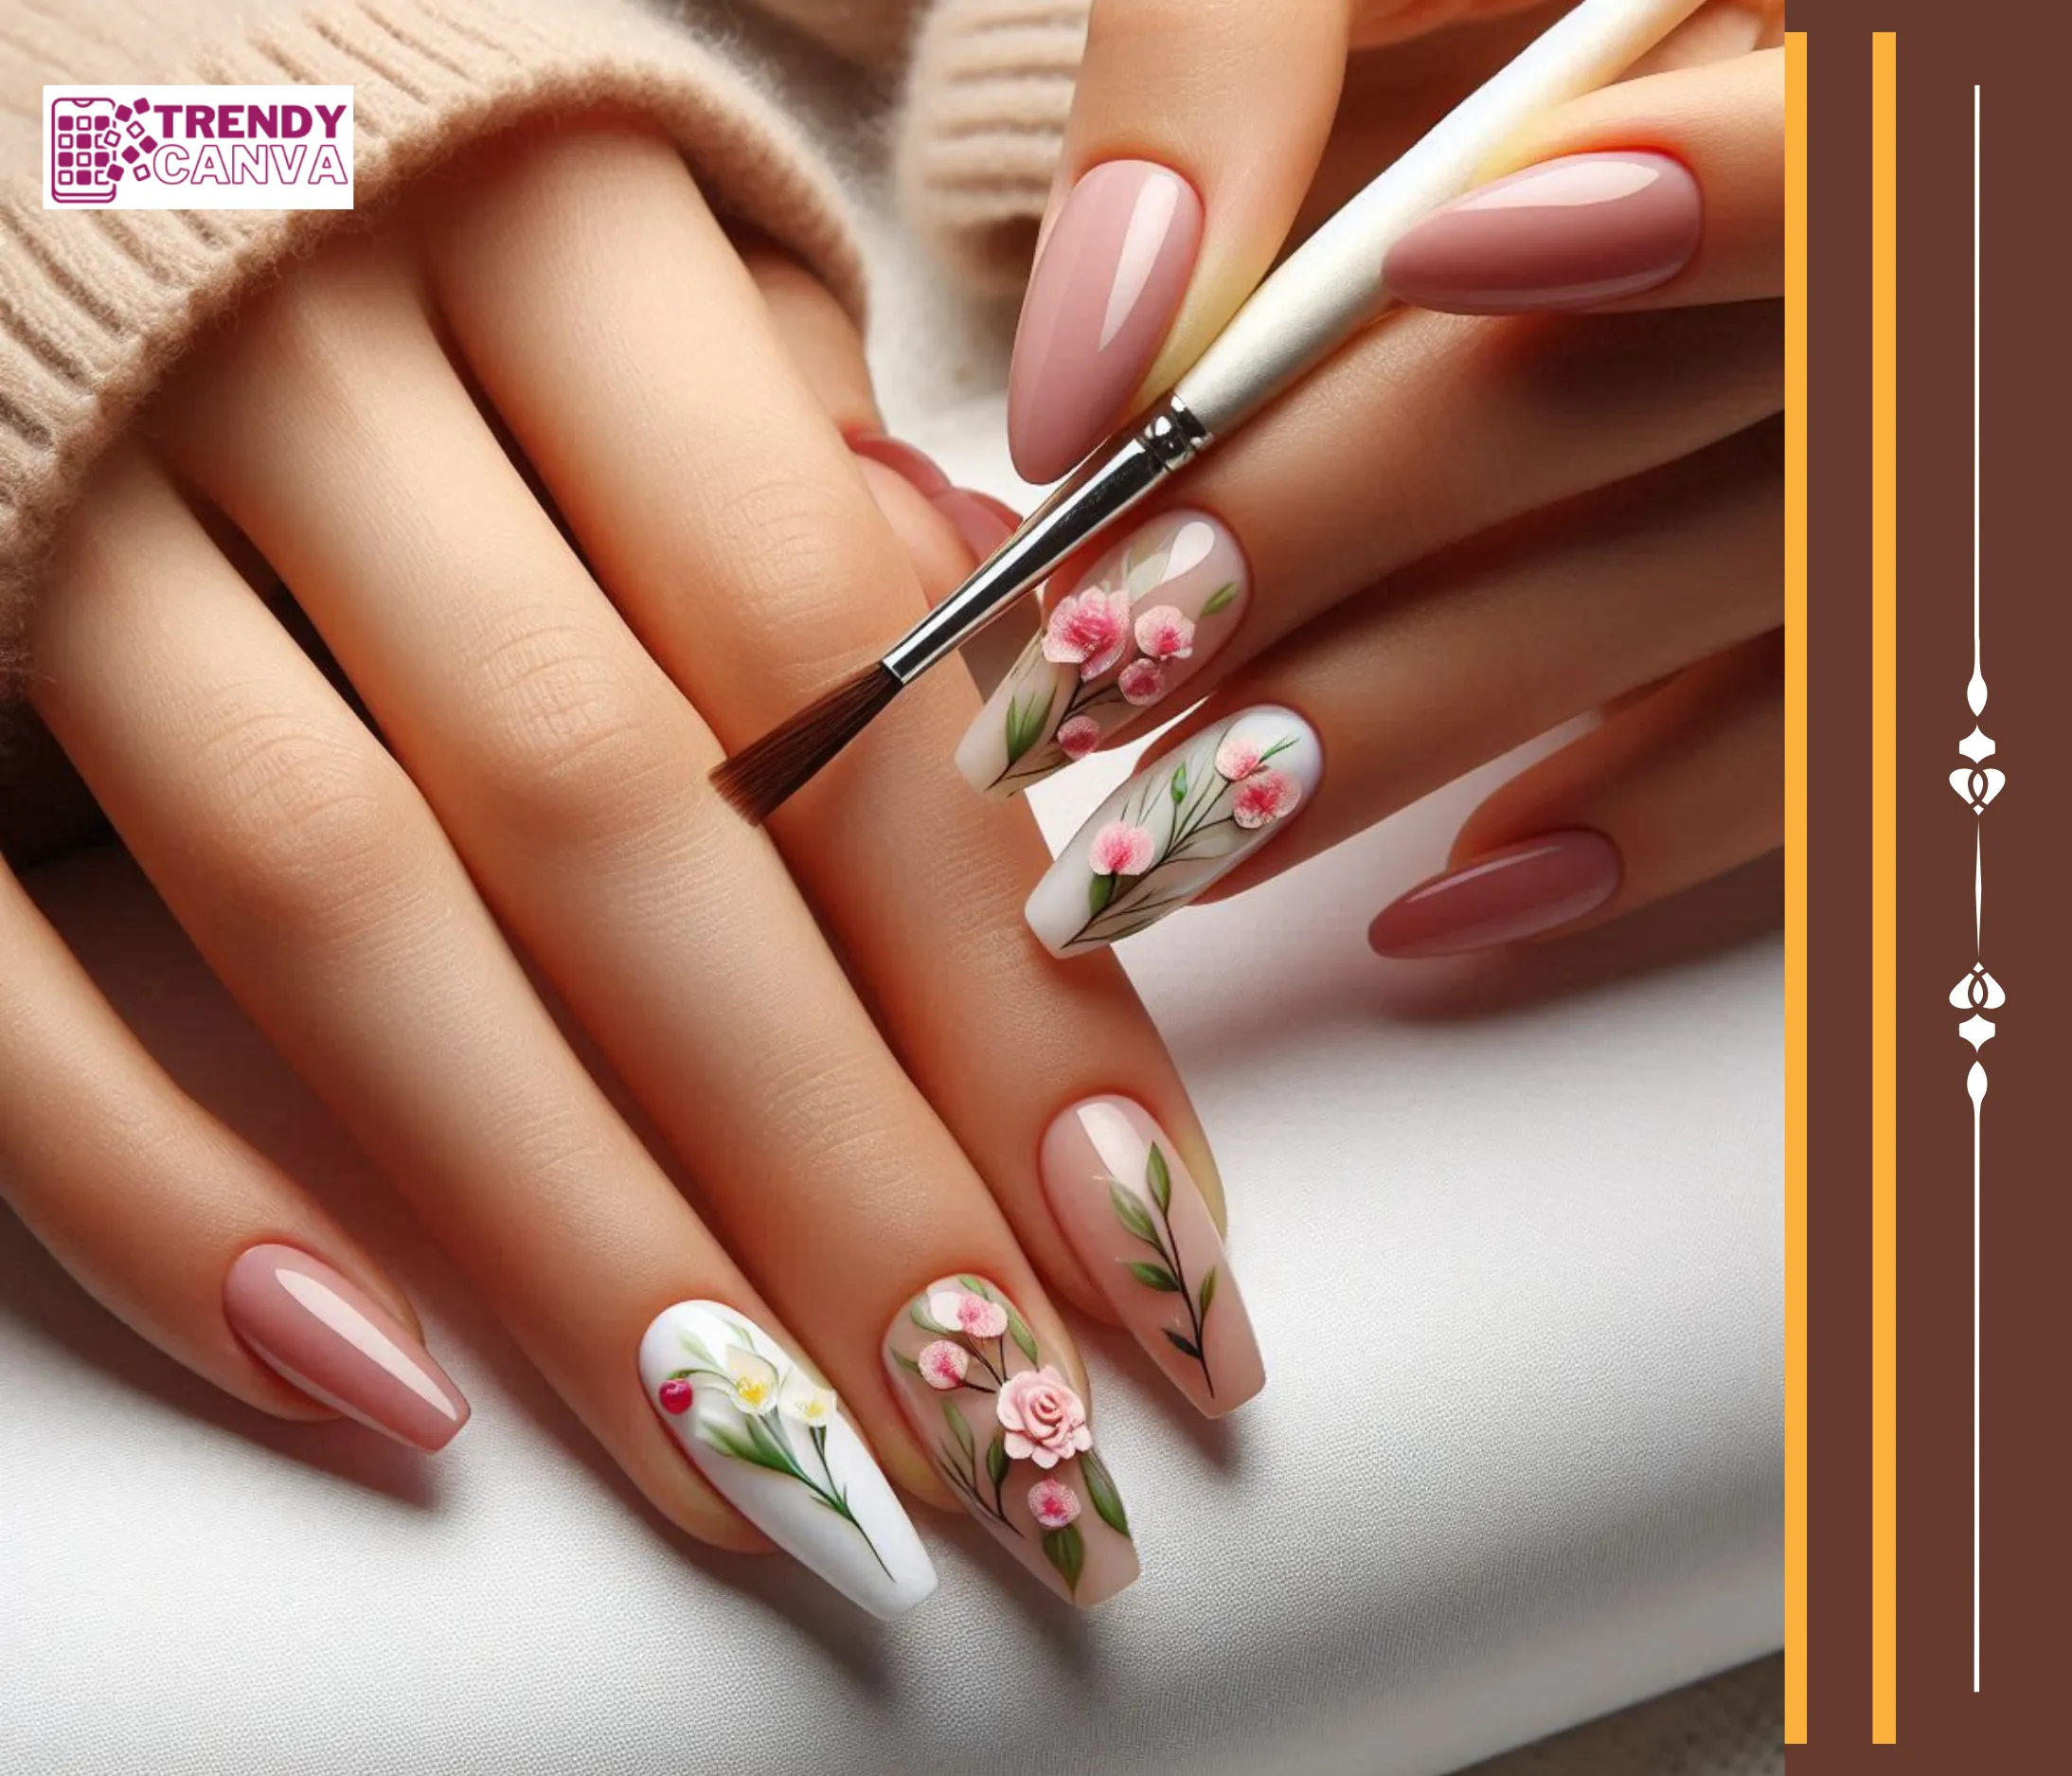
8. Floral Ombre Nails
For those a bit more daring, brown ombre nail designs. can look great and are great when you want to get as creative as possible. It is recommended that a few extra lines, dots, or shapes be added to make it completely unique to the person, and indicate some preference or characteristic. Floral accents elevate brown ombre nail designs, making them perfect for anyone seeking aesthetic brown nail designs with a personal touch.


Related Content: Breast Cancer Awareness Nail Designs
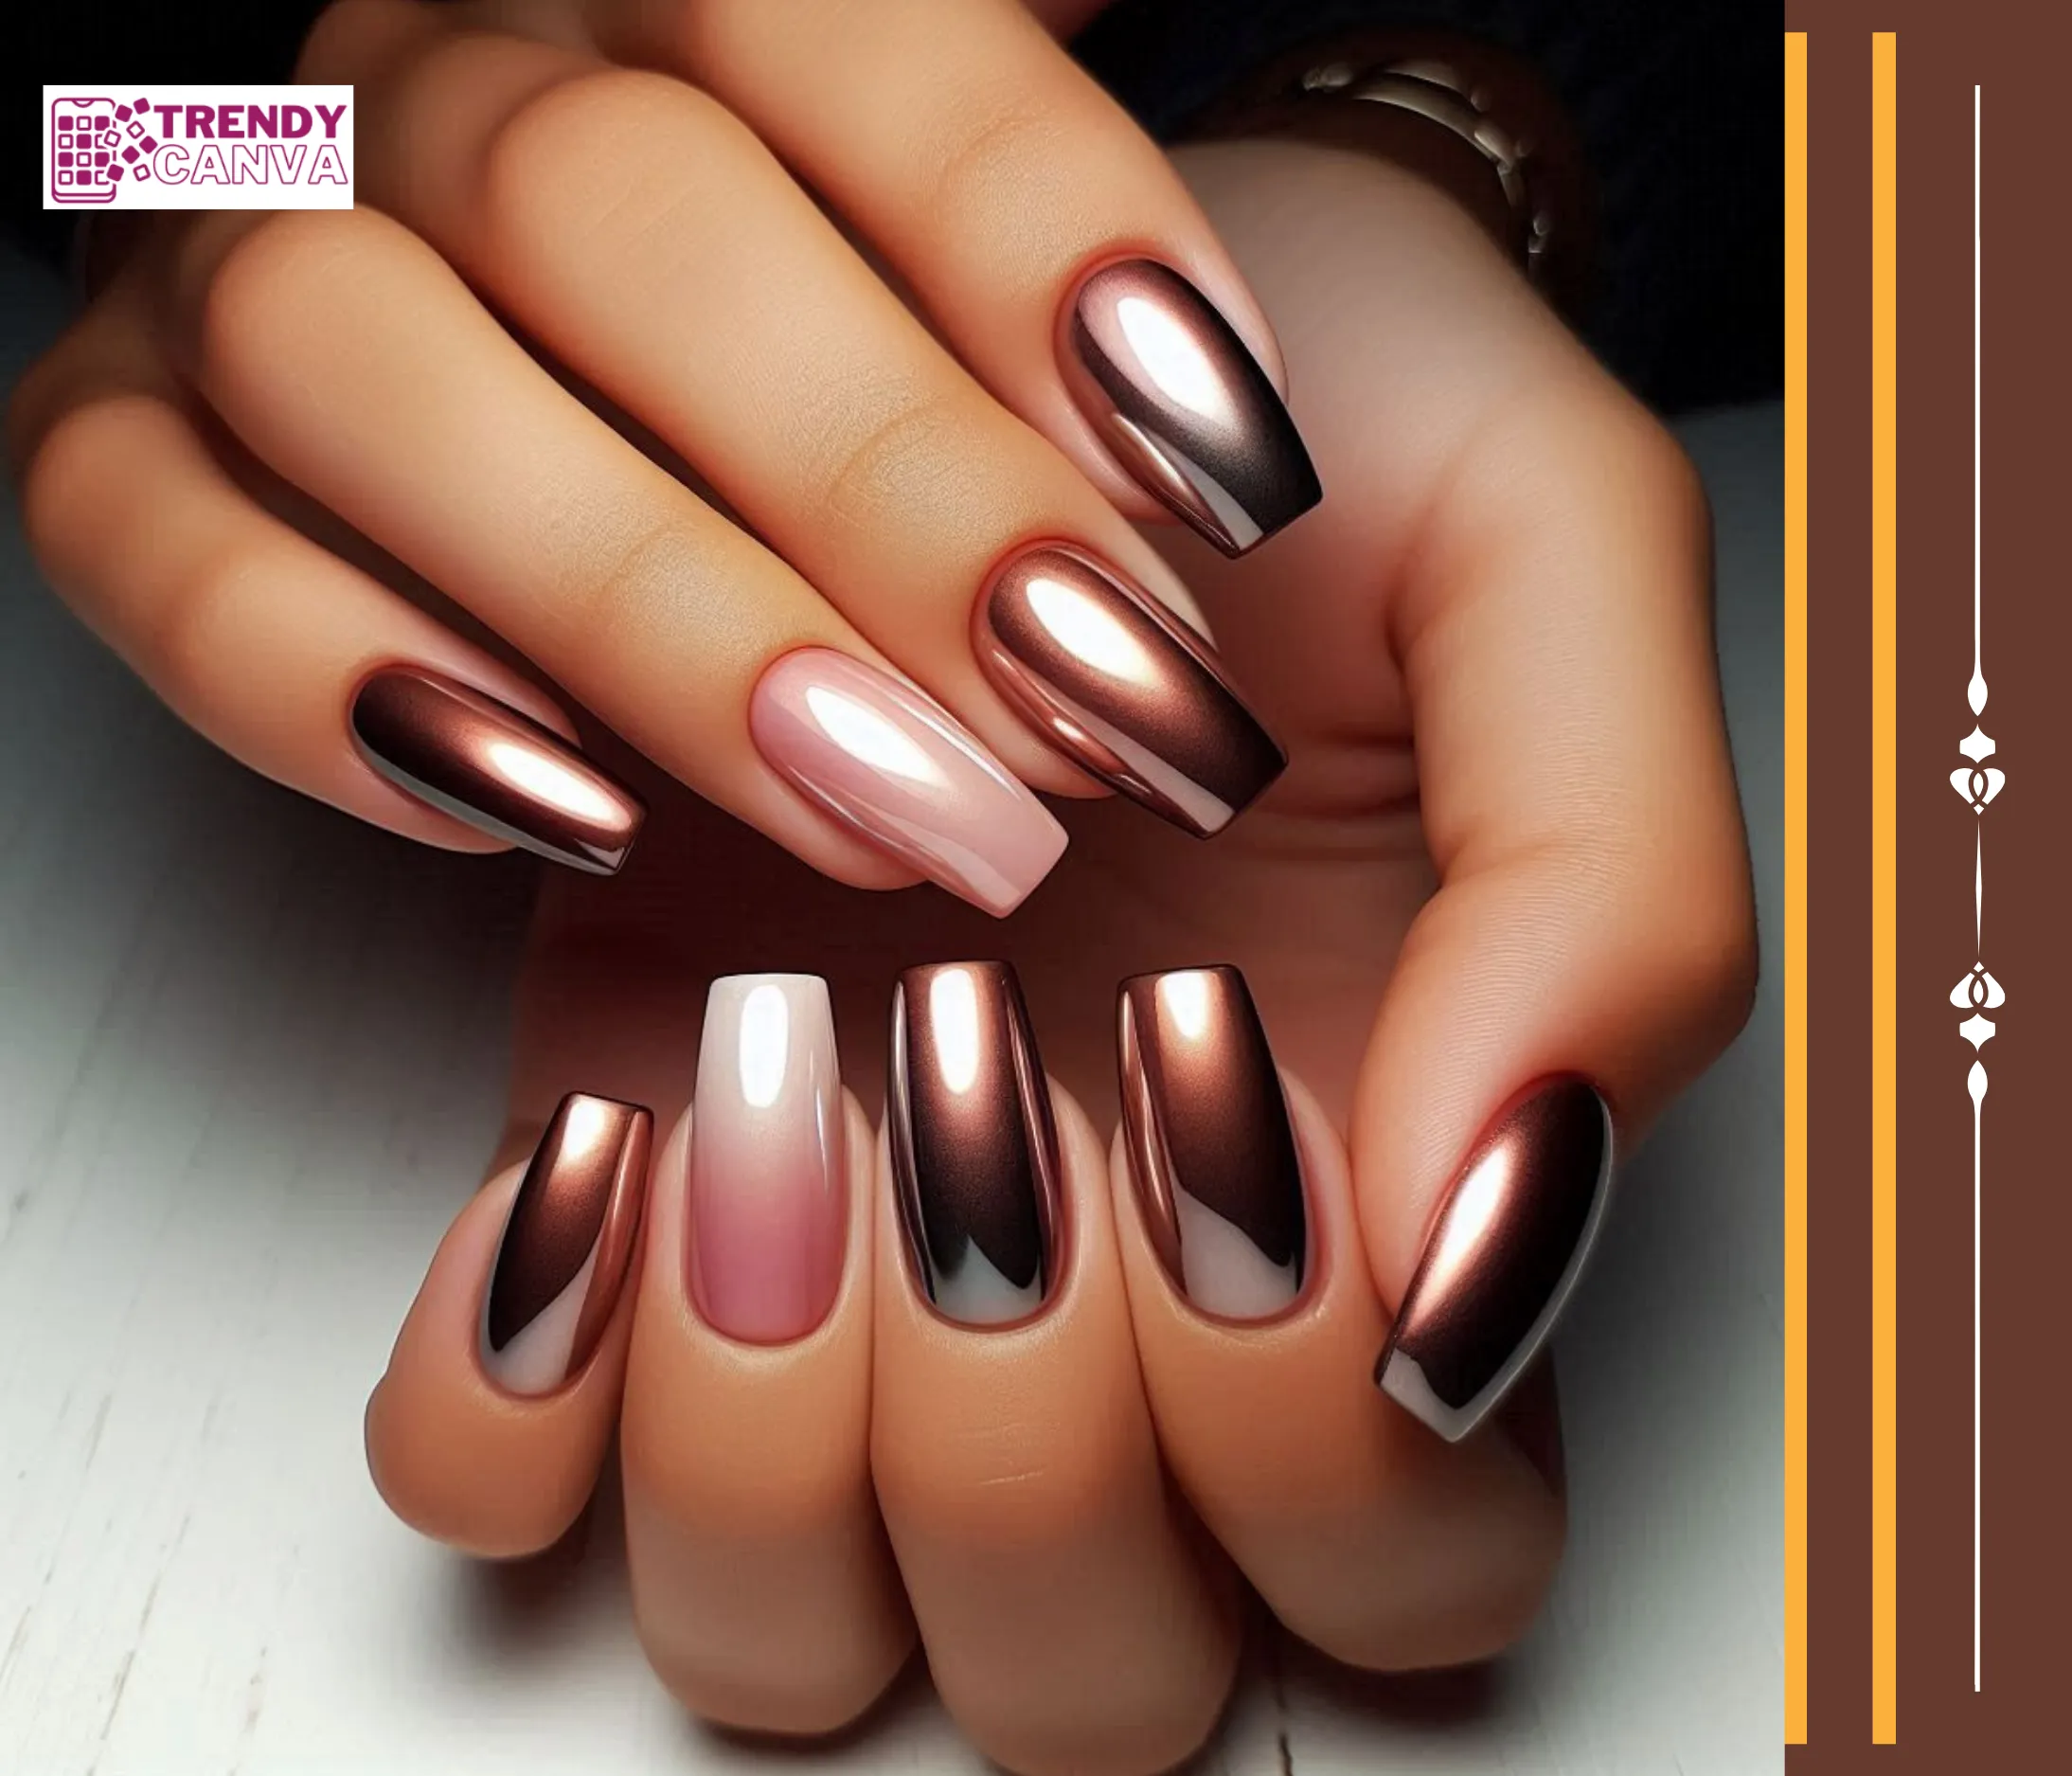
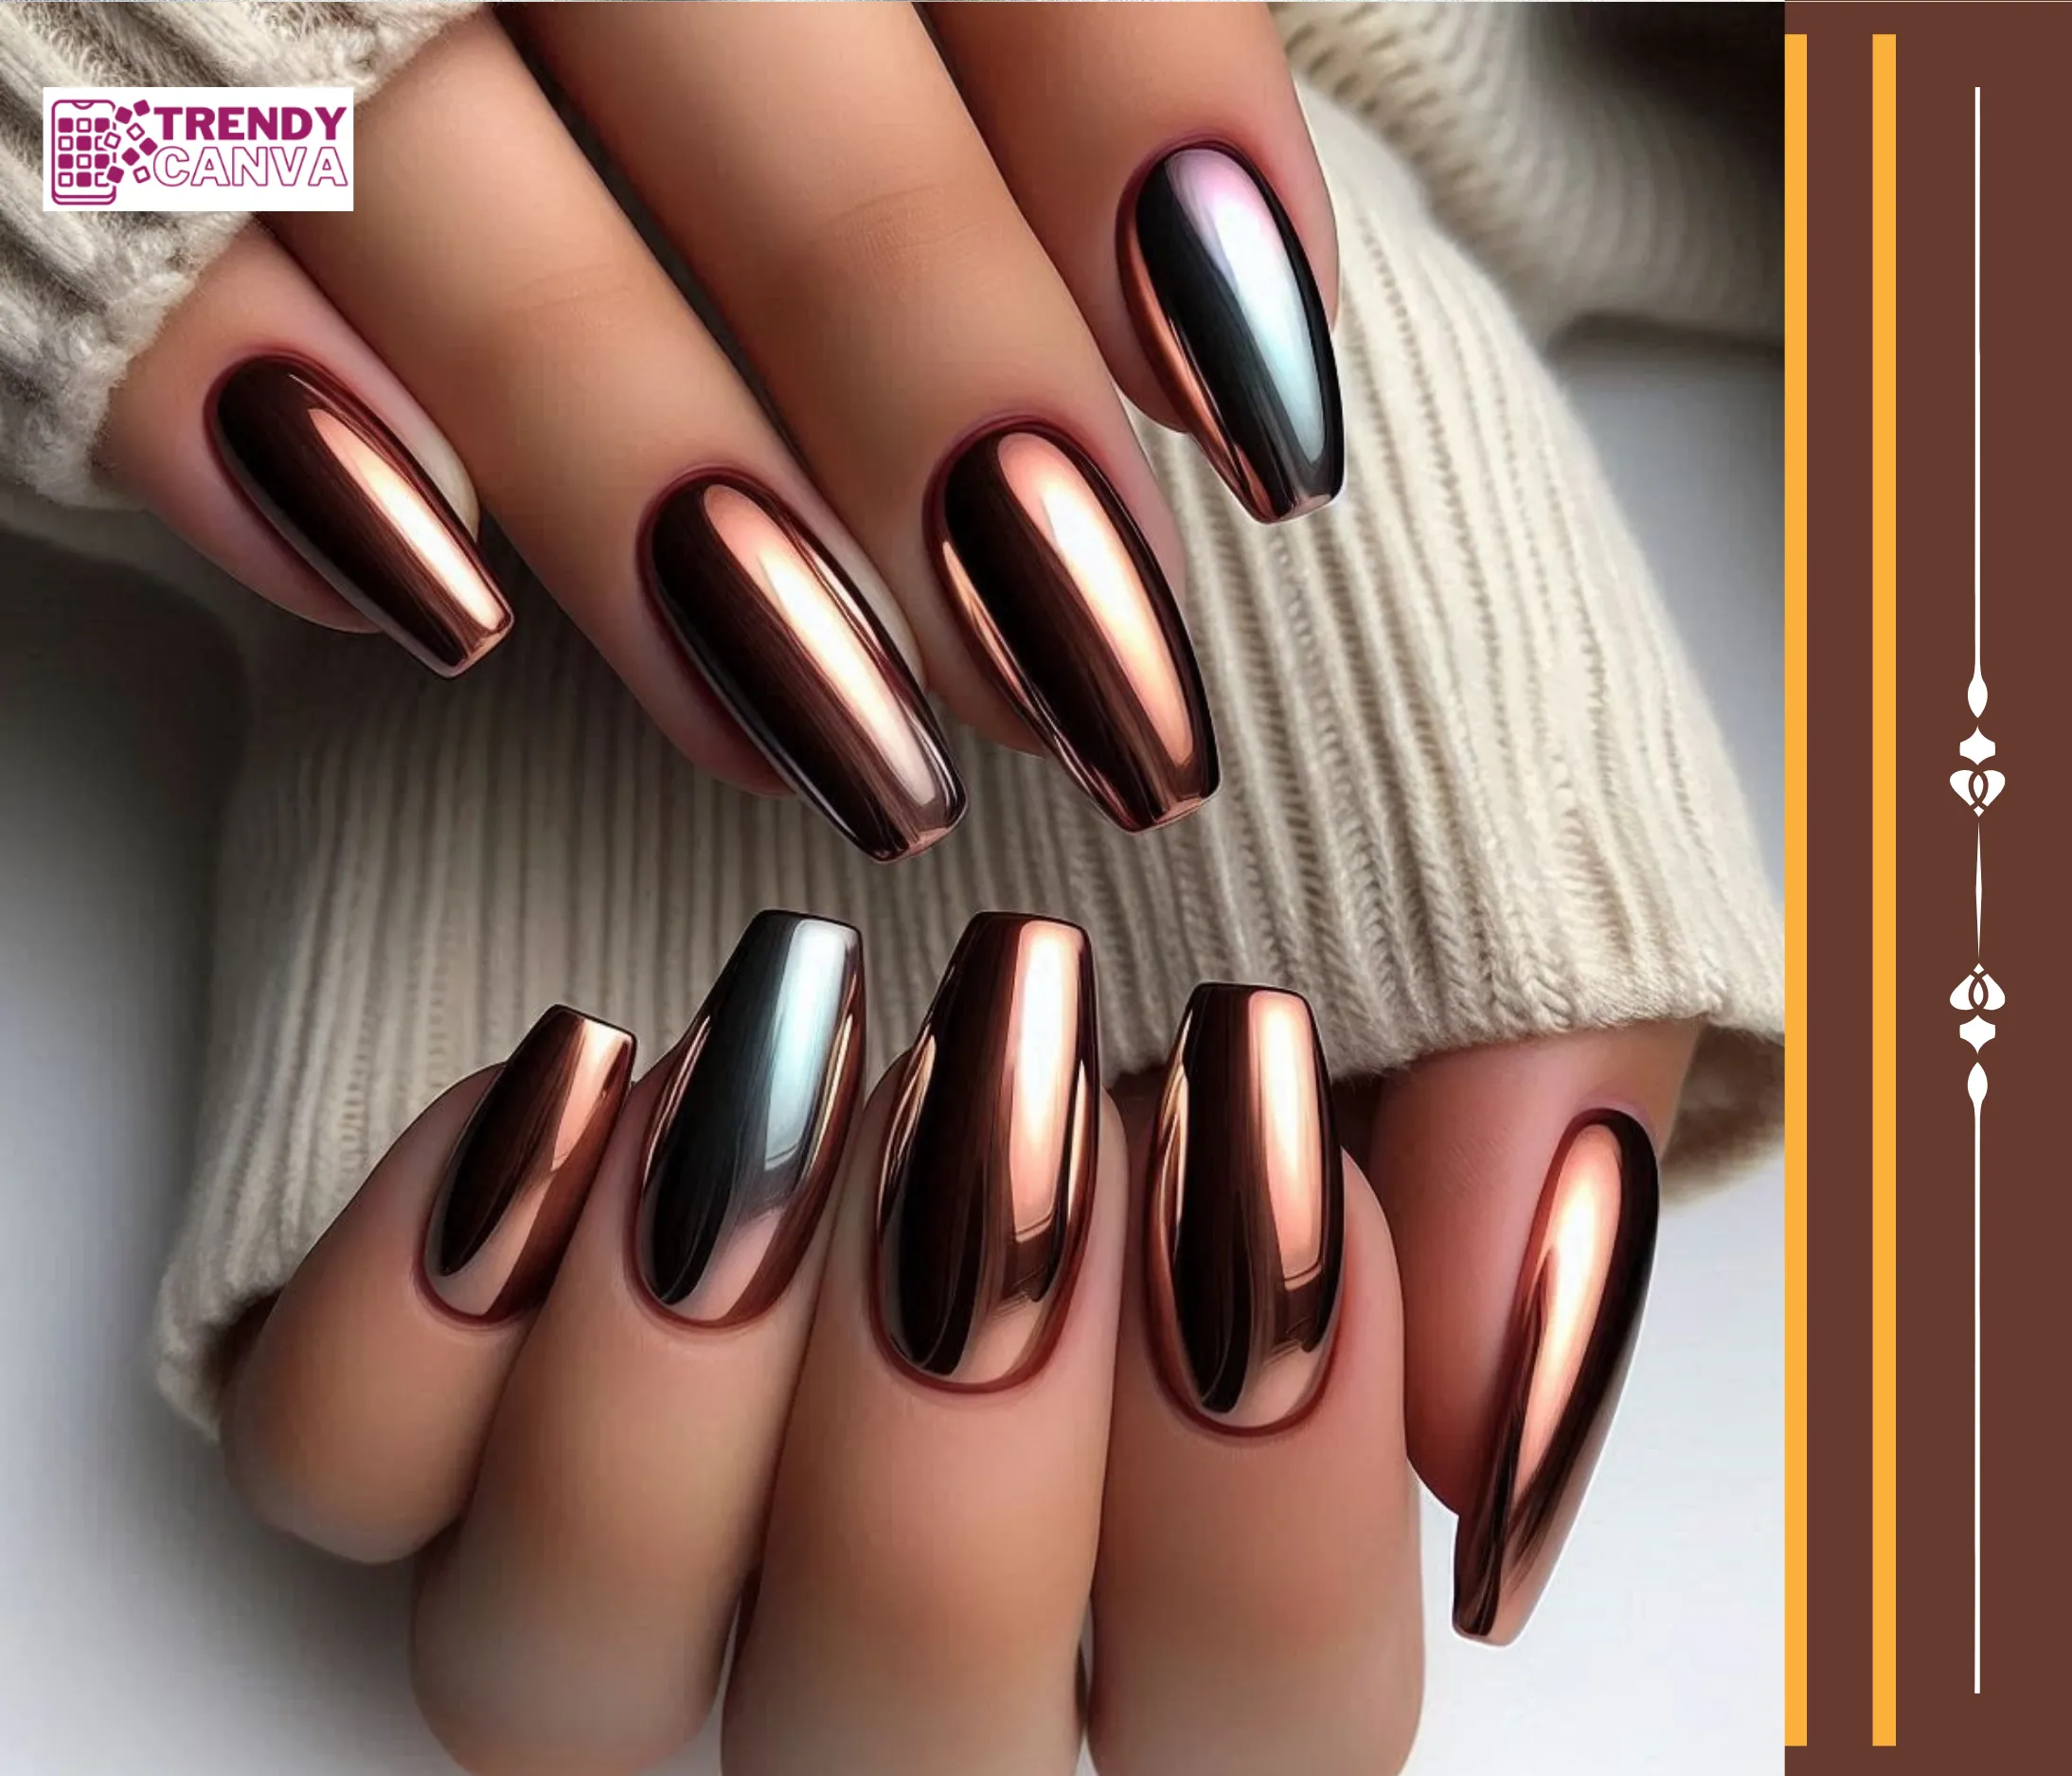
9. Chrome Brown Ombre Nails
If your nails are brown with the chrome nails ombre color scheme, apply a chrome finish to make them look even hotter.
This adds a small sci-fi type touch and will no doubt attract the eye. You can do this with a chrome powder applied and then given a glossy look by buffing it for an appealing metallic gradient. This futuristic finish turns classic brown shades into eye-catching brown ombre gel nails with a high-shine metallic effect.
10. Ombre With Negative Space Nails
To add a little spice, use the negative space on your brown ombre nail designs. in a minimalistic, modern approach. This can be done in one of two ways ‘painting’ a thinly curled moon shape at the base of the nail or using geometric shapes painted from clear polish to separate the gradient ombre effect.
This element is rather unobvious and introduces a certain glamor to the proceedings while the audience gets to see the natural nail bed. This minimal style pairs beautifully with simple brown nail designs and works especially well on short brown nail designs.

My Last Thoughts
From the understated elegance of matte brown ombre nails to the bold shine of chrome finishes, brown ombre nails remain one of the most versatile and stylish manicure trends. If you prefer short brown ombre nails, glitter accents, or neutral everyday looks, these designs flatter every skin tone and suit every occasion.
We hope this guide has inspired your next manicure—don’t forget to save your favorite brown ombre nail ideas on Pinterest and share your look with us! To Find More Ideas Must Visit Pinterest.


20 Comments