
40+ Best Cute & Easy Swirl Nail Designs Ideas (2026)
Swirl nails have become one of my favorite techniques to teach at the salon — that loose, marbled motion looks a lot more polished than people expect from something so simple to execute. You can pull a single color through white for something subtle, or layer three or four shades into a fully abstract blend; either way, the look reads as custom-painted without needing perfectly steady, symmetrical lines.
I’ve put together 40+ of my favorite swirl nail designs below, along with the basic technique behind each one, so you can recreate the look at home with a dotting tool, a toothpick, or a thin nail art brush. If you don’t have a nail art brush on hand, the pointed end of a cuticle pusher works surprisingly well for pulling thin swirl lines too. And if you’re not sure what to paint underneath, a milky, sheer nude base is one of the most popular starting points for swirls right now — it gives the colors on top a soft, blurred look instead of a stark contrast.
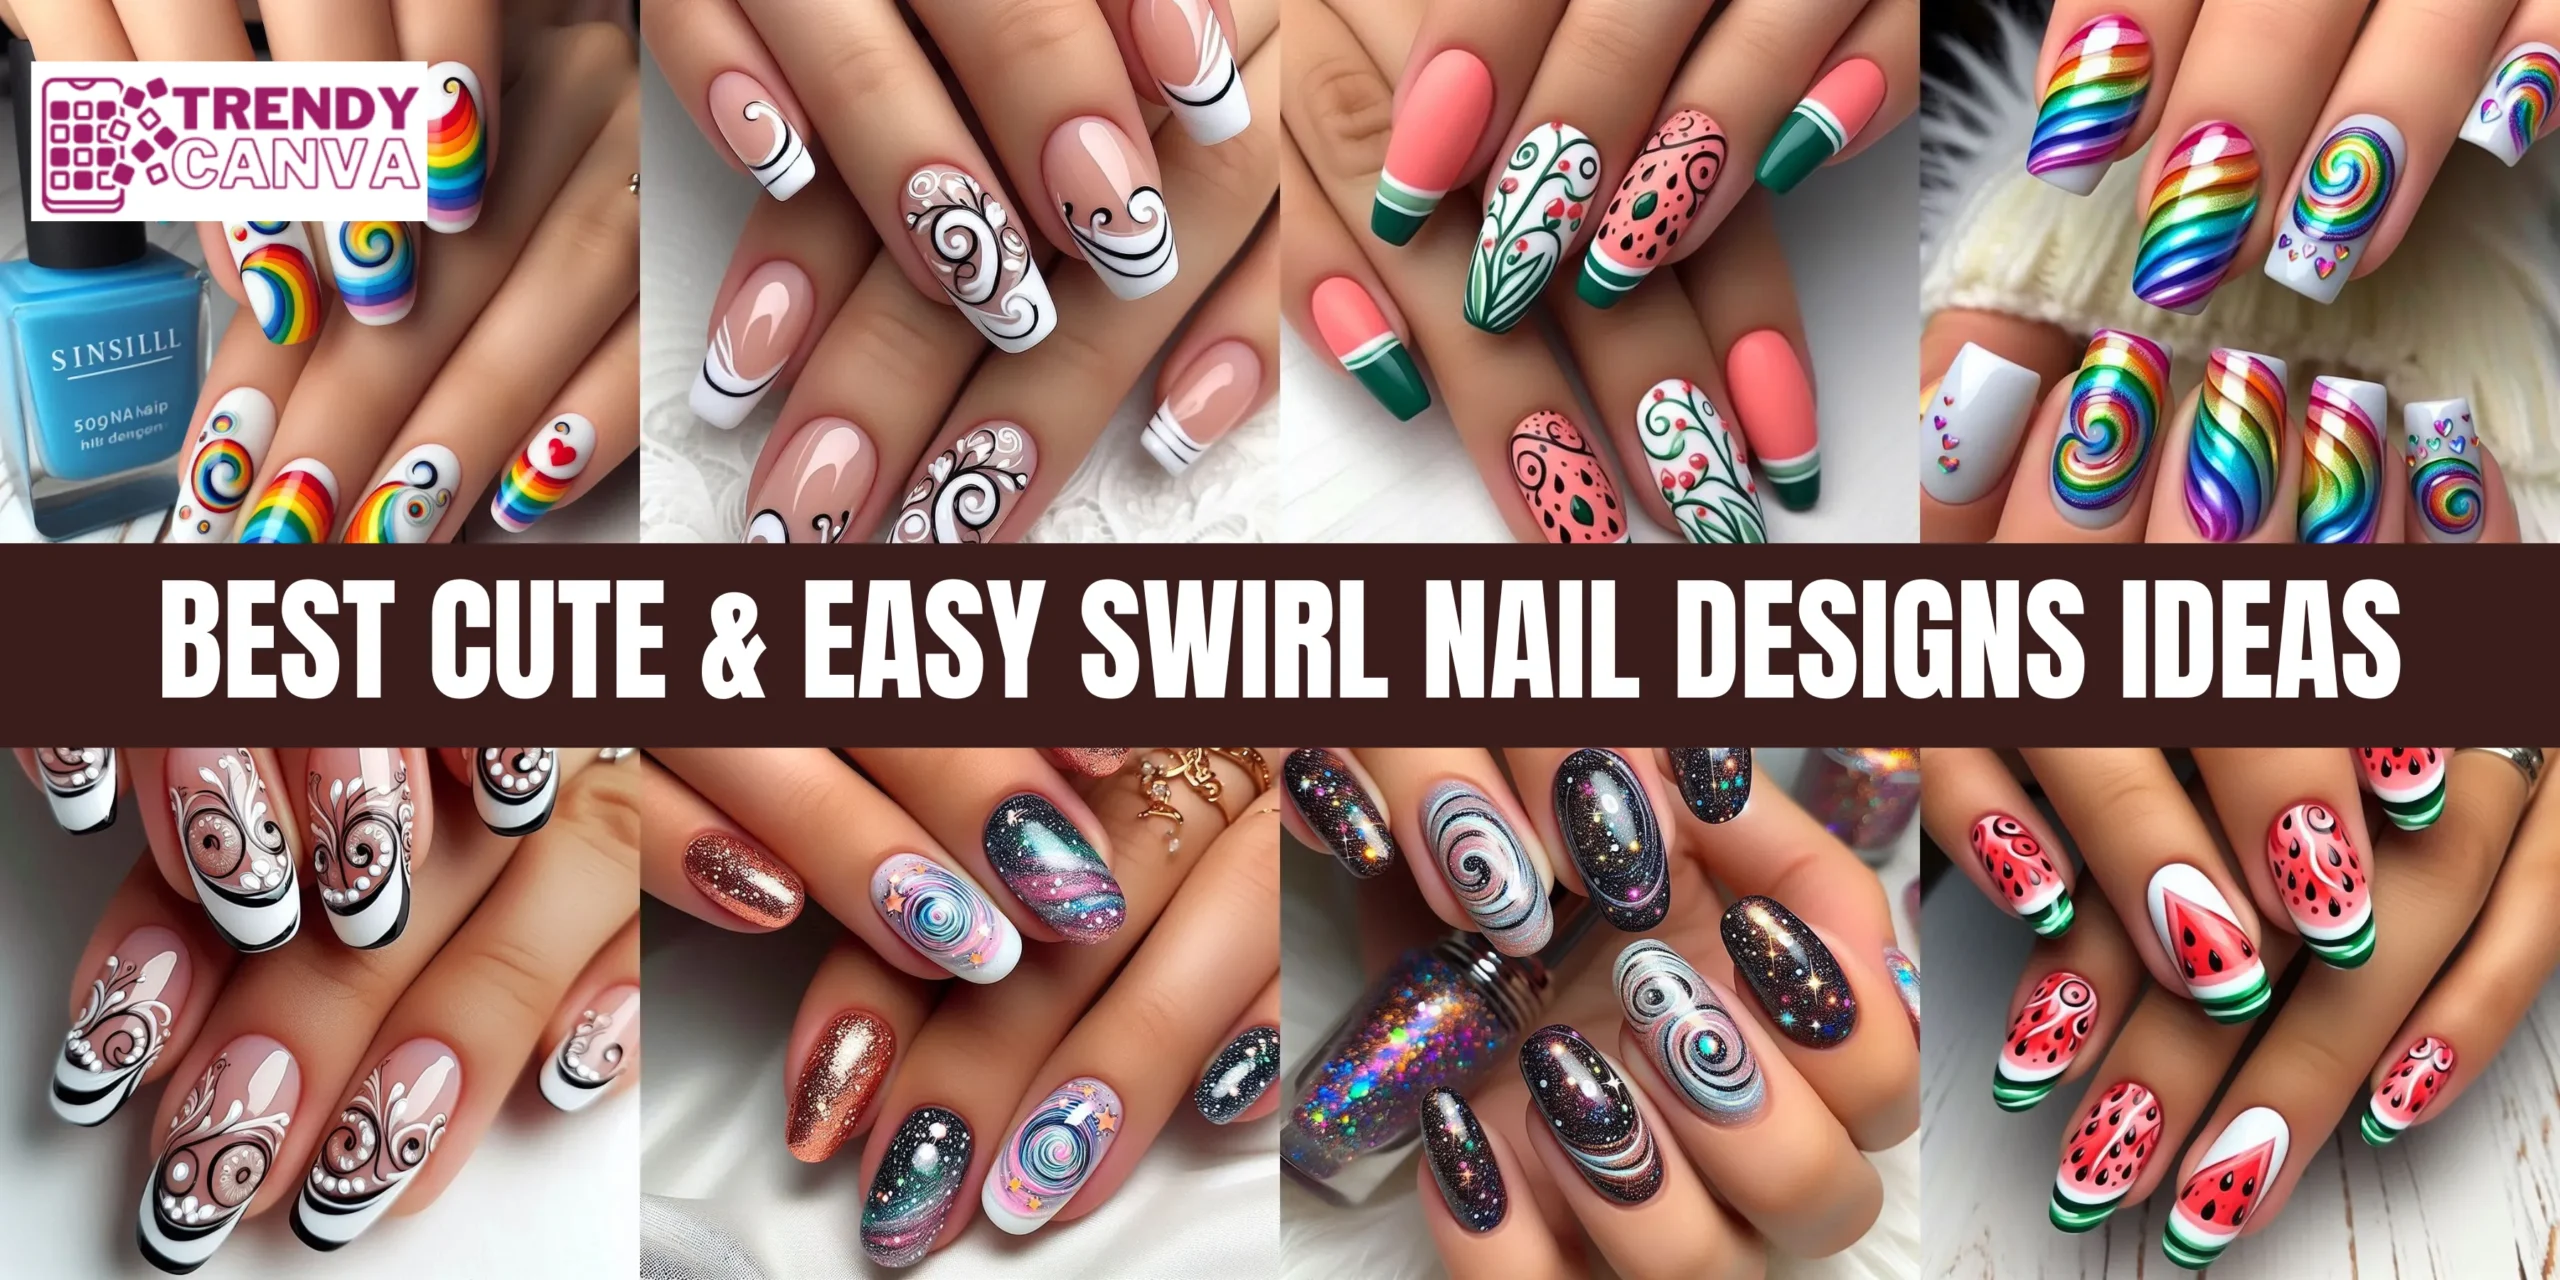
Best Cute & Easy Swirl Nail Designs for Whimsical Tips
1. Candy Colored Swirls Nail Designs
For a summer-ready look, I like sticking to candy-bright opaque polishes — pastel pink, baby blue, and a soft sunshine yellow all work well together. Dot small amounts of each color onto your base coat using a dotting tool or a toothpick, then drag a thin nail art brush through the dots in soft curves to link them into swirls.
Finish with a high-gloss topcoat to really make the colors pop and give the whole design a bit more shine.


2. Whimsical Pink Perfection A Swirl Design for Every Mood
This one leans softer and more feminine. Start with a light peach, cream, or similar pale base, then use a slightly deeper pink to paint loose, wandering curves across each nail.
I’d recommend keeping your first few swirls large and simple — once you’re comfortable with the motion, you can get as detailed as you like. A glossy topcoat at the end pulls the whole look together.


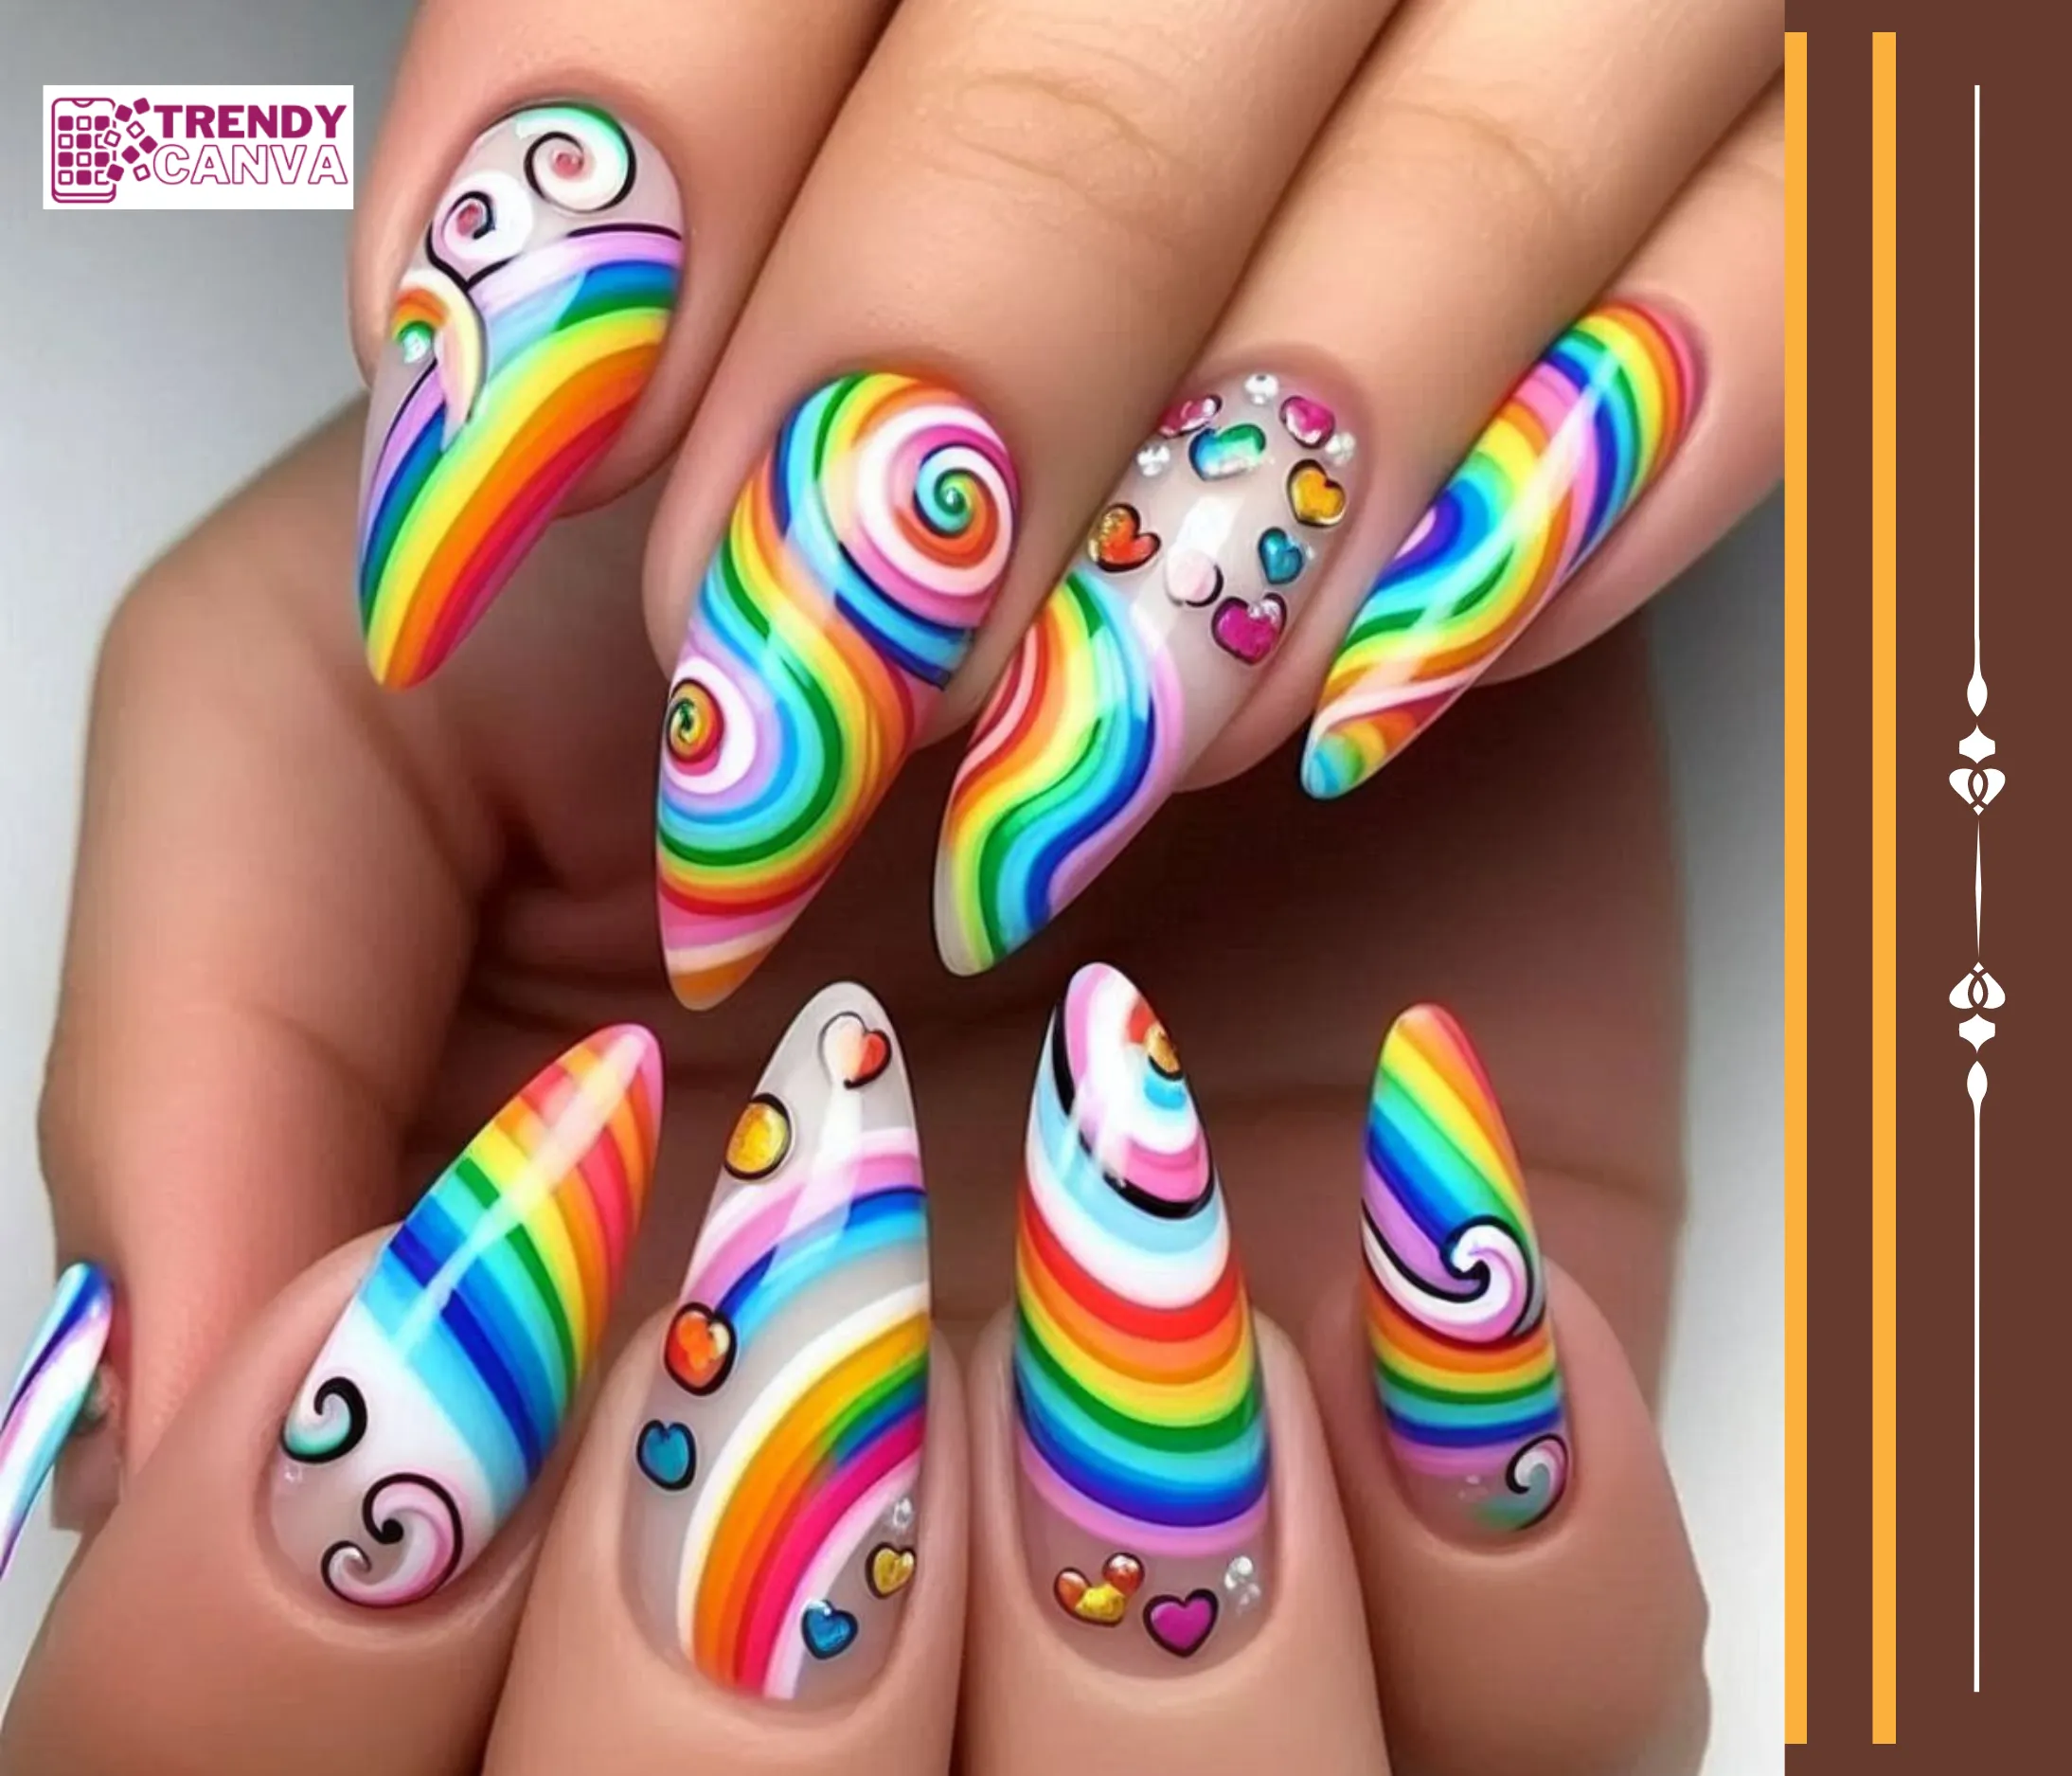
3. Rainbow Swirls Nail Designs
This design layers red, orange, yellow, green, blue, and purple into one flowing swirl. Paint each nail — or each section of a nail — in a different rainbow shade and let the base layer dry completely.
Once it’s set, use a thin nail art brush to connect the colors with small interlocking swirls where they meet. A glossy topcoat at the end keeps everything looking vibrant.




4. French with a Twist Swirls Nail Designs
If you want a twist on a classic French manicure, paint your base in a neutral shade like pale pink or nude, then swap the usual straight white tip for a swirled line in a contrasting color instead.
It’s a fun style to experiment with — play around with how many nails you swirl and how thick the line is until you land on a combination you like.


5. Glitter Galaxy Swirls Nail Designs
For a night-sky effect, cover the nail in a dark blue or black base coat first. Once that’s dry, drag a clear or lightly-tinted polish loaded with chunky silver glitter diagonally across the nail in soft streaks. It’s a striking option if you want your evening manicure to feel a little more dramatic — pairing it with a chrome powder or a few 3D swirl accents takes the look even further.


6. Watermelon Swirls A Playful Summer Celebration
This one’s a fun seasonal pick — for the full breakdown, my watermelon nail designs guide has more takes on it. For the swirl version, paint a light green base coat first, working from the cuticle out to the edge of the nail.
Then swirl in a bright red for the “flesh” using thin, intricate strokes, and add a few small black dots with a dotting tool to stand in for seeds. A high-gloss topcoat really makes the colors pop.


7. Lavender Dreams Calming and Dreamy Swirl Nail Art
Lavender swirls have a much calmer, dreamier feel than the brighter options above. Start with a clear base coat, add a soft lavender as your first color, then use a slightly darker purple to paint thin curves that give the pattern more contrast and depth.


8. Marbleized Magic Create Swirls with an Artistic Touch
If you like the look of a marble finish, this swirl technique gets you there without much extra effort. Apply your base coat and let it set for a few minutes.
Then drip two or three colors onto the still-wet polish and use a toothpick or small nail art brush to blend them until they interlock, similar to natural stone veining.
Once you’re happy with the pattern, seal it with a clear topcoat for a glossy, professional finish.


9. Neon Nights Bold and Eye-Catching Swirl Statements
For something louder, grab two or three neon shades — green, pink, and orange work particularly well together. Apply them in loose blocks of color as your base coat.
Then, using a slim nail art brush, swirl the colors together freehand so the shades blend where they meet. It’s a fun design for hot summer nights, a festival, or a night out.


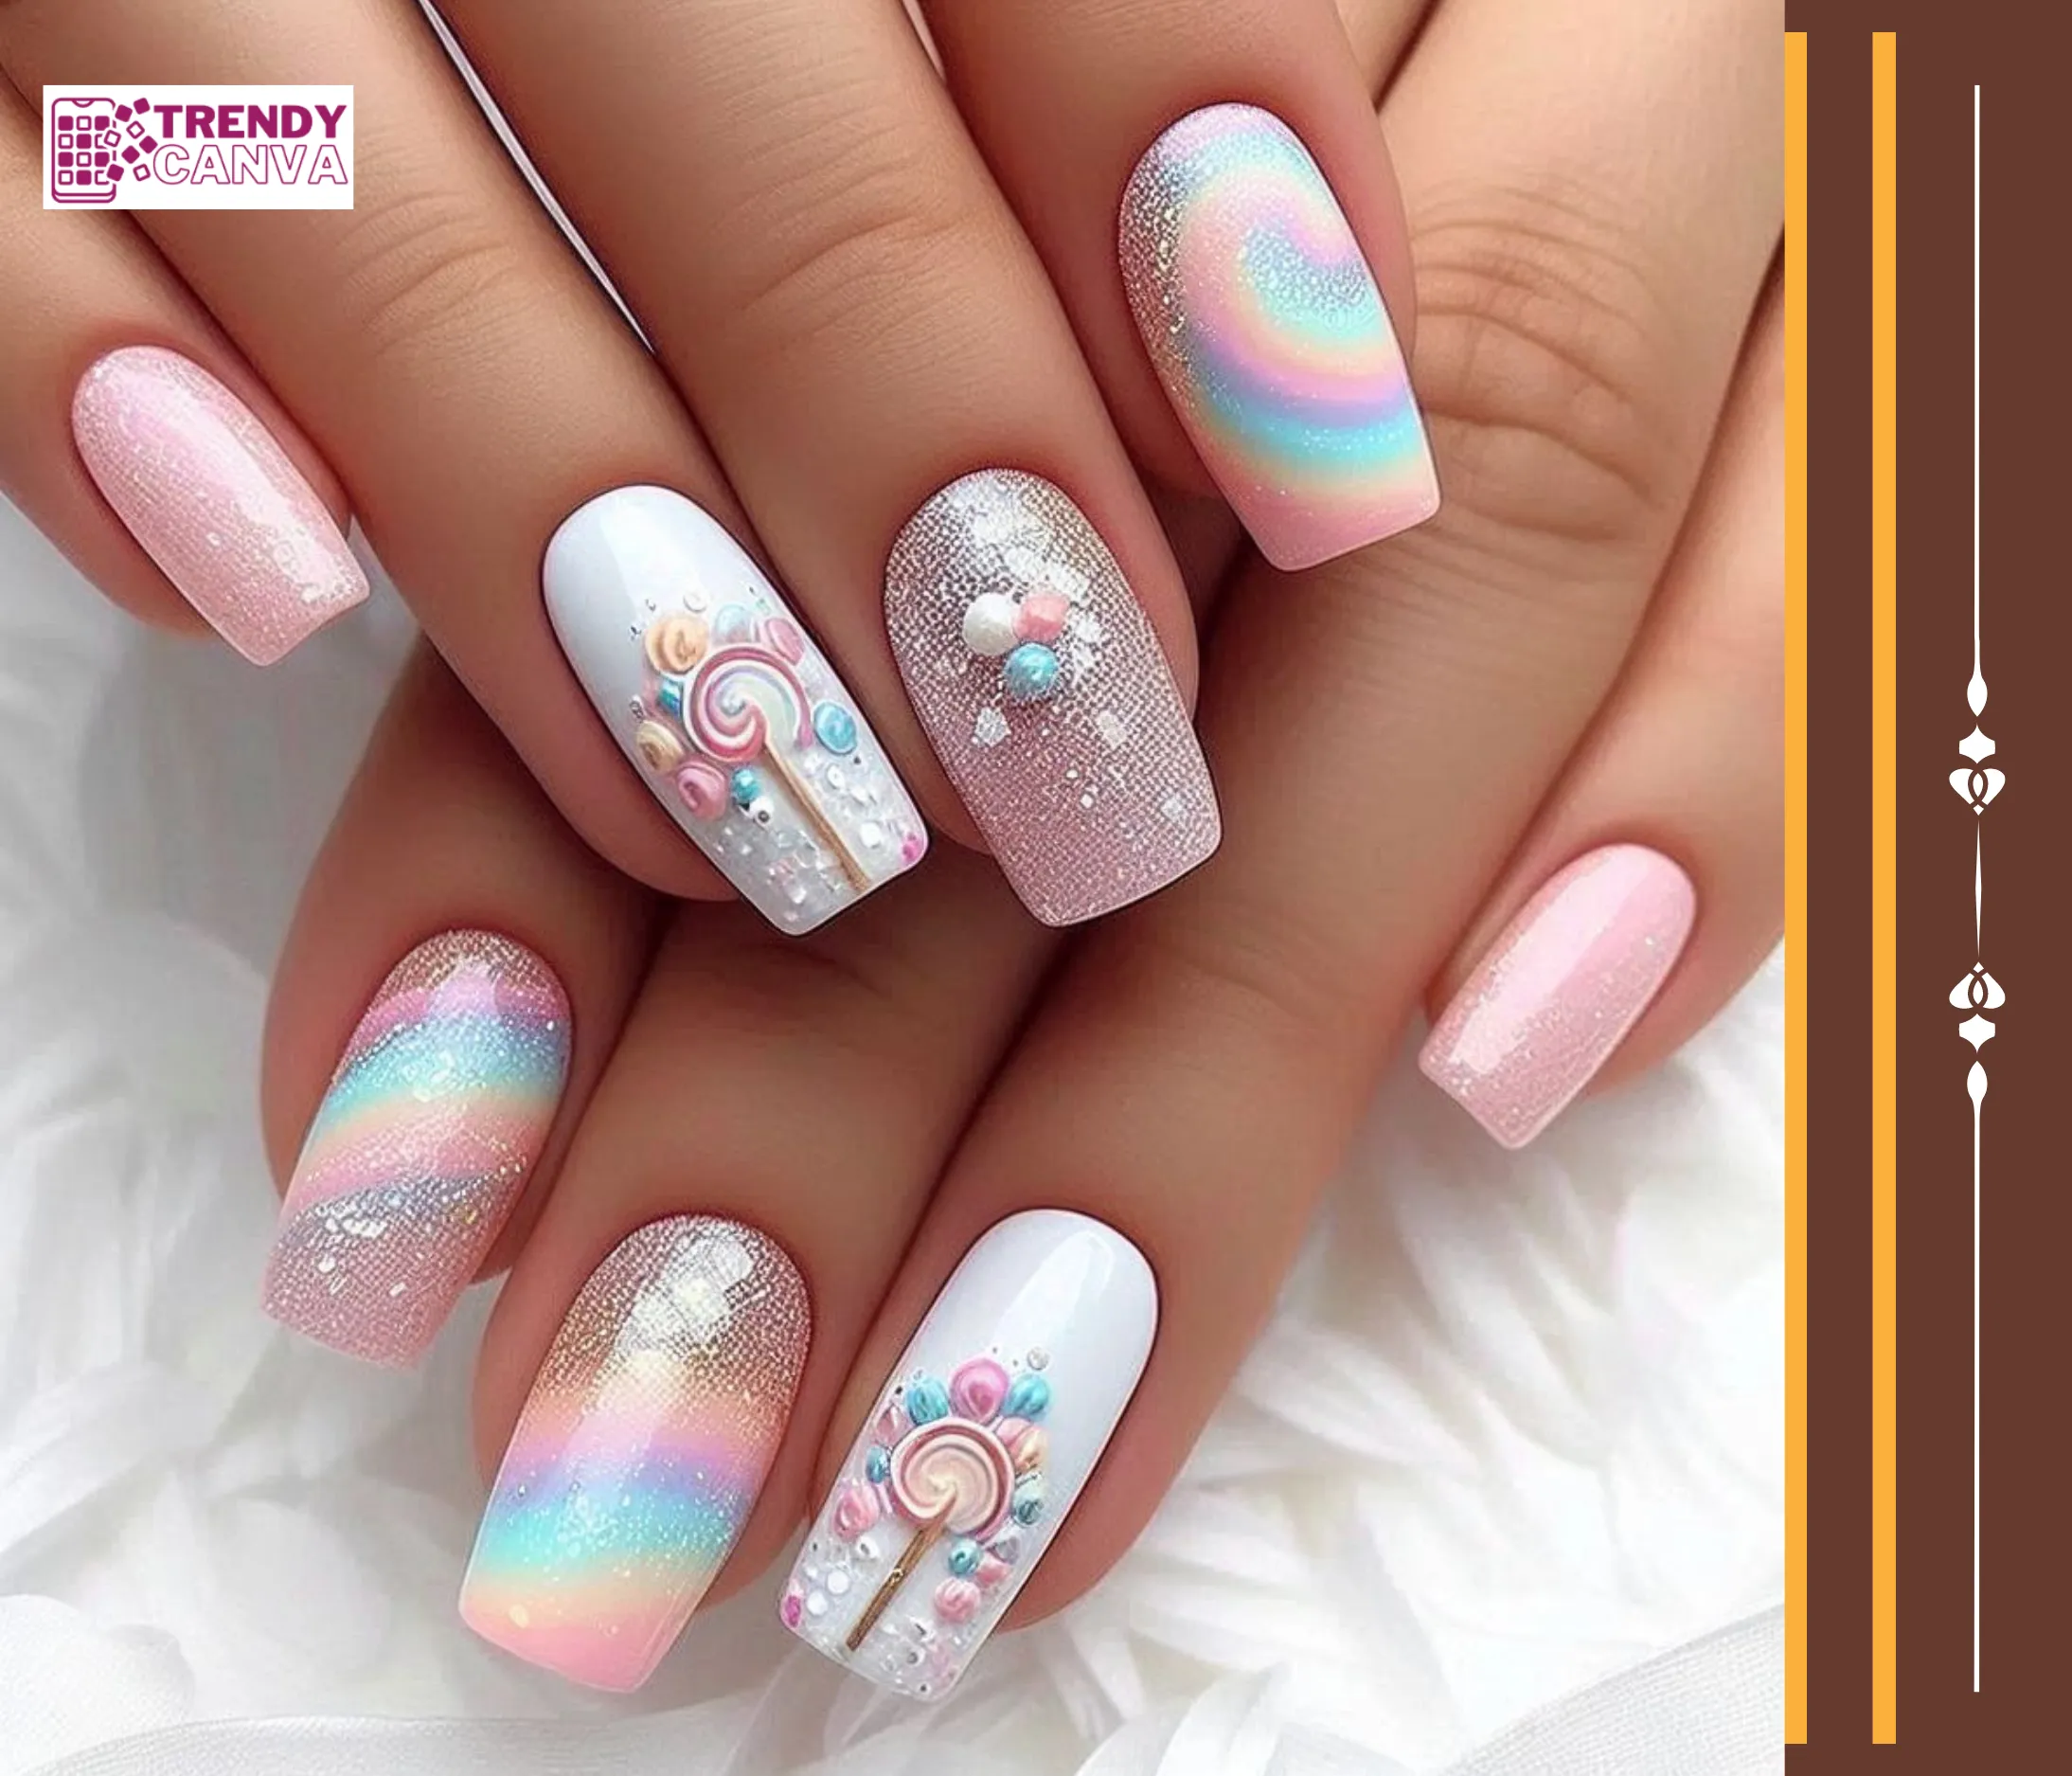
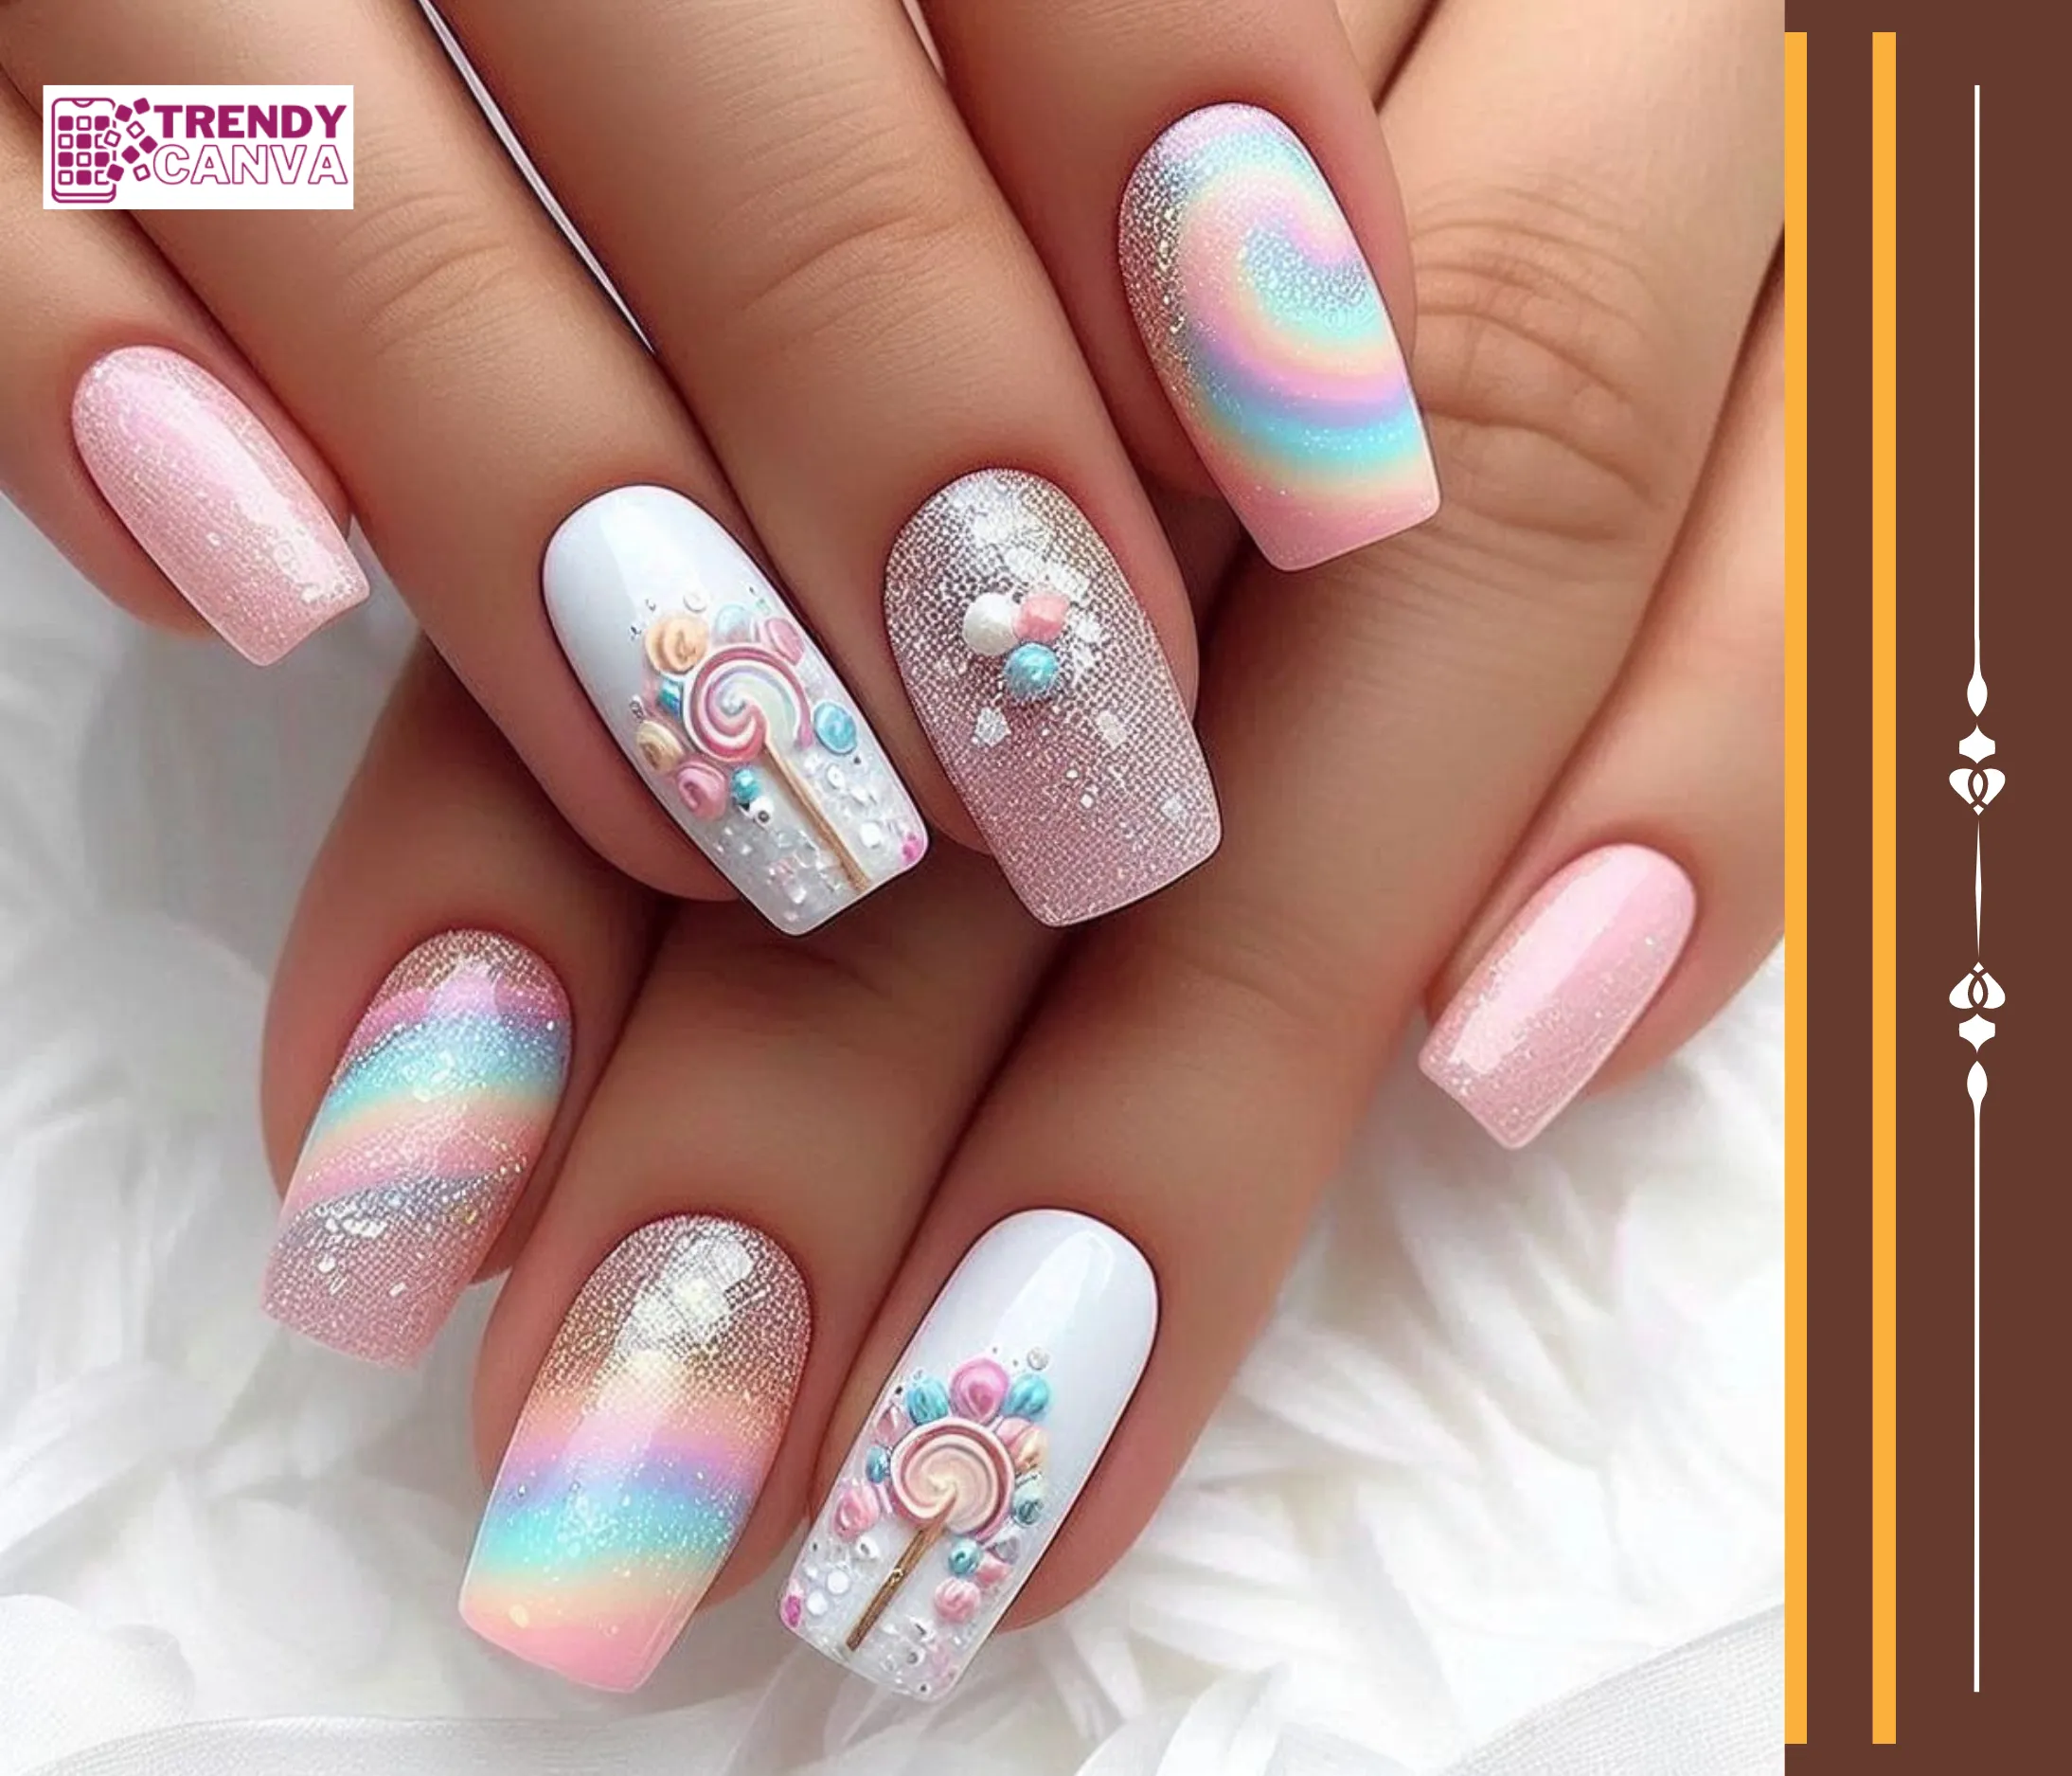
10. Pastel Paradise Soft and Sweet Swirl Designs
To round things out, this design leans into soft pastel tones — baby blue, mint green, and lavender all work nicely over a nude base. Blend the colors together using small circular motions so they create light, soft whirls rather than sharp lines.
A few rhinestones make a nice finishing touch if you want a bit more sparkle, though a plain glossy topcoat looks just as good on its own.


Swirl nails are one of the easiest ways to make a manicure feel a lot more custom without needing perfectly steady hands — the loose, blended motion actually hides small imperfections better than most other nail art styles. Pick a palette that matches your mood, grab a toothpick or a thin nail art brush, and bring one of these to your next appointment.
Which of these swirl designs is your favorite? Let me know in the comments.




10 Comments